Good morning on the eve of Thanksgiving day. I predict this will be my last posting until after Saturday. It has been a crazy busy time for me lately. It almost feels like I’m young again. Hah! Tomorrow we have family coming for dinner. One more reminder of the Elf Shelf Saturday from 9am until 4 pm. I believe the admission is $5. It is the fiftieth year the Troy Women’s Association has sponsored this craft show. I don’t know the actual number of vendors, but I do know they fill the gym, the cafeteria and line the hallways. Stop by and see me there.
So I’ll close now by wishing you all a Happy Thanksgiving filled with family, gratitude and football. Enjoy your harvest blessings.
Well, I’ve discovered that posting about punch needle is more difficult than punch needle. My photography skills are not the best. I already had to delete one photo because my lovely kitchen garbage filled the bottom of the frame. But, let’s move on.
Let me start with Santa’s Midnight Ride. This was from Jeannine Happe at Two Old Crows. Punching this one took more than a few nights, but it was a fun project. Much of the piece is punched at a deeper loop, which really makes it pop. I backed it with a brown cotton print and a sleeve of the same fabric. I stained a dowel and used buckskin cording for hanging.
This next picture shows another neat idea I tried. I found a site on the internet that had rusty wire. It works well for hanging pieces. The tautness of the wire keeps it from sagging which I was looking for. Also, it’s cute and primitive looking. I’m sure I’ve mentioned how I love prim.
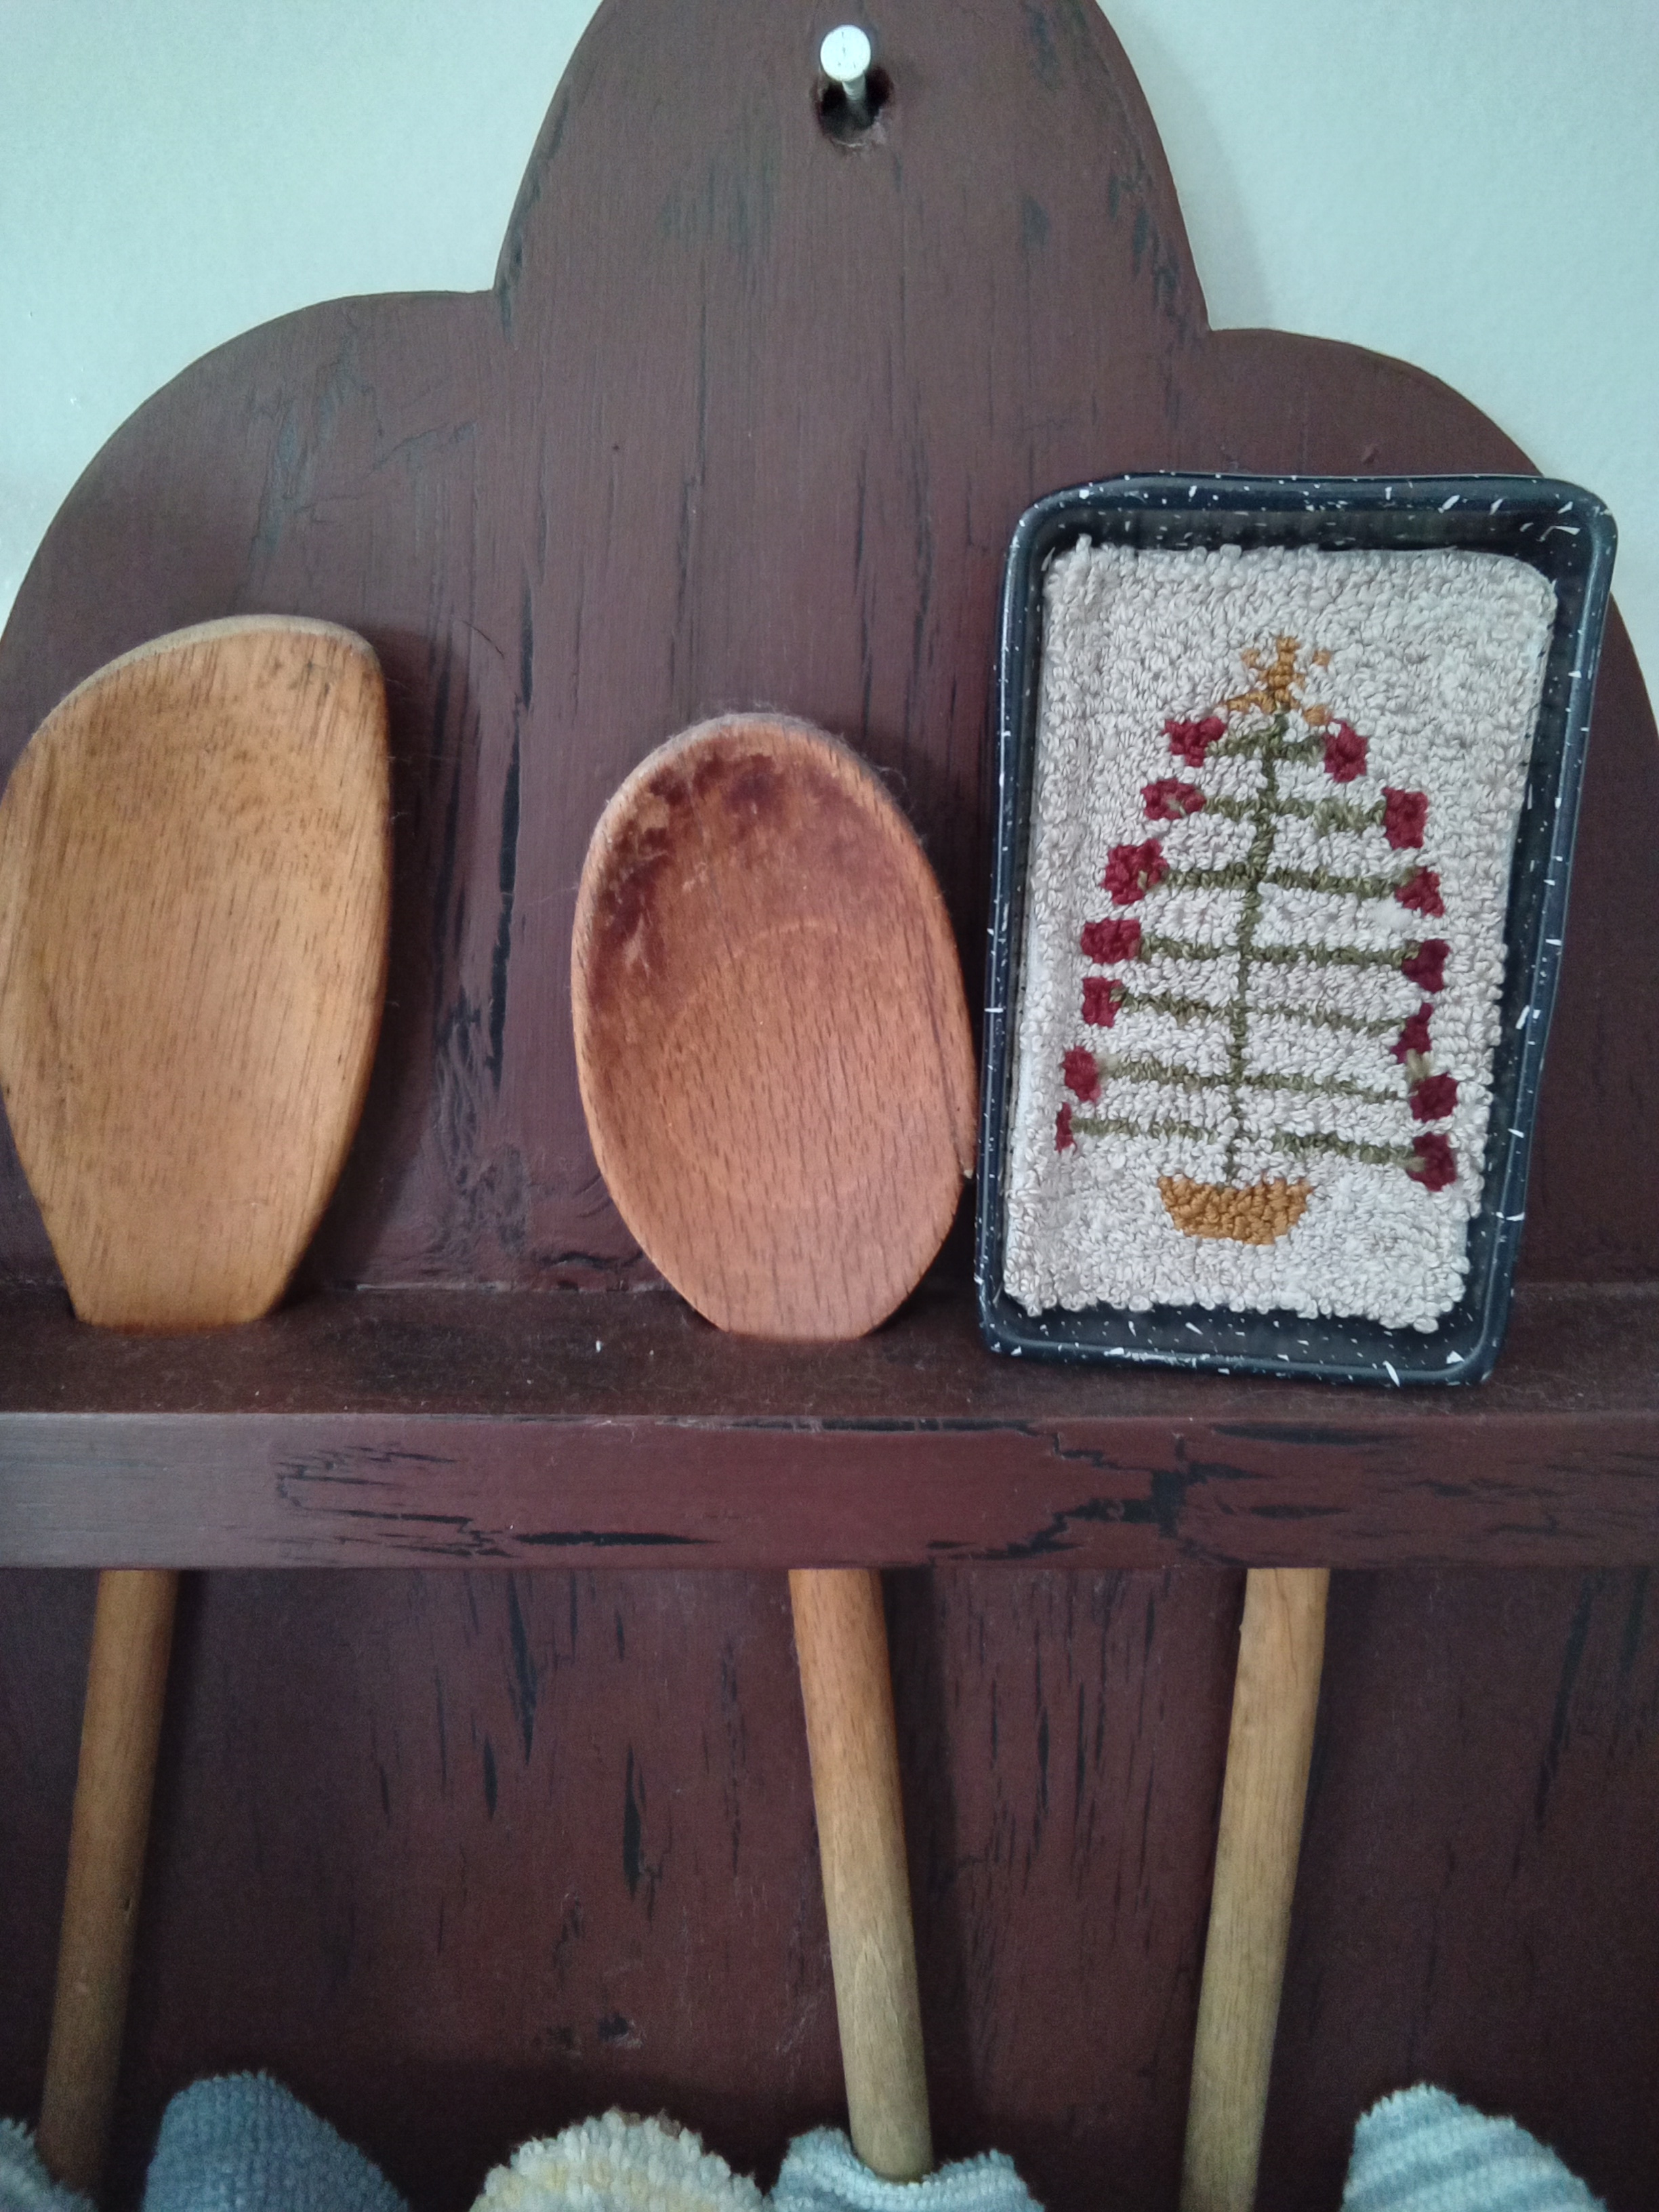
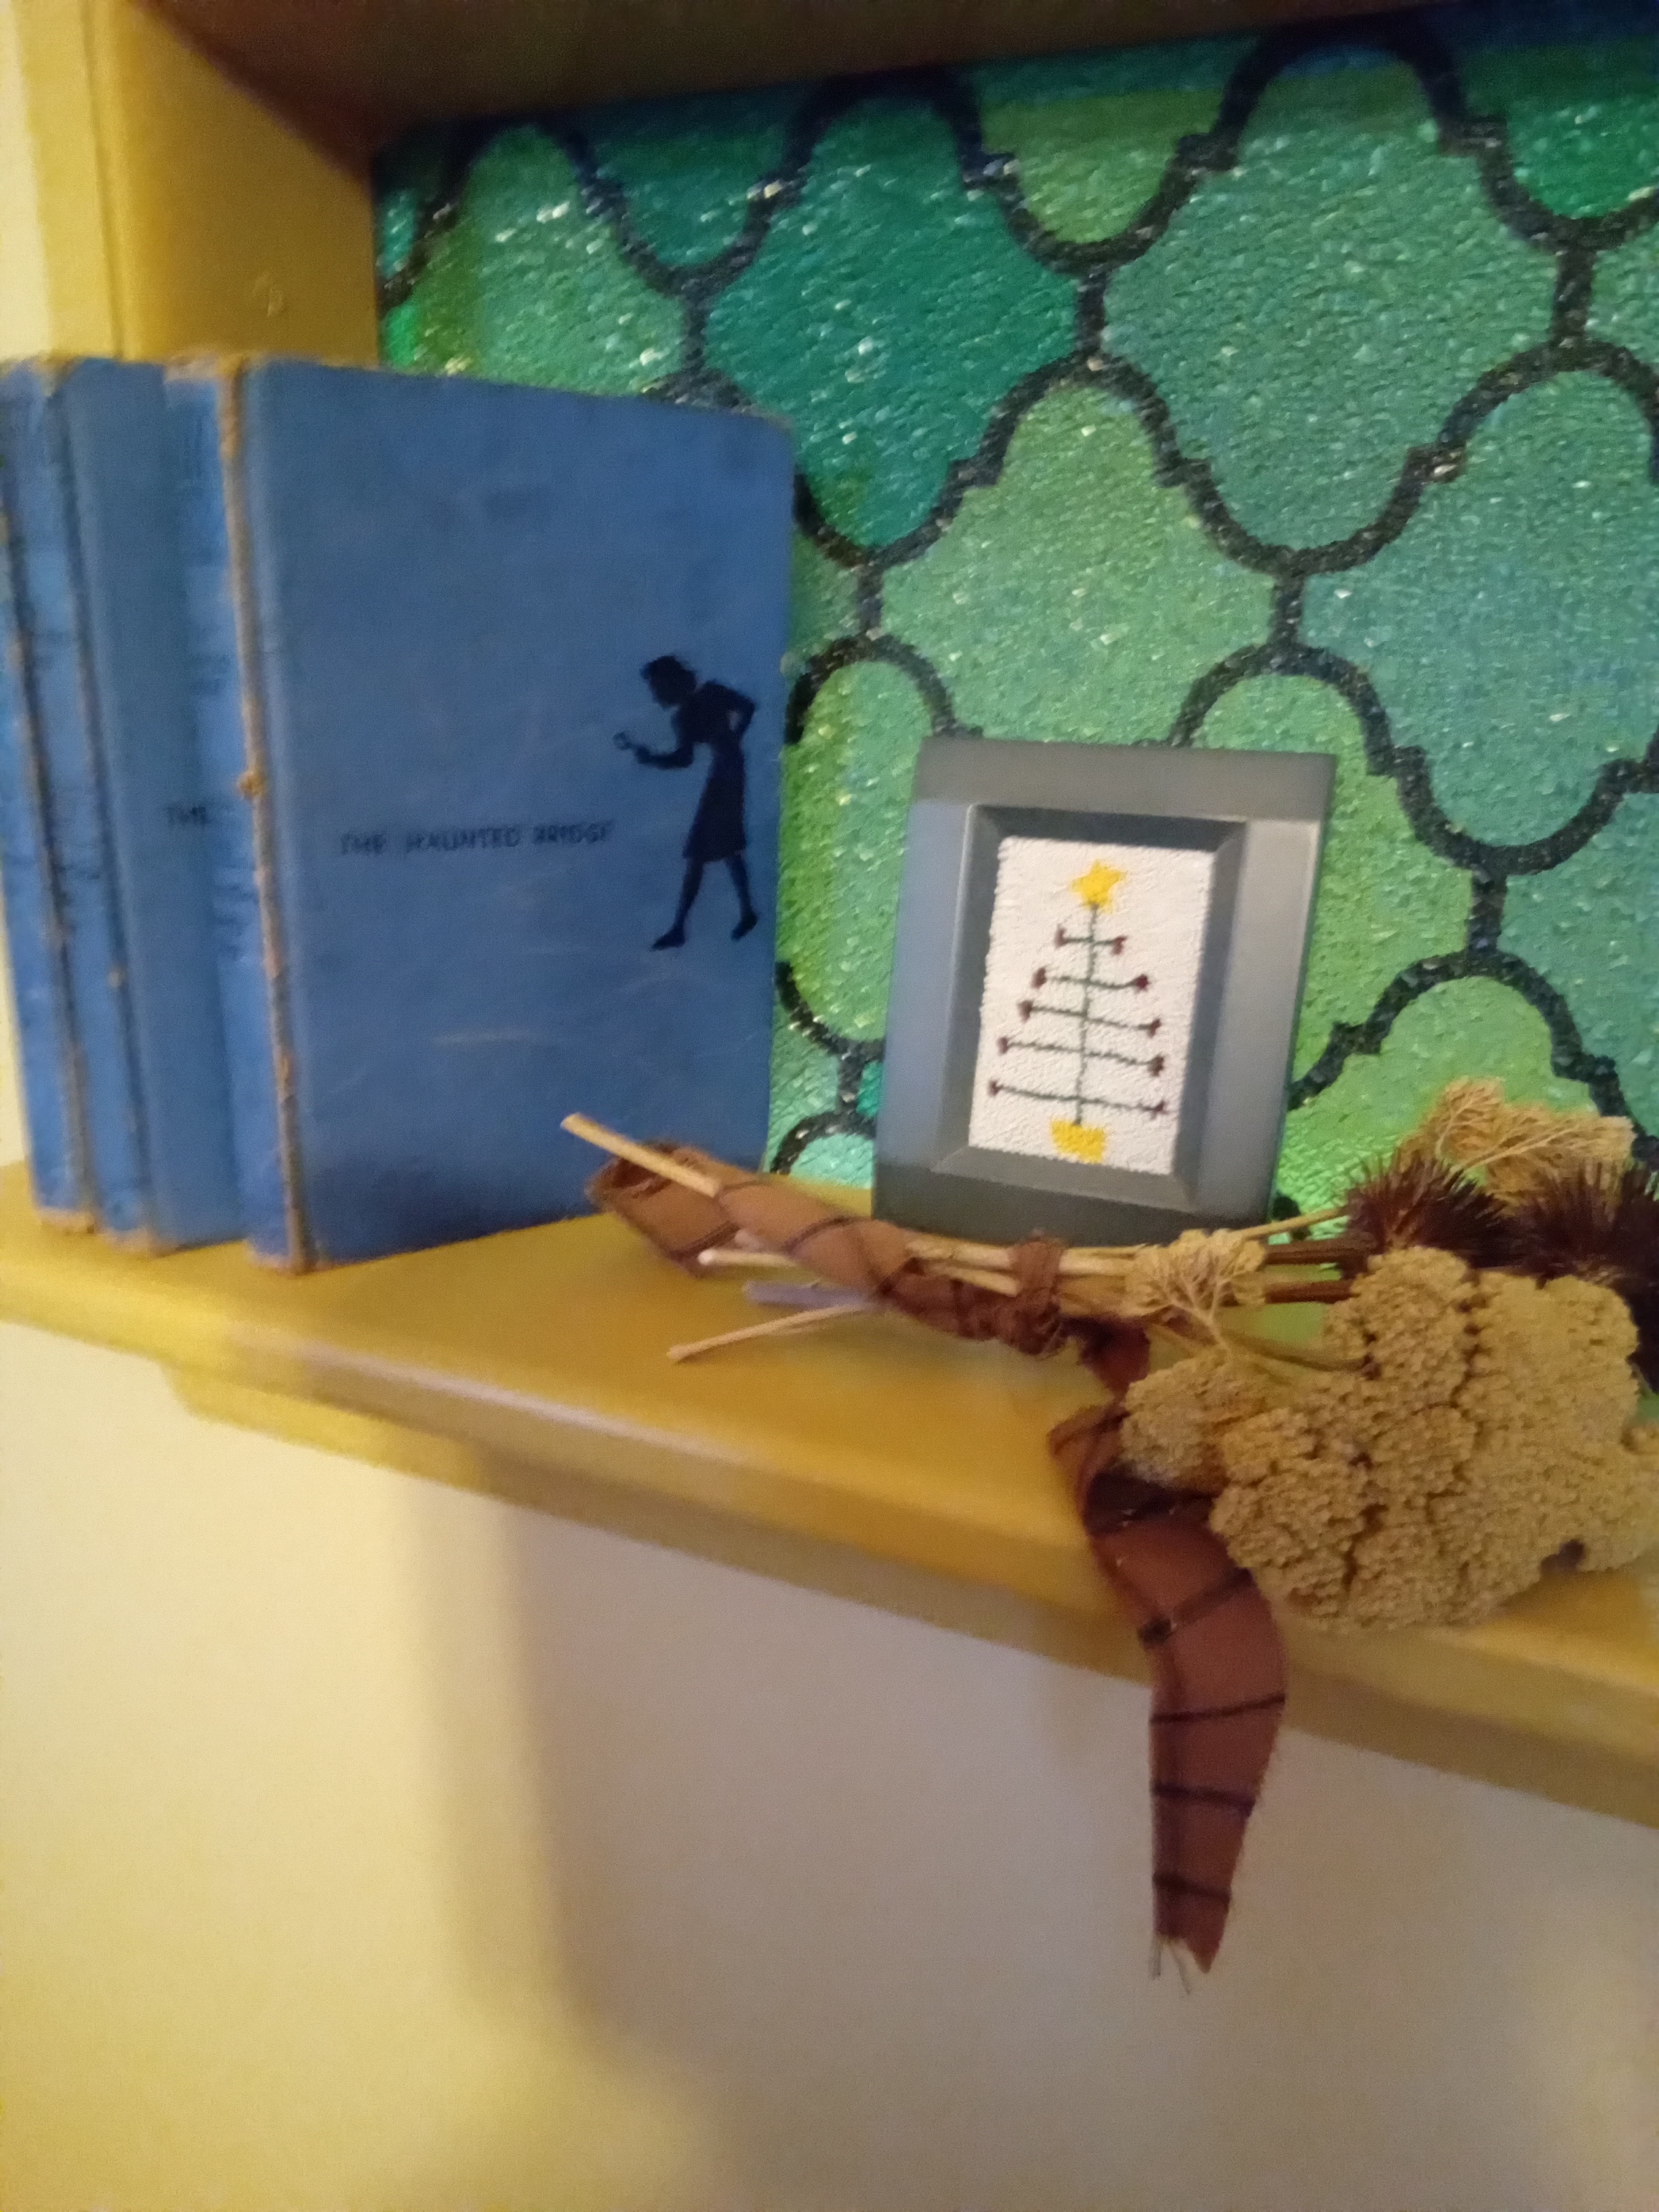
I found this little blue enamel child’s baking dish. I punched a little feather tree (or Swedish Christmas tree, as my friend Judy says,) sewed a back on it and then used tacky glue to adhere it the tin.
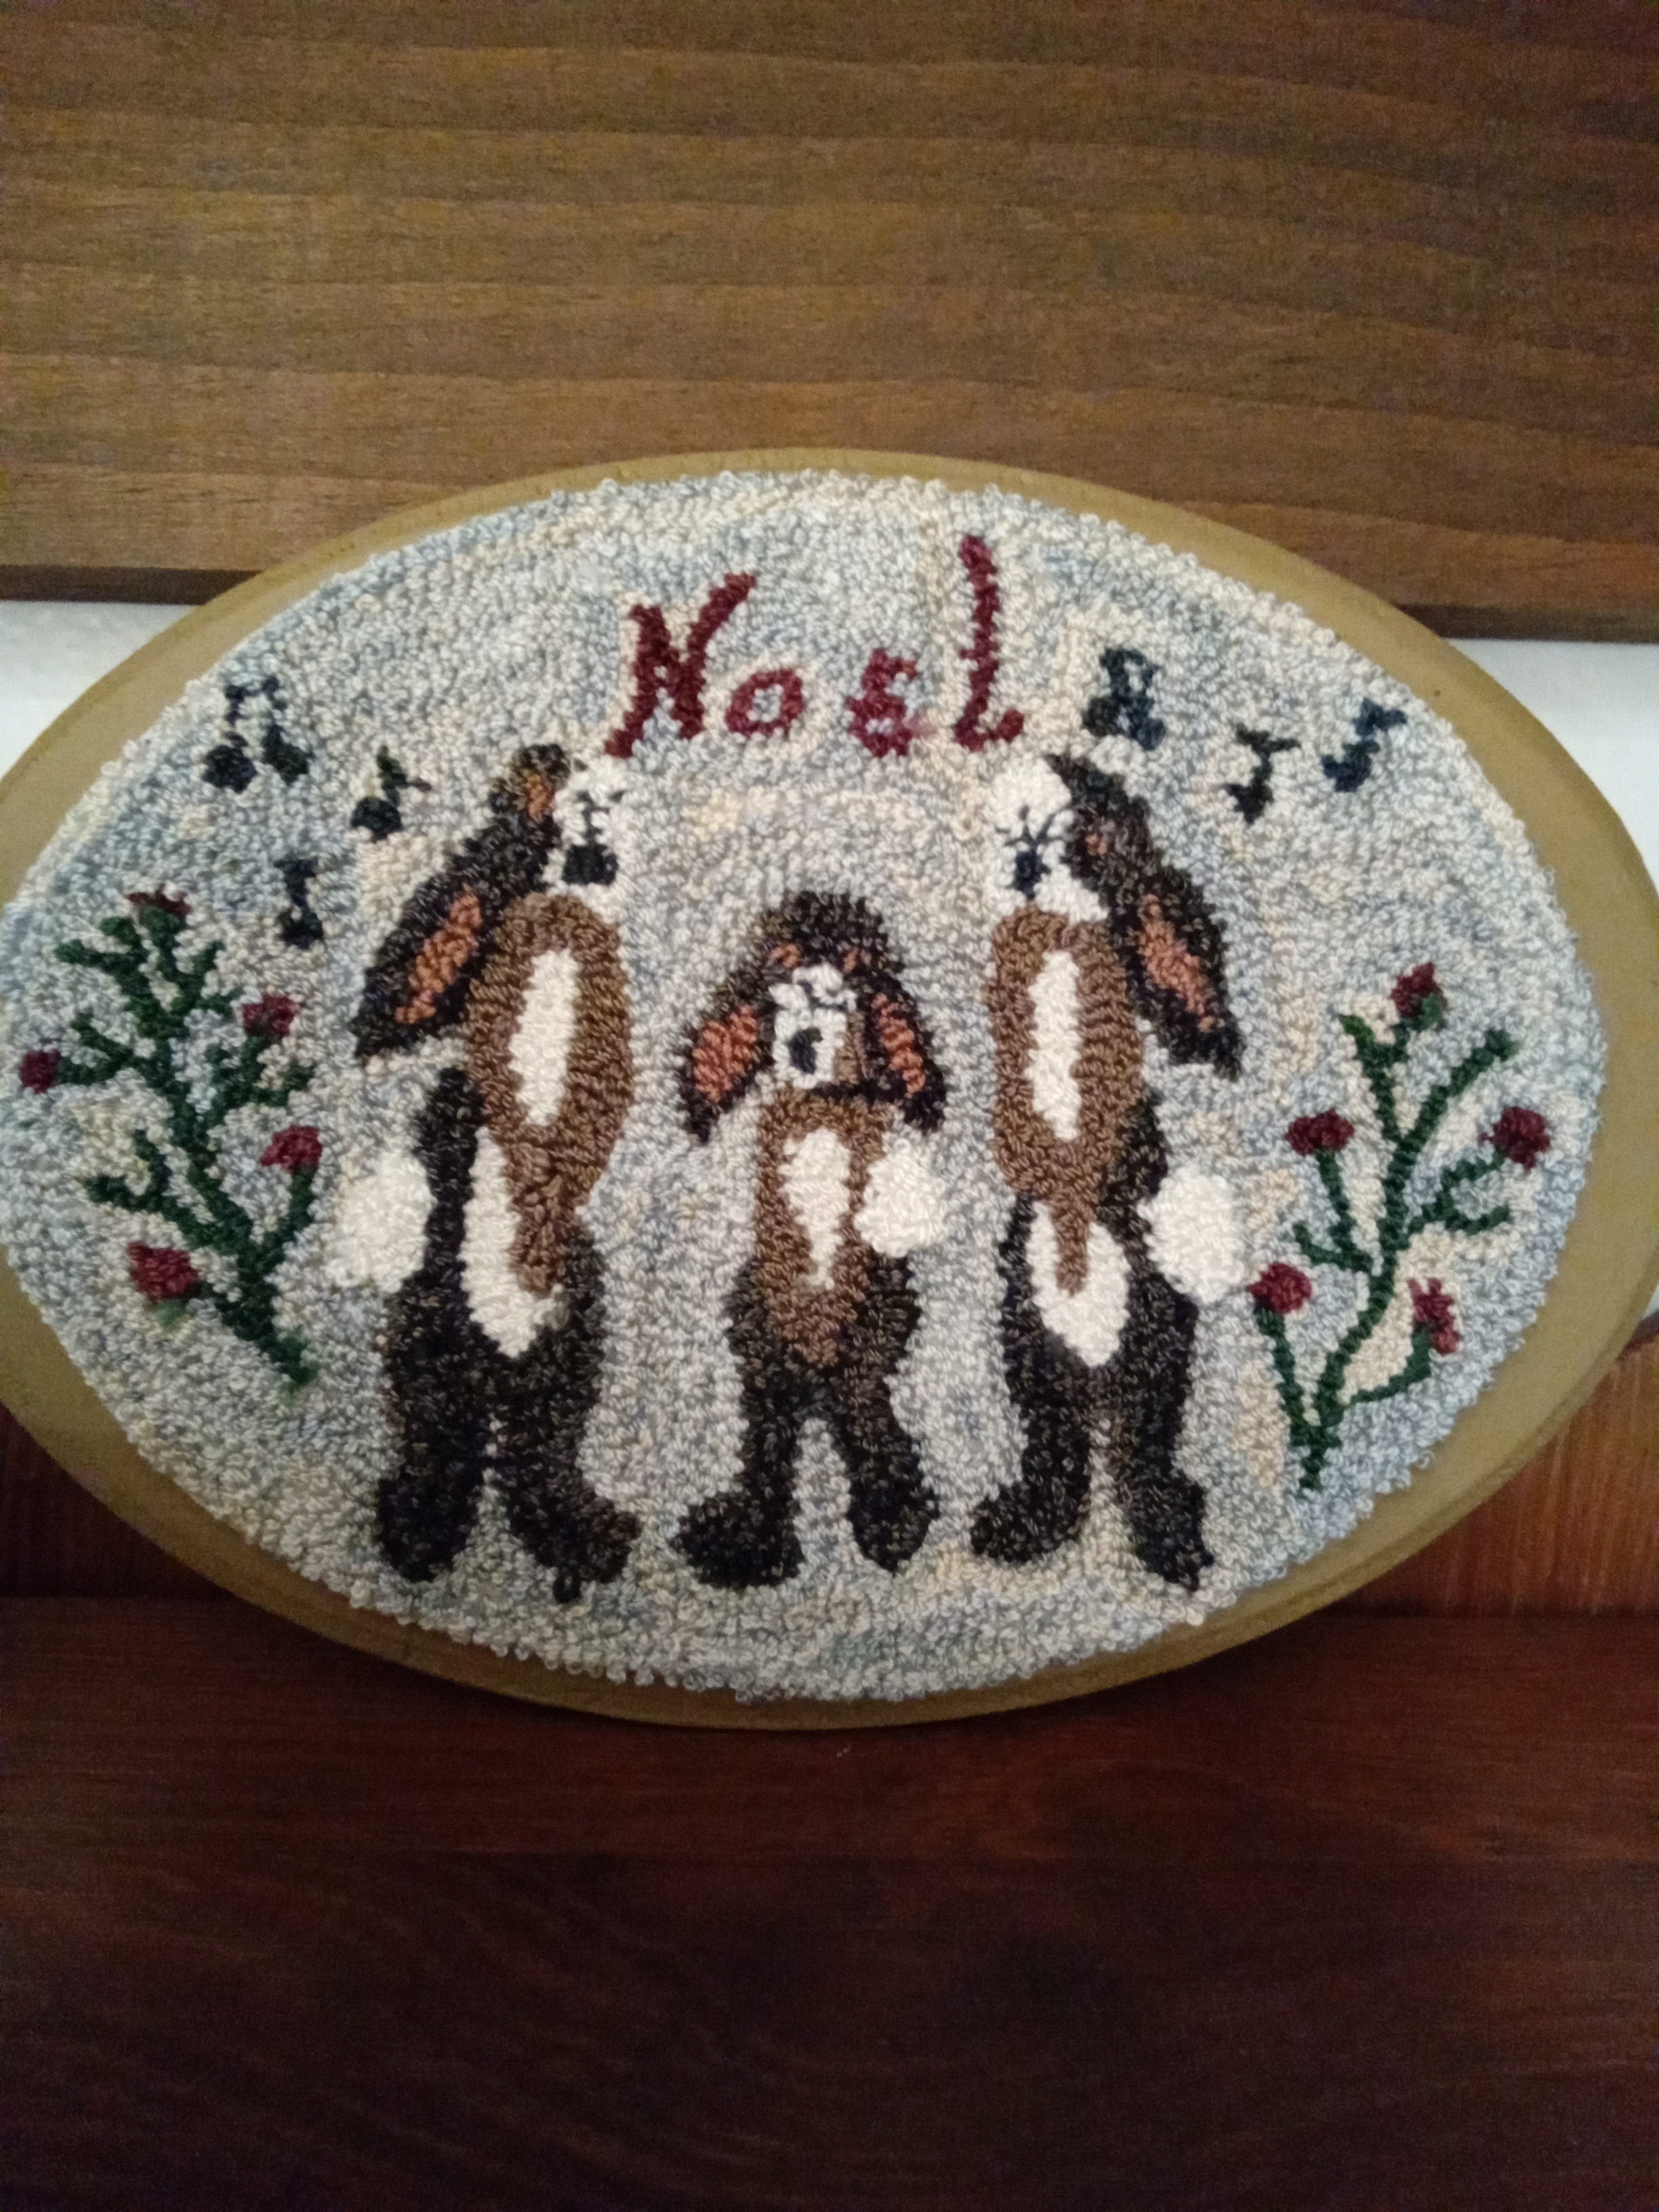
One more for today. I hope I’m remembering correctly. I’m pretty certain this pattern ‘Noel’ comes from Tara Guernsey from Perfect Prim Punch.
That’s it for now. These are some of the pieces I’ll have at the Elf Shelf on Saturday.
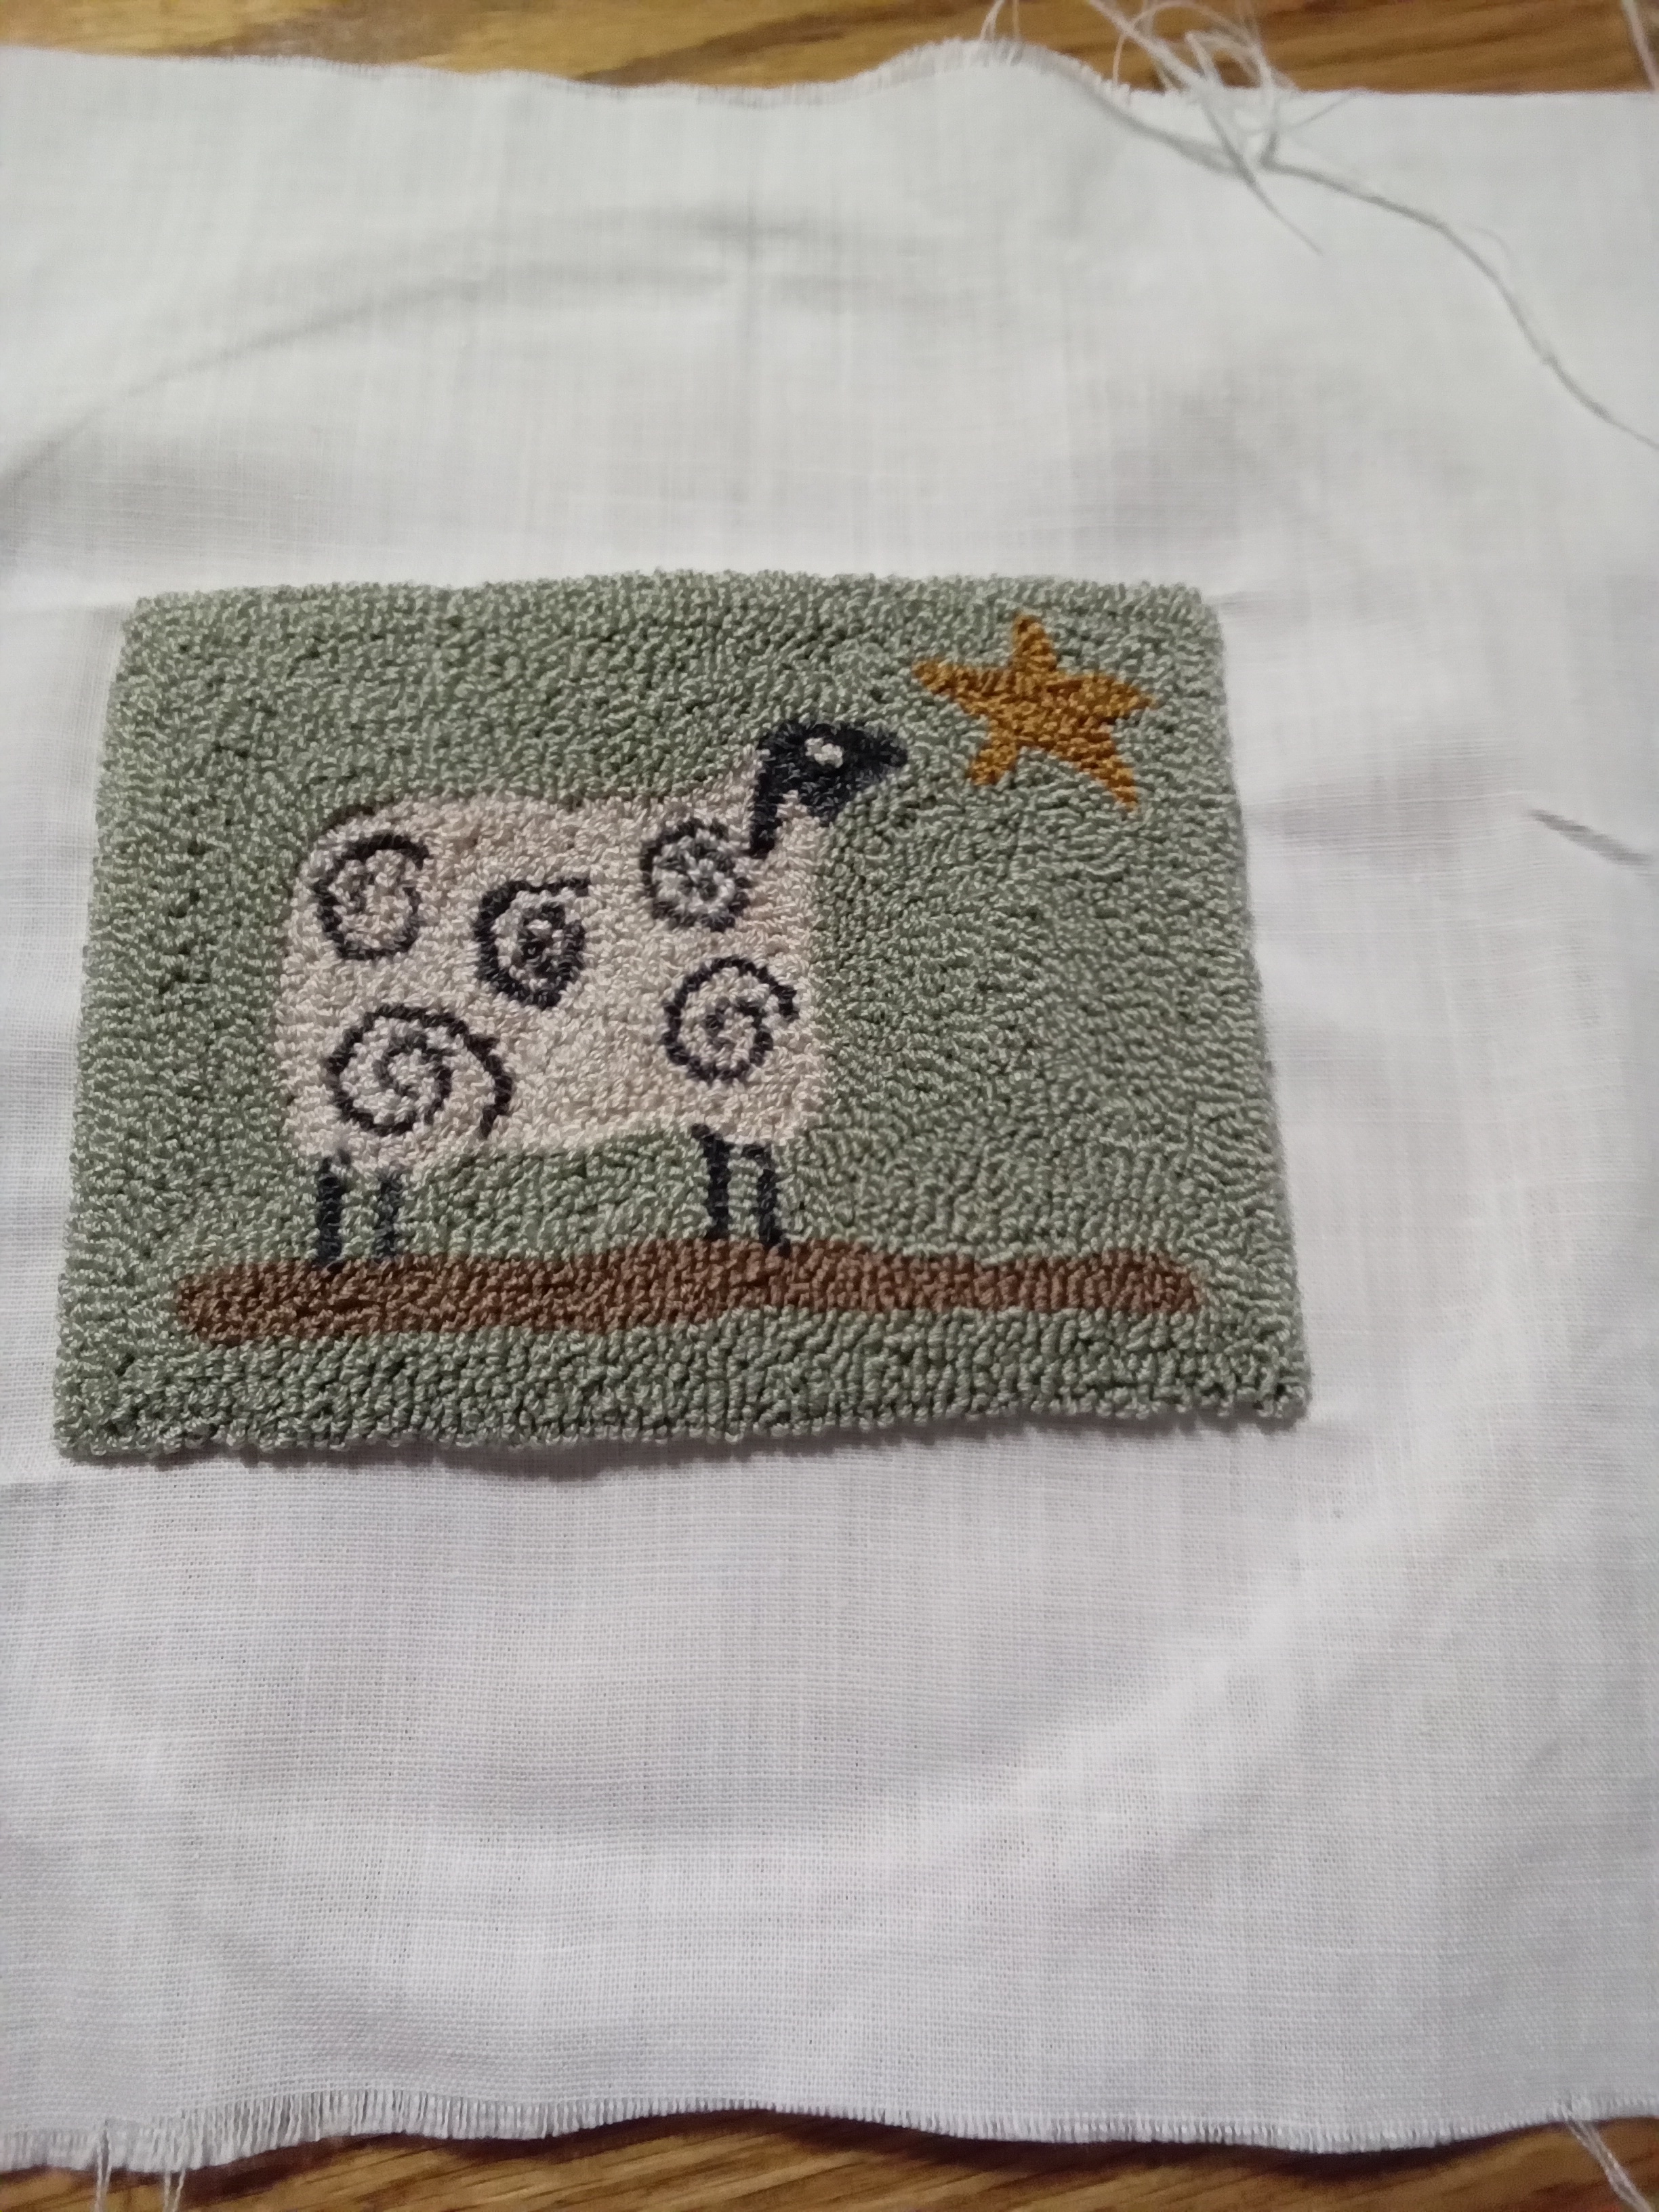
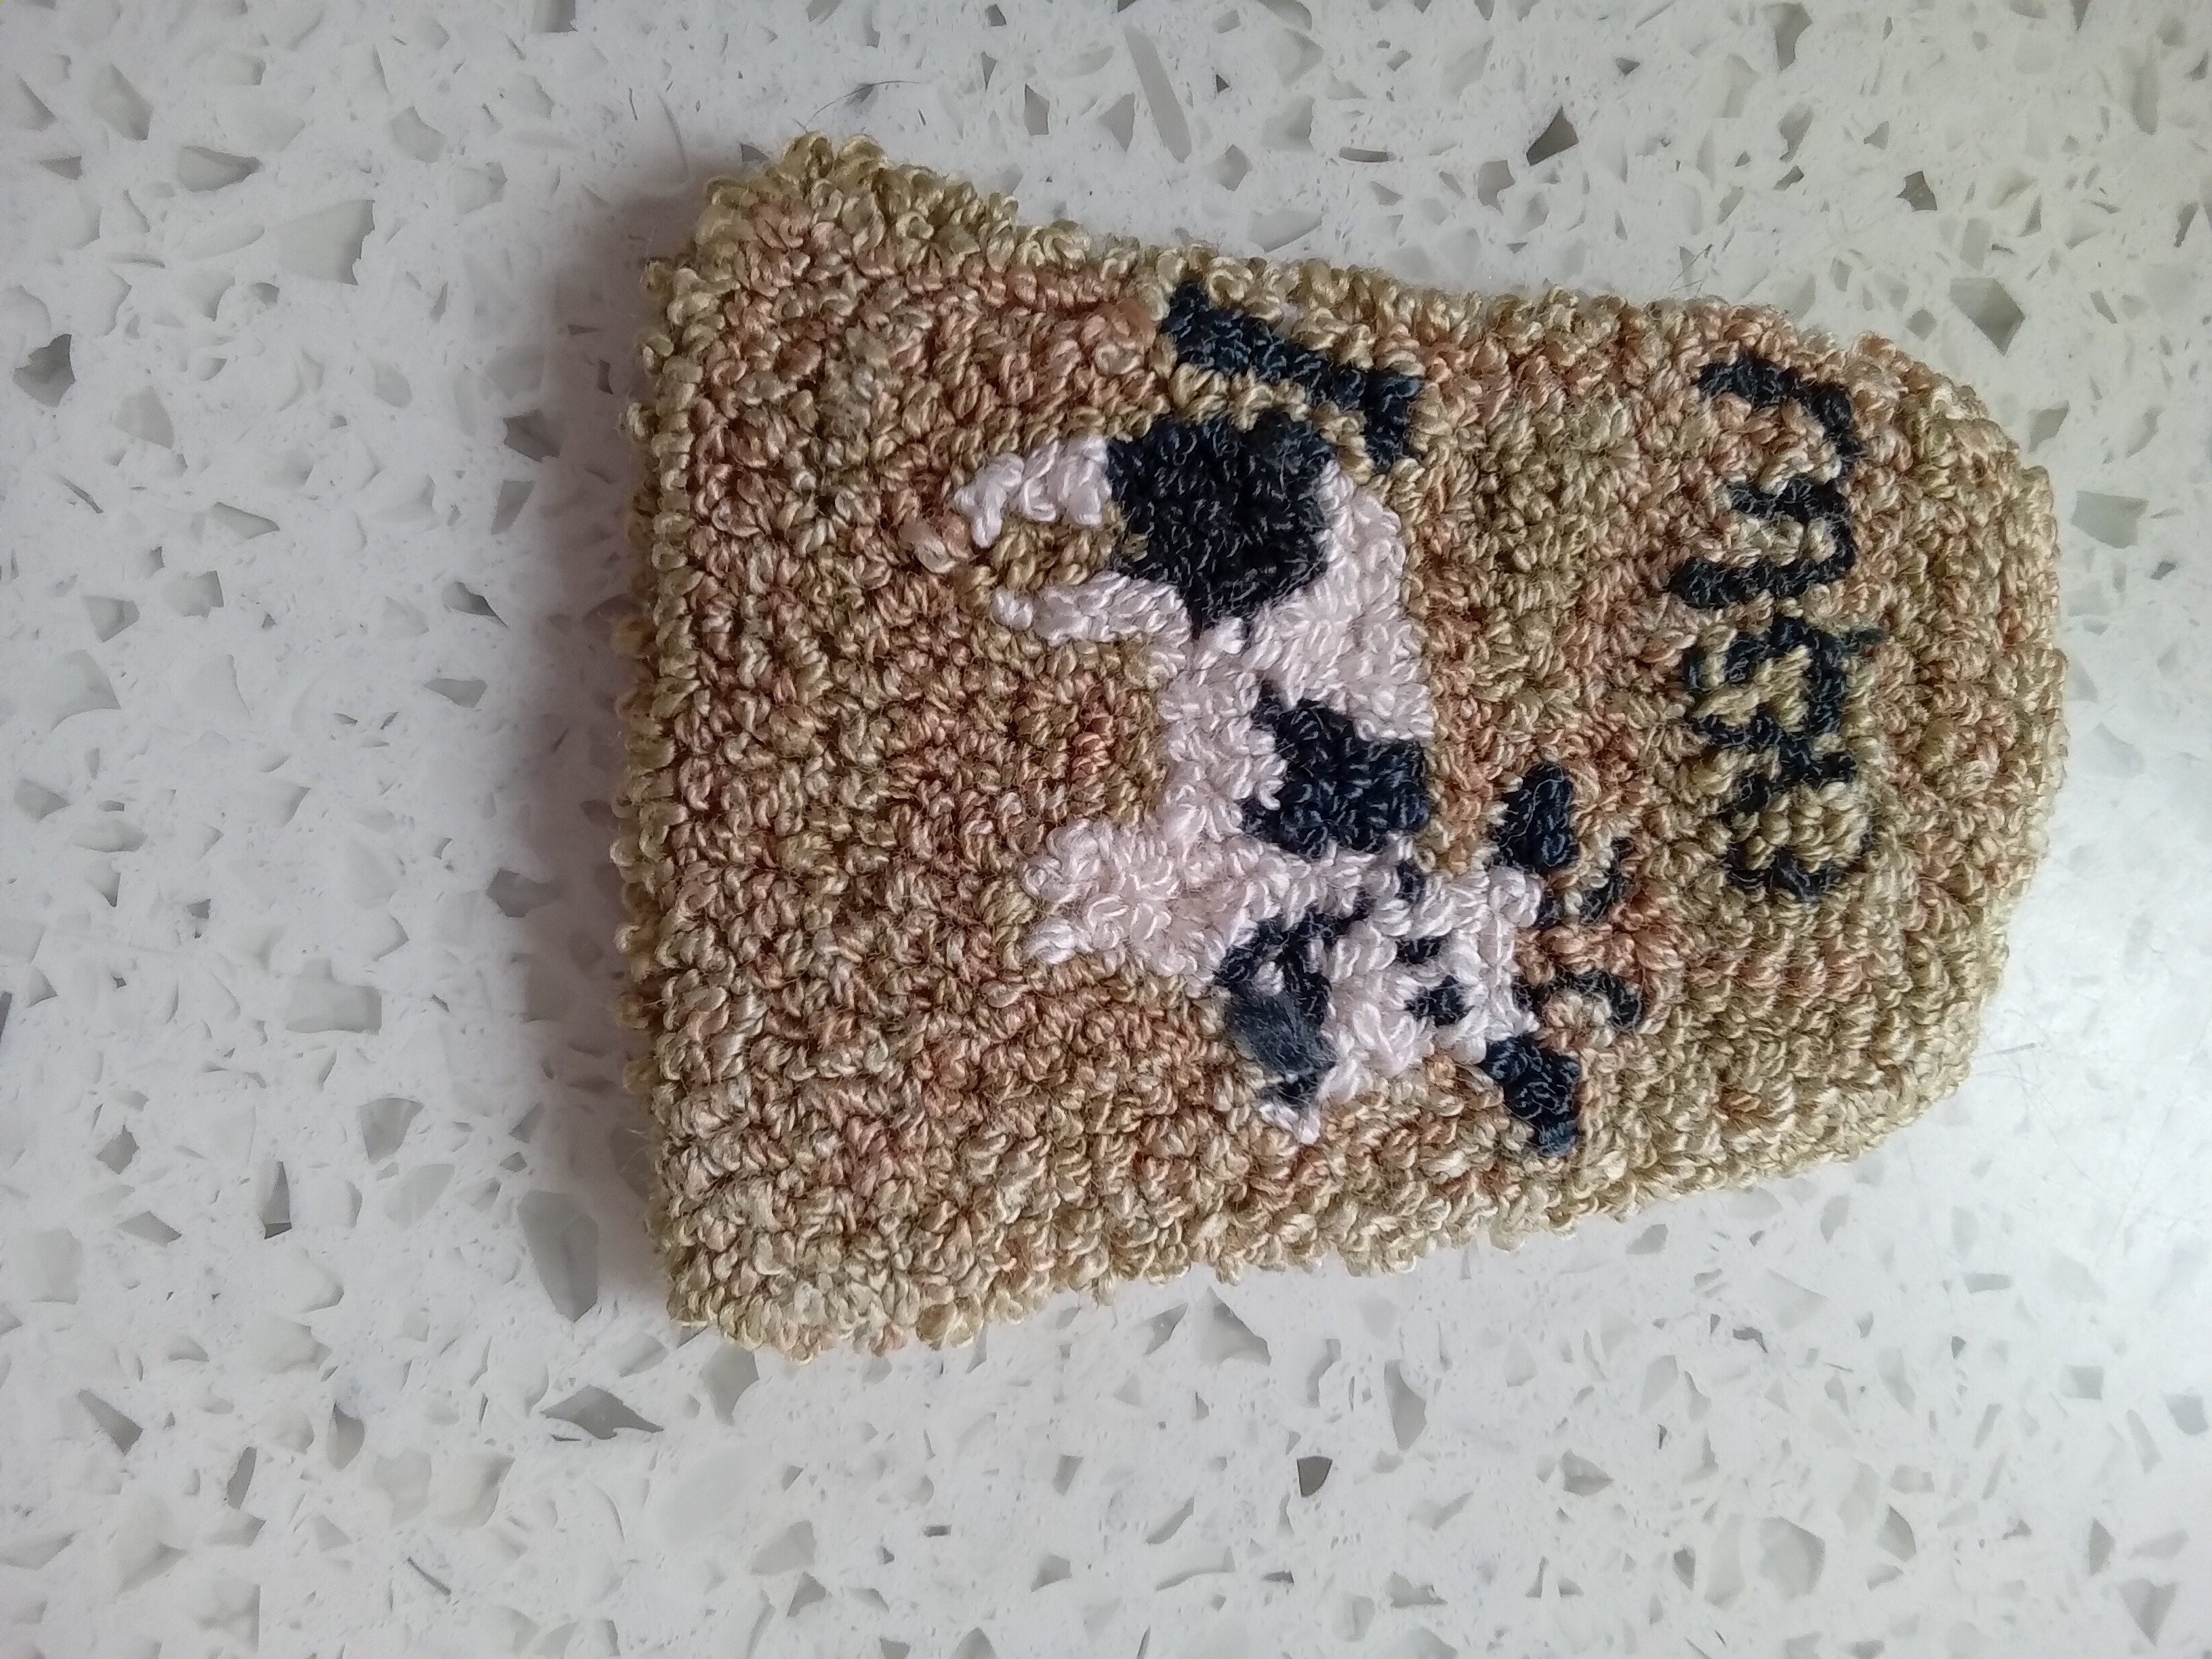
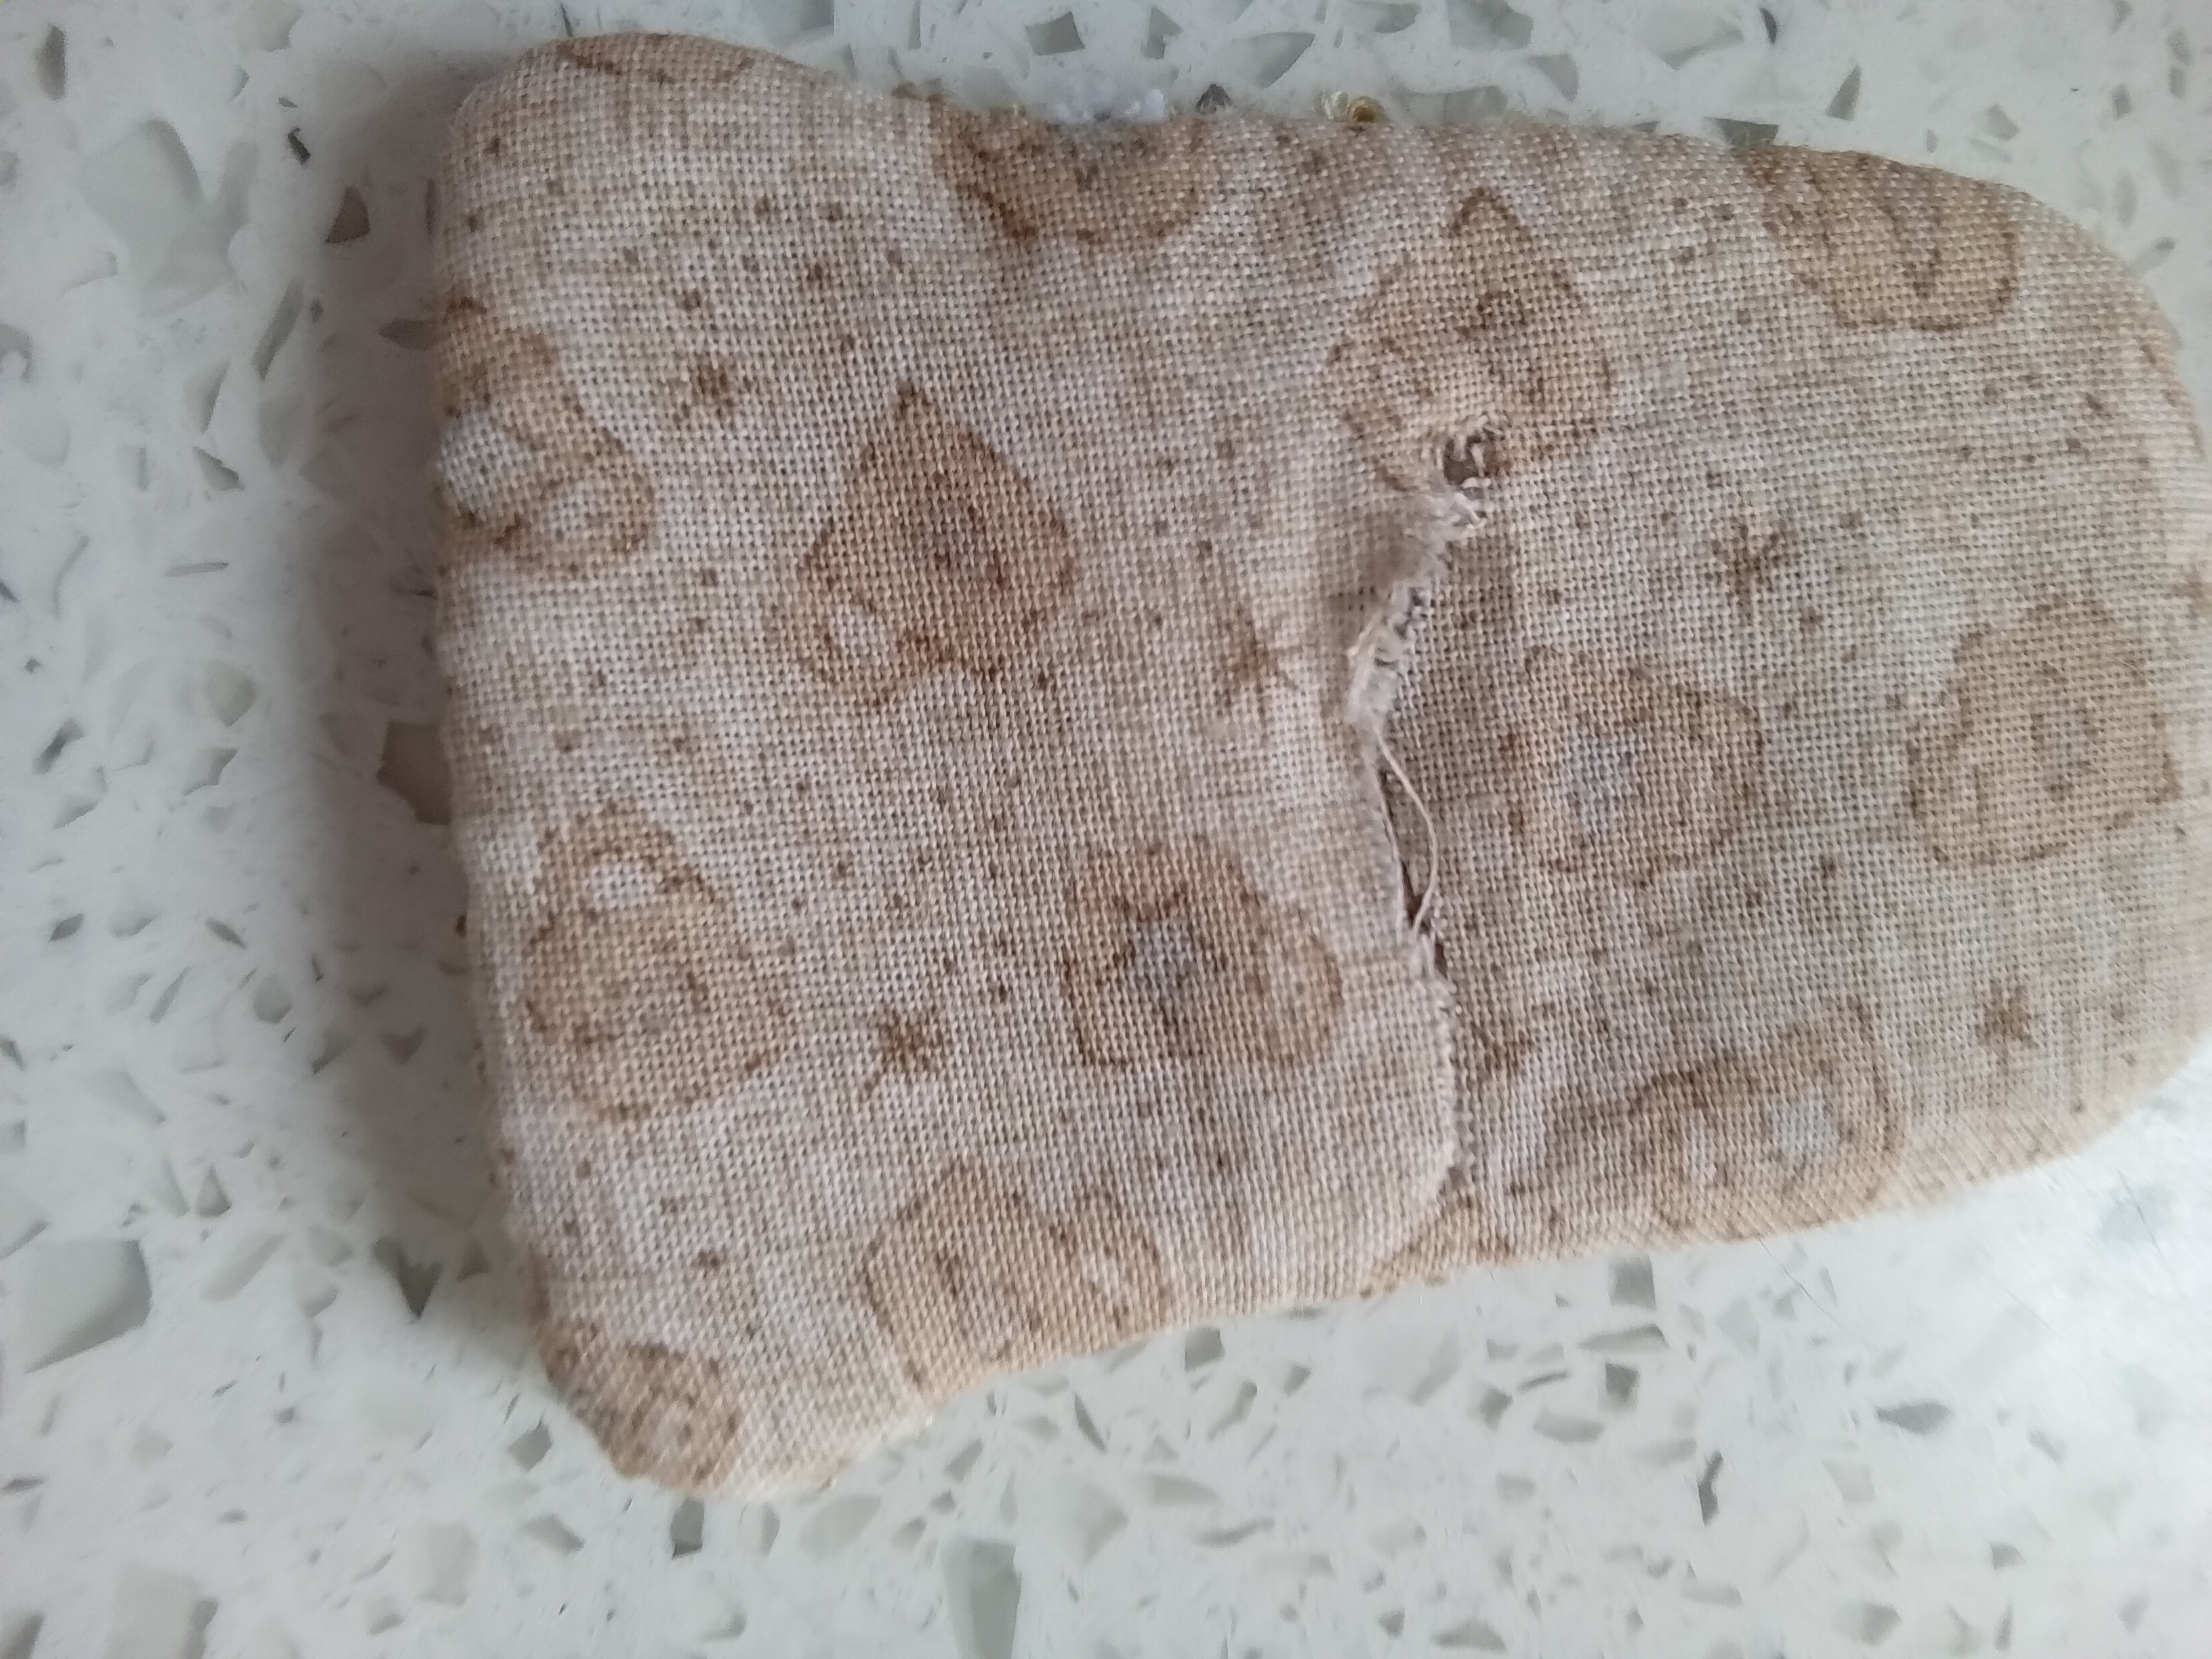
Greetings on this fine November Saturday morning. Today I have two pictures showing the difference you can make with the same piece. This little sheep was done with DMC floss in the background the the sheep itself was done in Valdani P4. Usually when I punch with the varigated Valdani threads I don’t do anything to the finished piece. Some people use strong coffee and will soak the piece in water, squeeze out the excess and then soak it in a bowl of cold dark coffee. After a few minutes remove it from the coffee and squeeze it out. If you leave it wadded up you will get random spots darker than others. So, that’s one way to achieve the aged look. I like to use walnut crystals. I purchased a little bag 8-9 years ago and mixed a few tablespoons into a pint mason jar of water and haven’t used it up yet. Of course, I don’t age everything I punch. I use a paint brush and brush the liquid walnut crystal water over the piece. You can use as little or as much as you want. If in the end you just don’t like it you can soak your piece in water and the stain comes out. I probably mentioned this before, but I steam press all my pieces before finishing them. (Always with a pressing cloth. Mine is a linen dish towel I got as a wedding present from my cousin 50 years ago. Pressing directly on weavers cloth will melt the polyester muck up your iron.) Steaming it seems to ‘pull’ it back into shape. It also helps the errant loops showing on the front side. Those loops can be snipped or you can use your punchneedle to push them back to the back side. Anyway, this is about staining, so let’s continue. Toggle the arrows to see each picture fully. You decide. Which do you like. If you like the prim look, here’s how to get it.
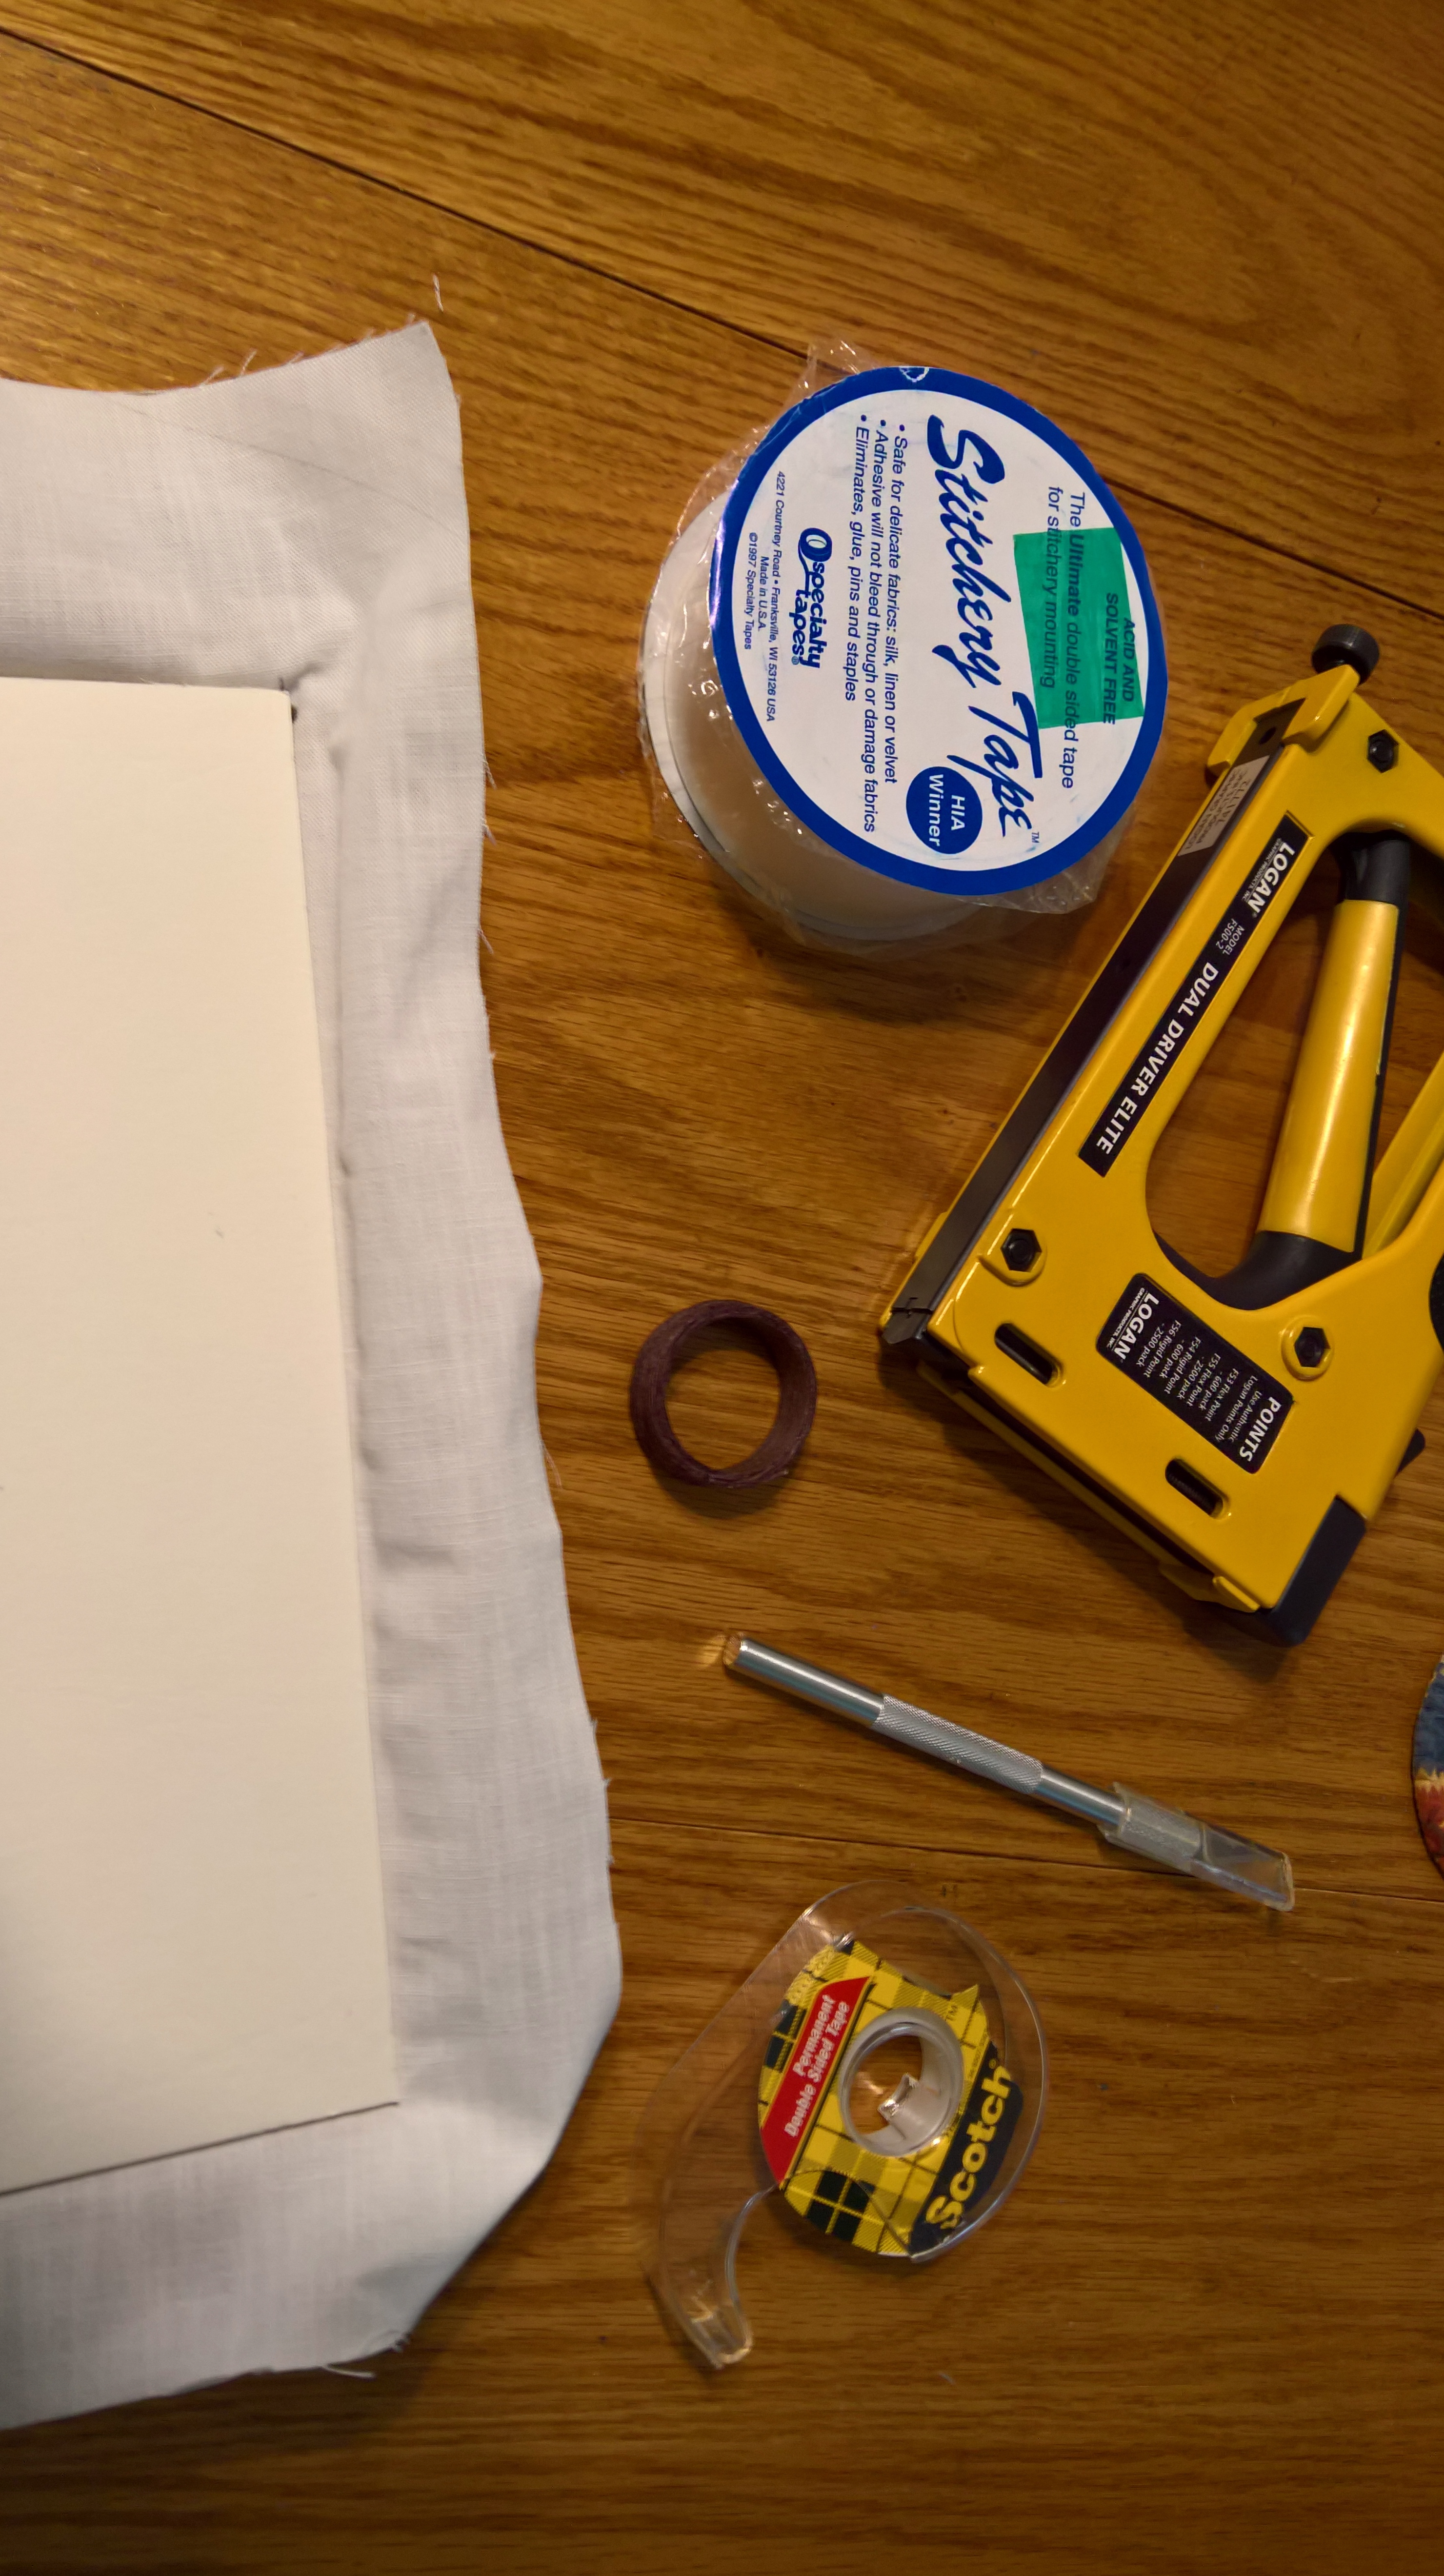
Good Tuesday morning to you. Today I’m explaining how I finish a piece with a frame. Awhile back I attempted to video my process, but that didn’t work too well. So I’m just going to write it out. Supplies you need include 1/4 inch foamboard, quilt batt, brown shipping paper, screw eyes, double sided scotch tape and double sided acid free tape, a point pusher and waxed jewelry string. I purchased the Stitchery Tape probably 8 years ago and haven’t used it up yet. You measure the foamboard to fit snug on the inside of the frame. I glue a piece of quilt batt to the foam board which puffs the punch needle slightly out from the frame. Place the finished piece on top of the batt and test it inside the frame. Often you will need to go back and punch a little more on the outside edges. You don’t want the white weavers cloth showing.
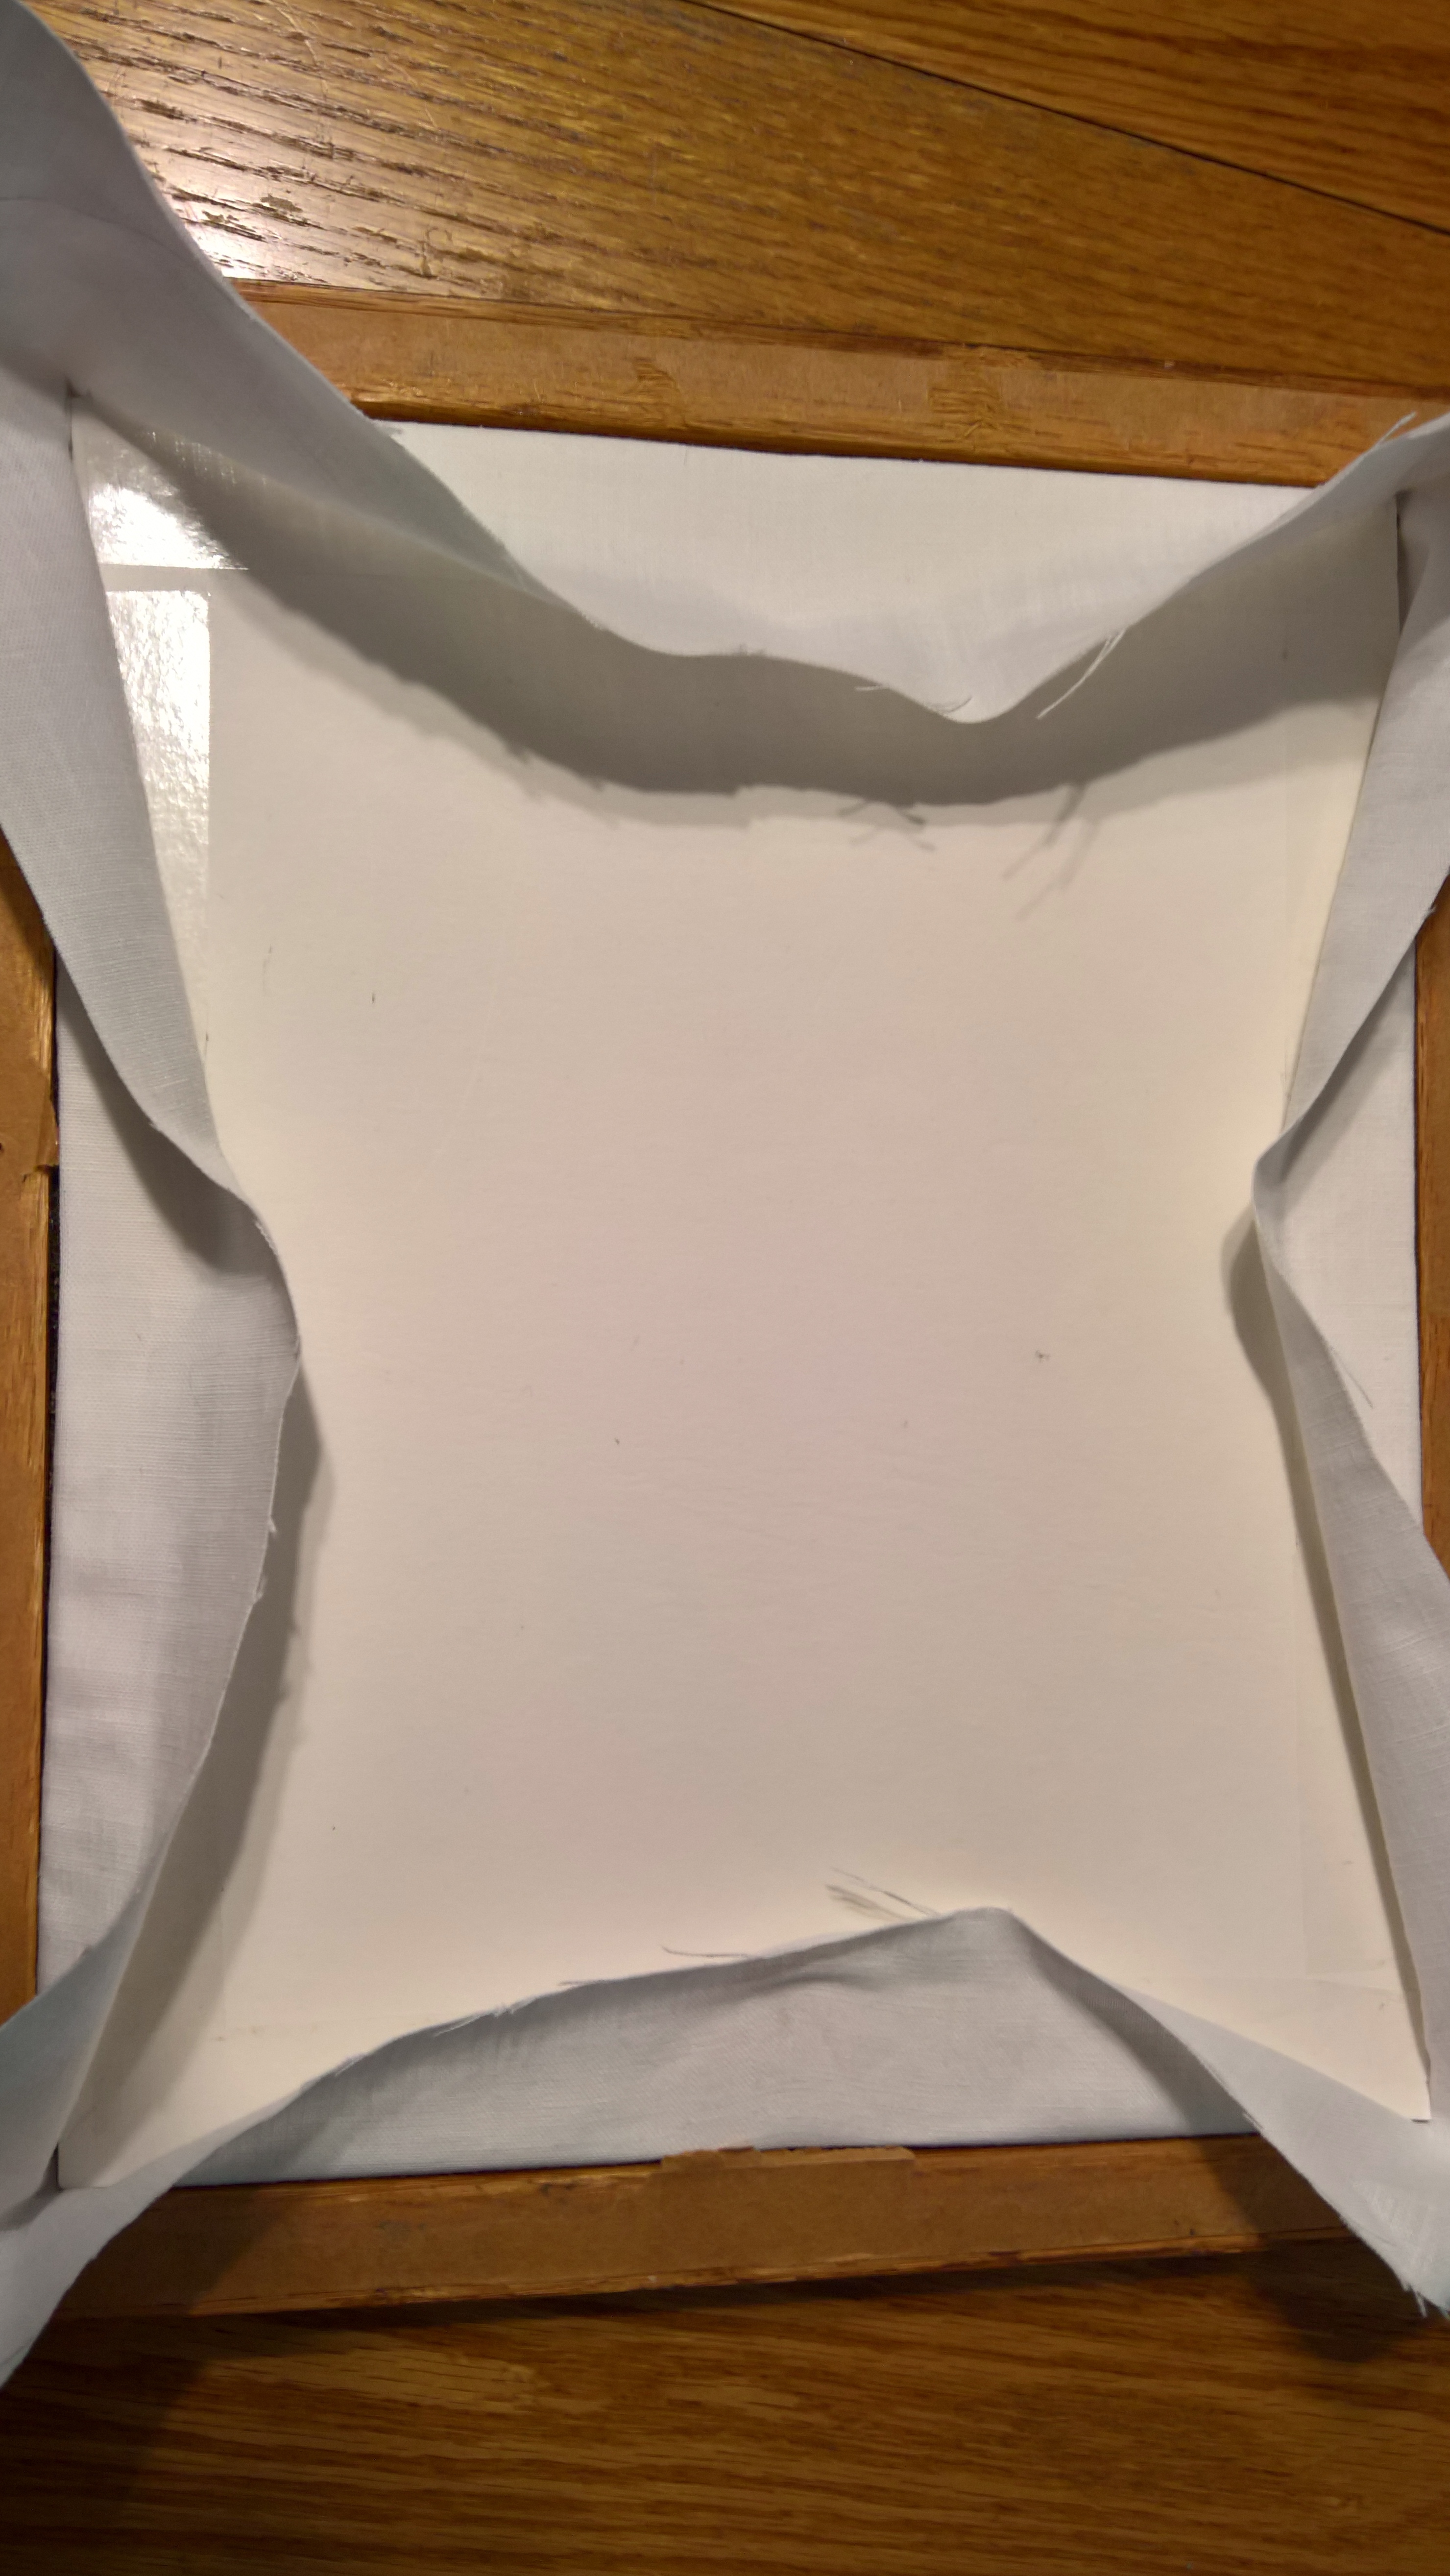
Once you are satisfied with how the piece fits in the frame, run a strip of the stitchery tape on each side of the foam board. When you take off the top protective layer you can press a little of the weavers cloth onto the tape and check the placement in the front. If you need to adjust the placement you can pull the weavers cloth back from the tape to move it around without losing the stickiness.
Once the punched area is positioned in the frame, press down all the excess weavers cloth onto the tape. You can fold the corners in and use the point pusher to hold it all in place.
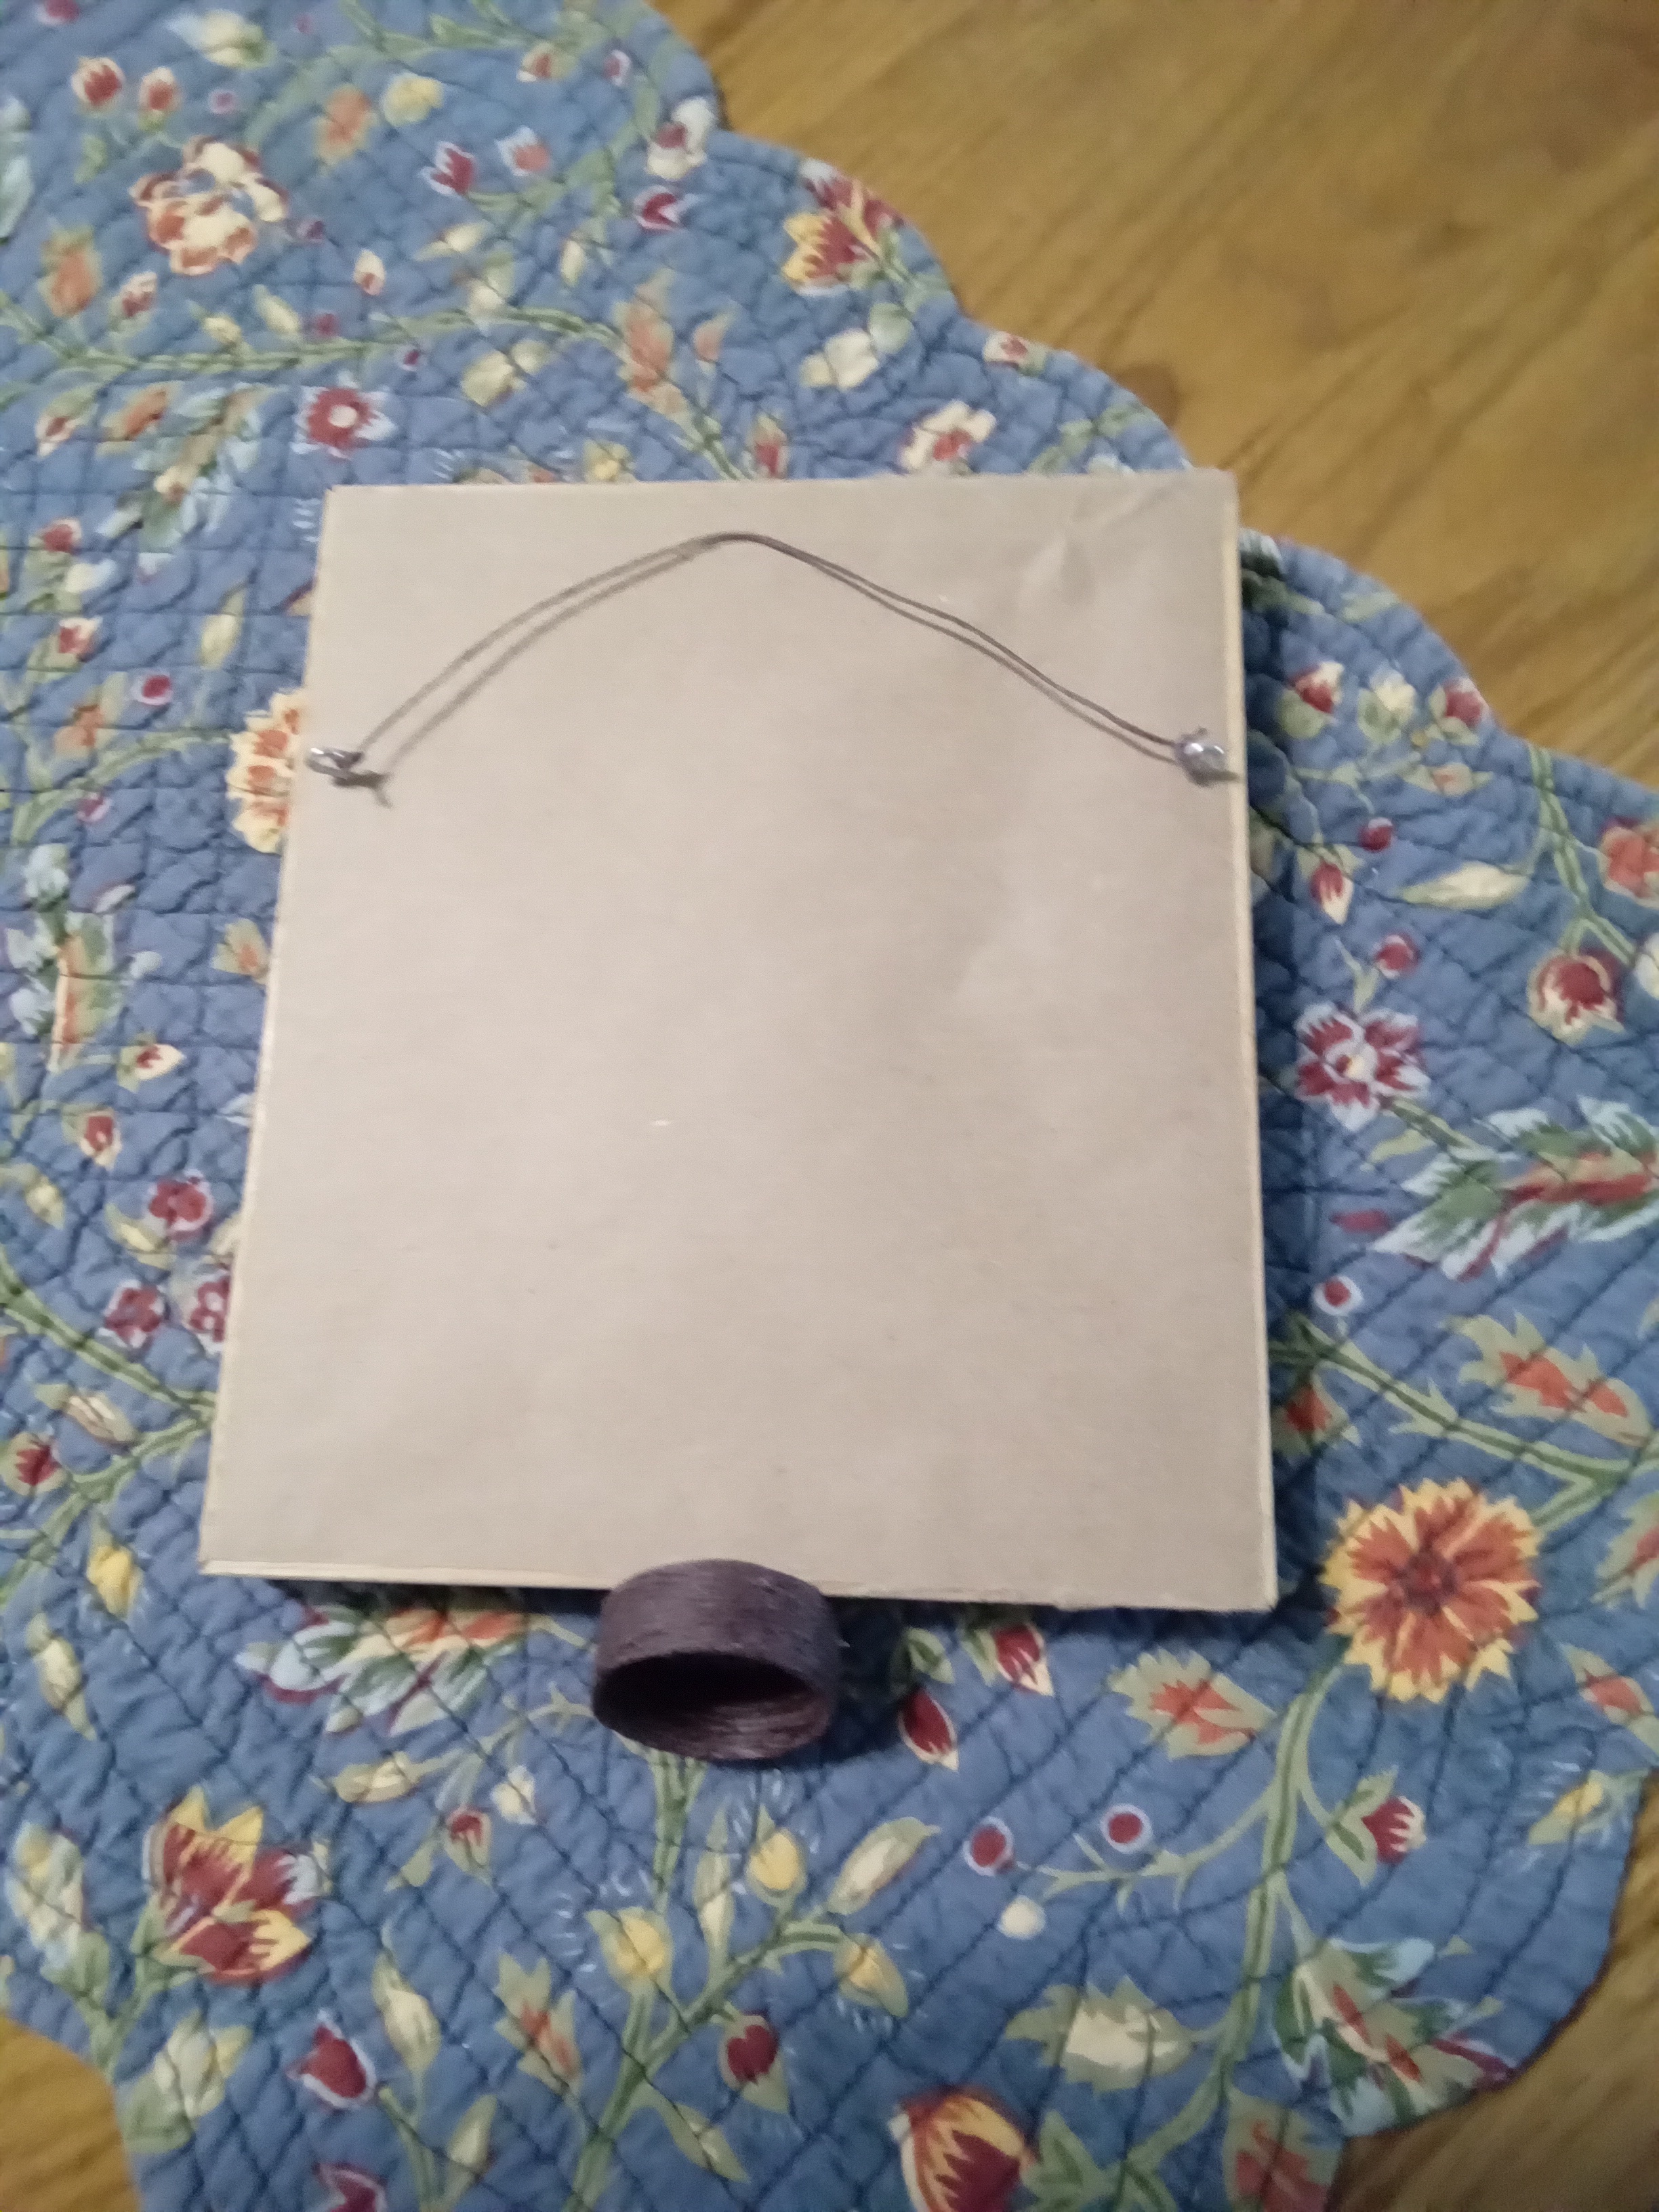
I use double sided scotch tape applied to the frame and cut a piece of brown wrapping paper to cover the entire back. I use an exacto blade to cut the paper even with the sides. Measure 1/3 of the distance down the sides and drill tiny holes to screw in the screw eyes. Finally, I use the waxed jewelry string to make a hanger. Reading over all I’ve written it seems like a lot of directions, but I like to be thorough. The next picture shows the finished back and the jewelry string. (Worst case scenerio, if you still see a bit of the white weavers cloth on the front you can carefully use a colored marker and stain the cloth.)
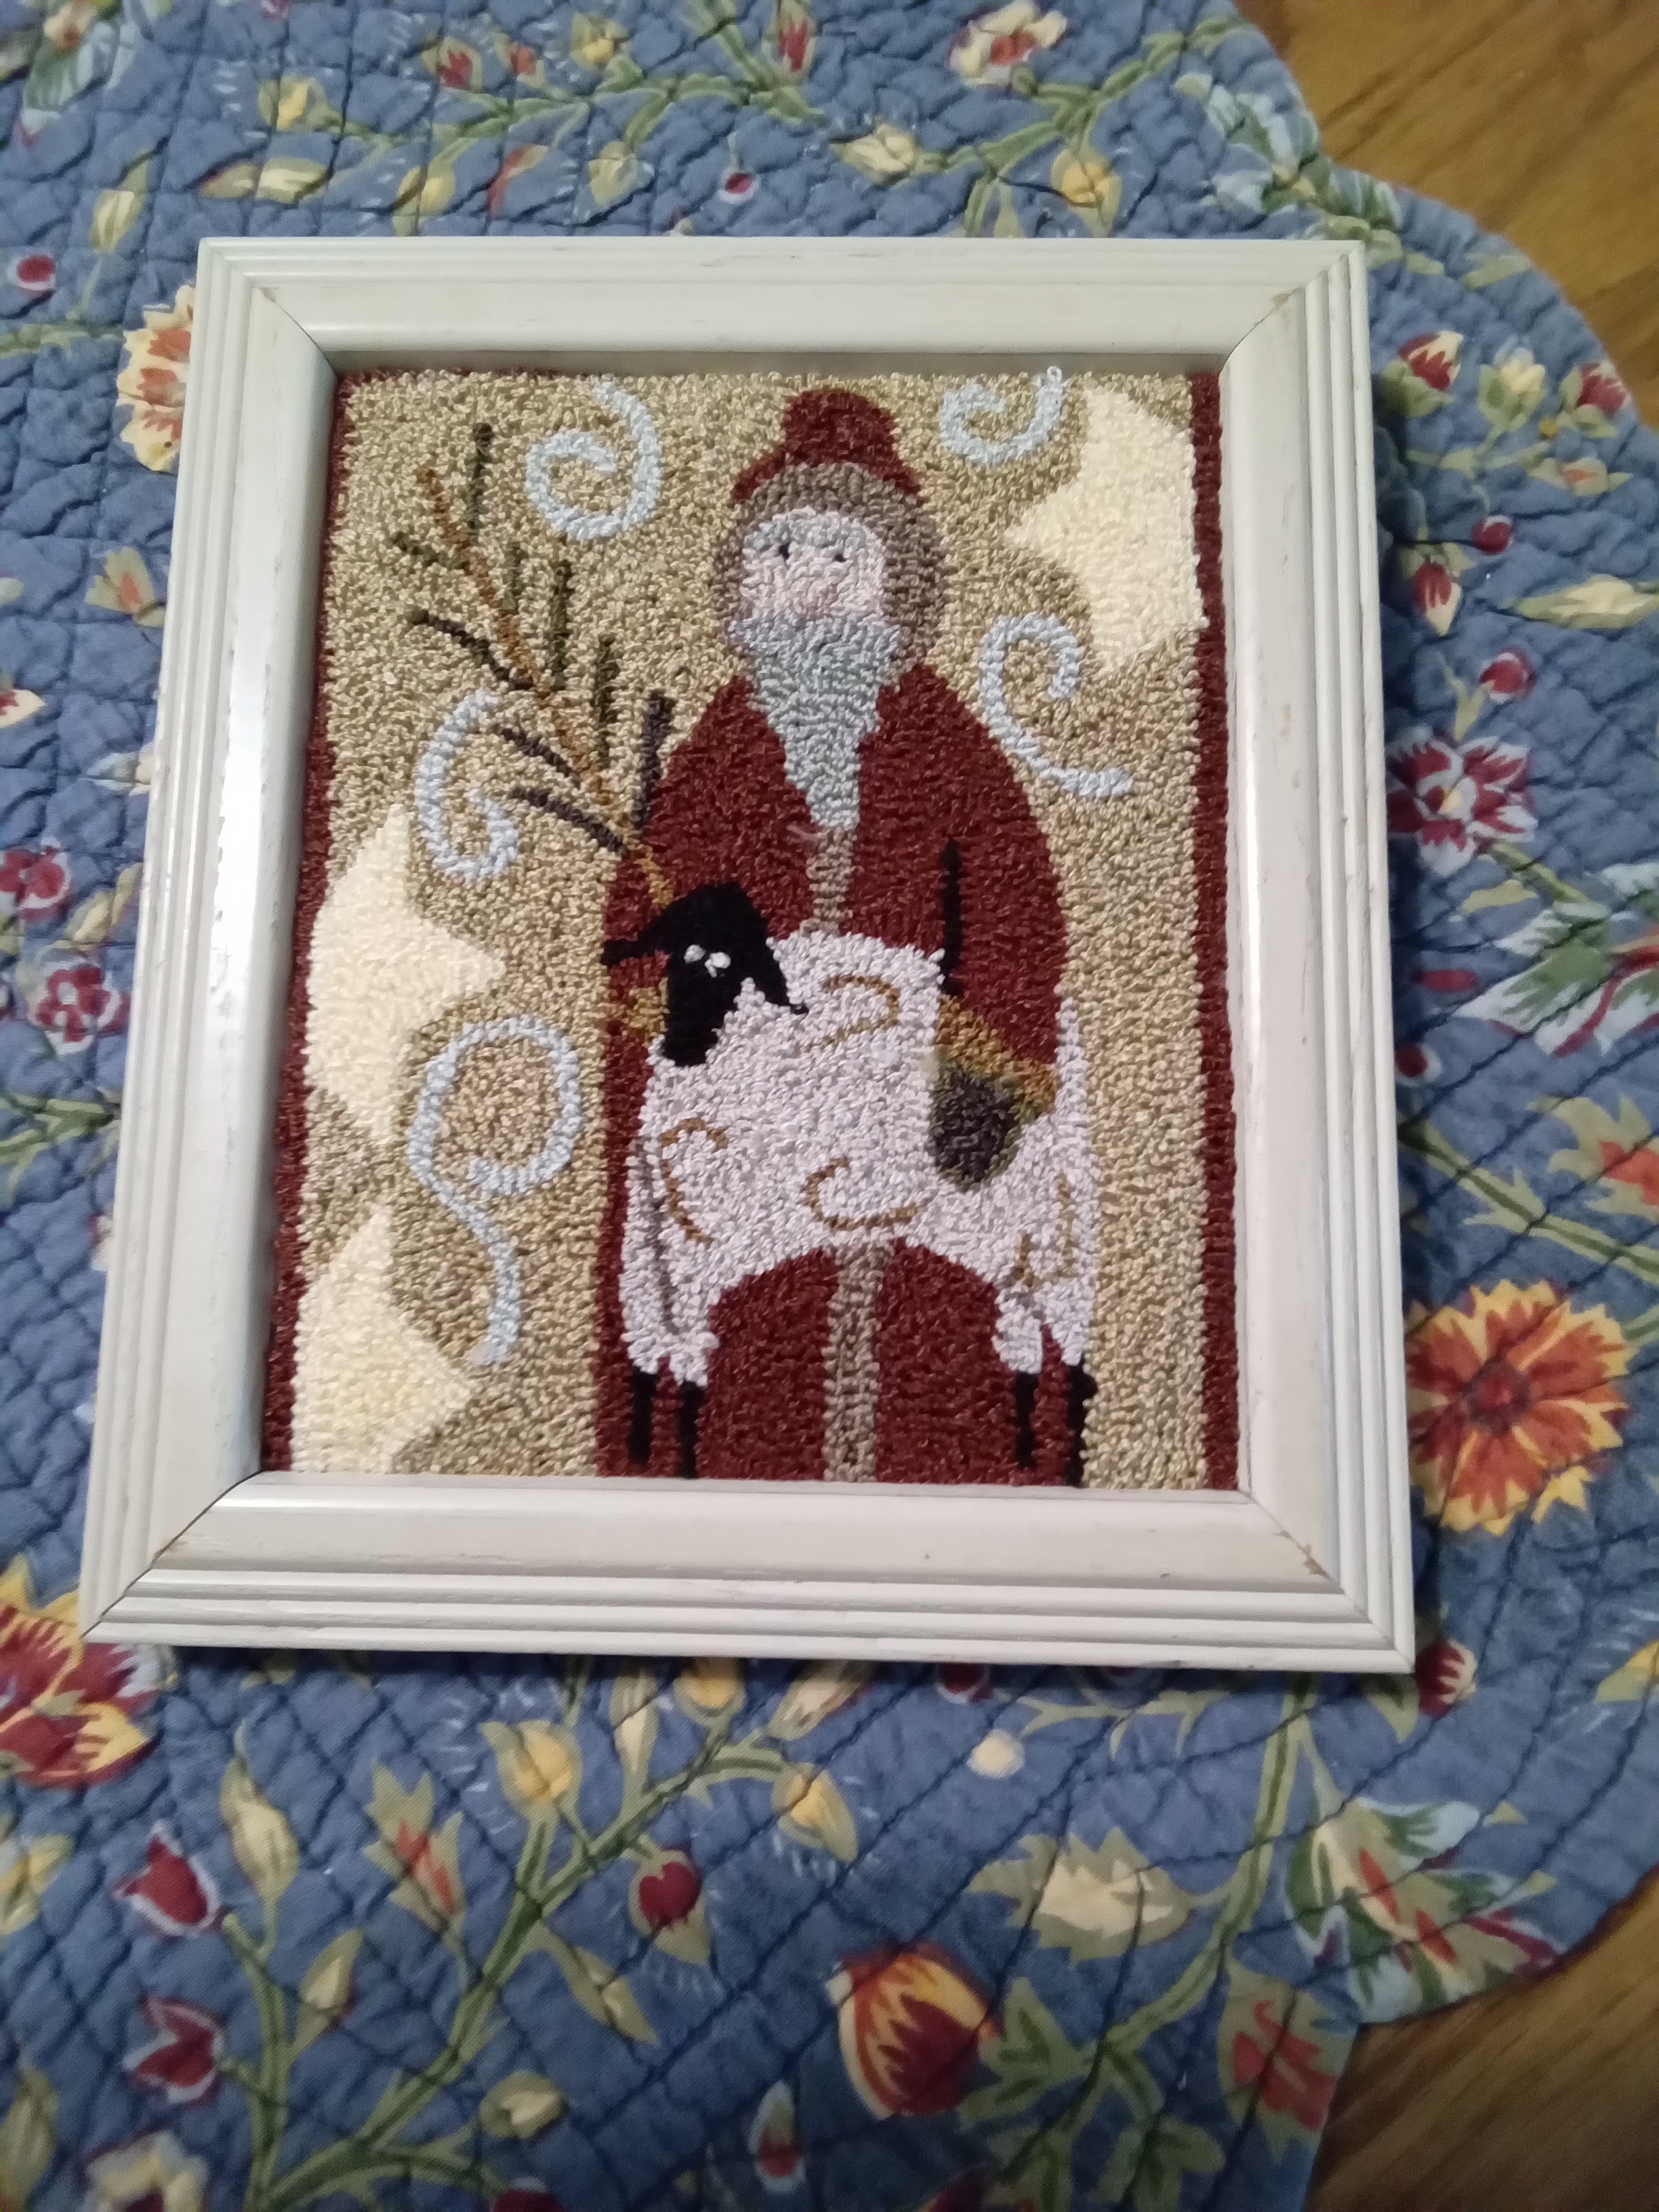
This Father Christmas holding a lamb is from a Christmas issue of Punch Needle Primitive Stitcher. I hope you found it informative.
Wow, it has been so busy here lately. Veterans Day came and went without mention. So, a belated Happy Veterans Day to all. We began the day with donuts and coffee at the VFW home post here in town. Then attended the ceremonies at the eleventh hour, eleventh day, eleventh month, which if you did not know is when the armistice ending World War I went into effect. Then back to the post for a nice luncheon.
Two weeks from yesterday I’ll be at the Elf Shelf at the Troy High School. So I have been punching like crazy here getting ready. Bottom line, I already tanked on my challenge to myself to create a post every day for however many weeks. AT least I made many days. Oh well, I’m back.
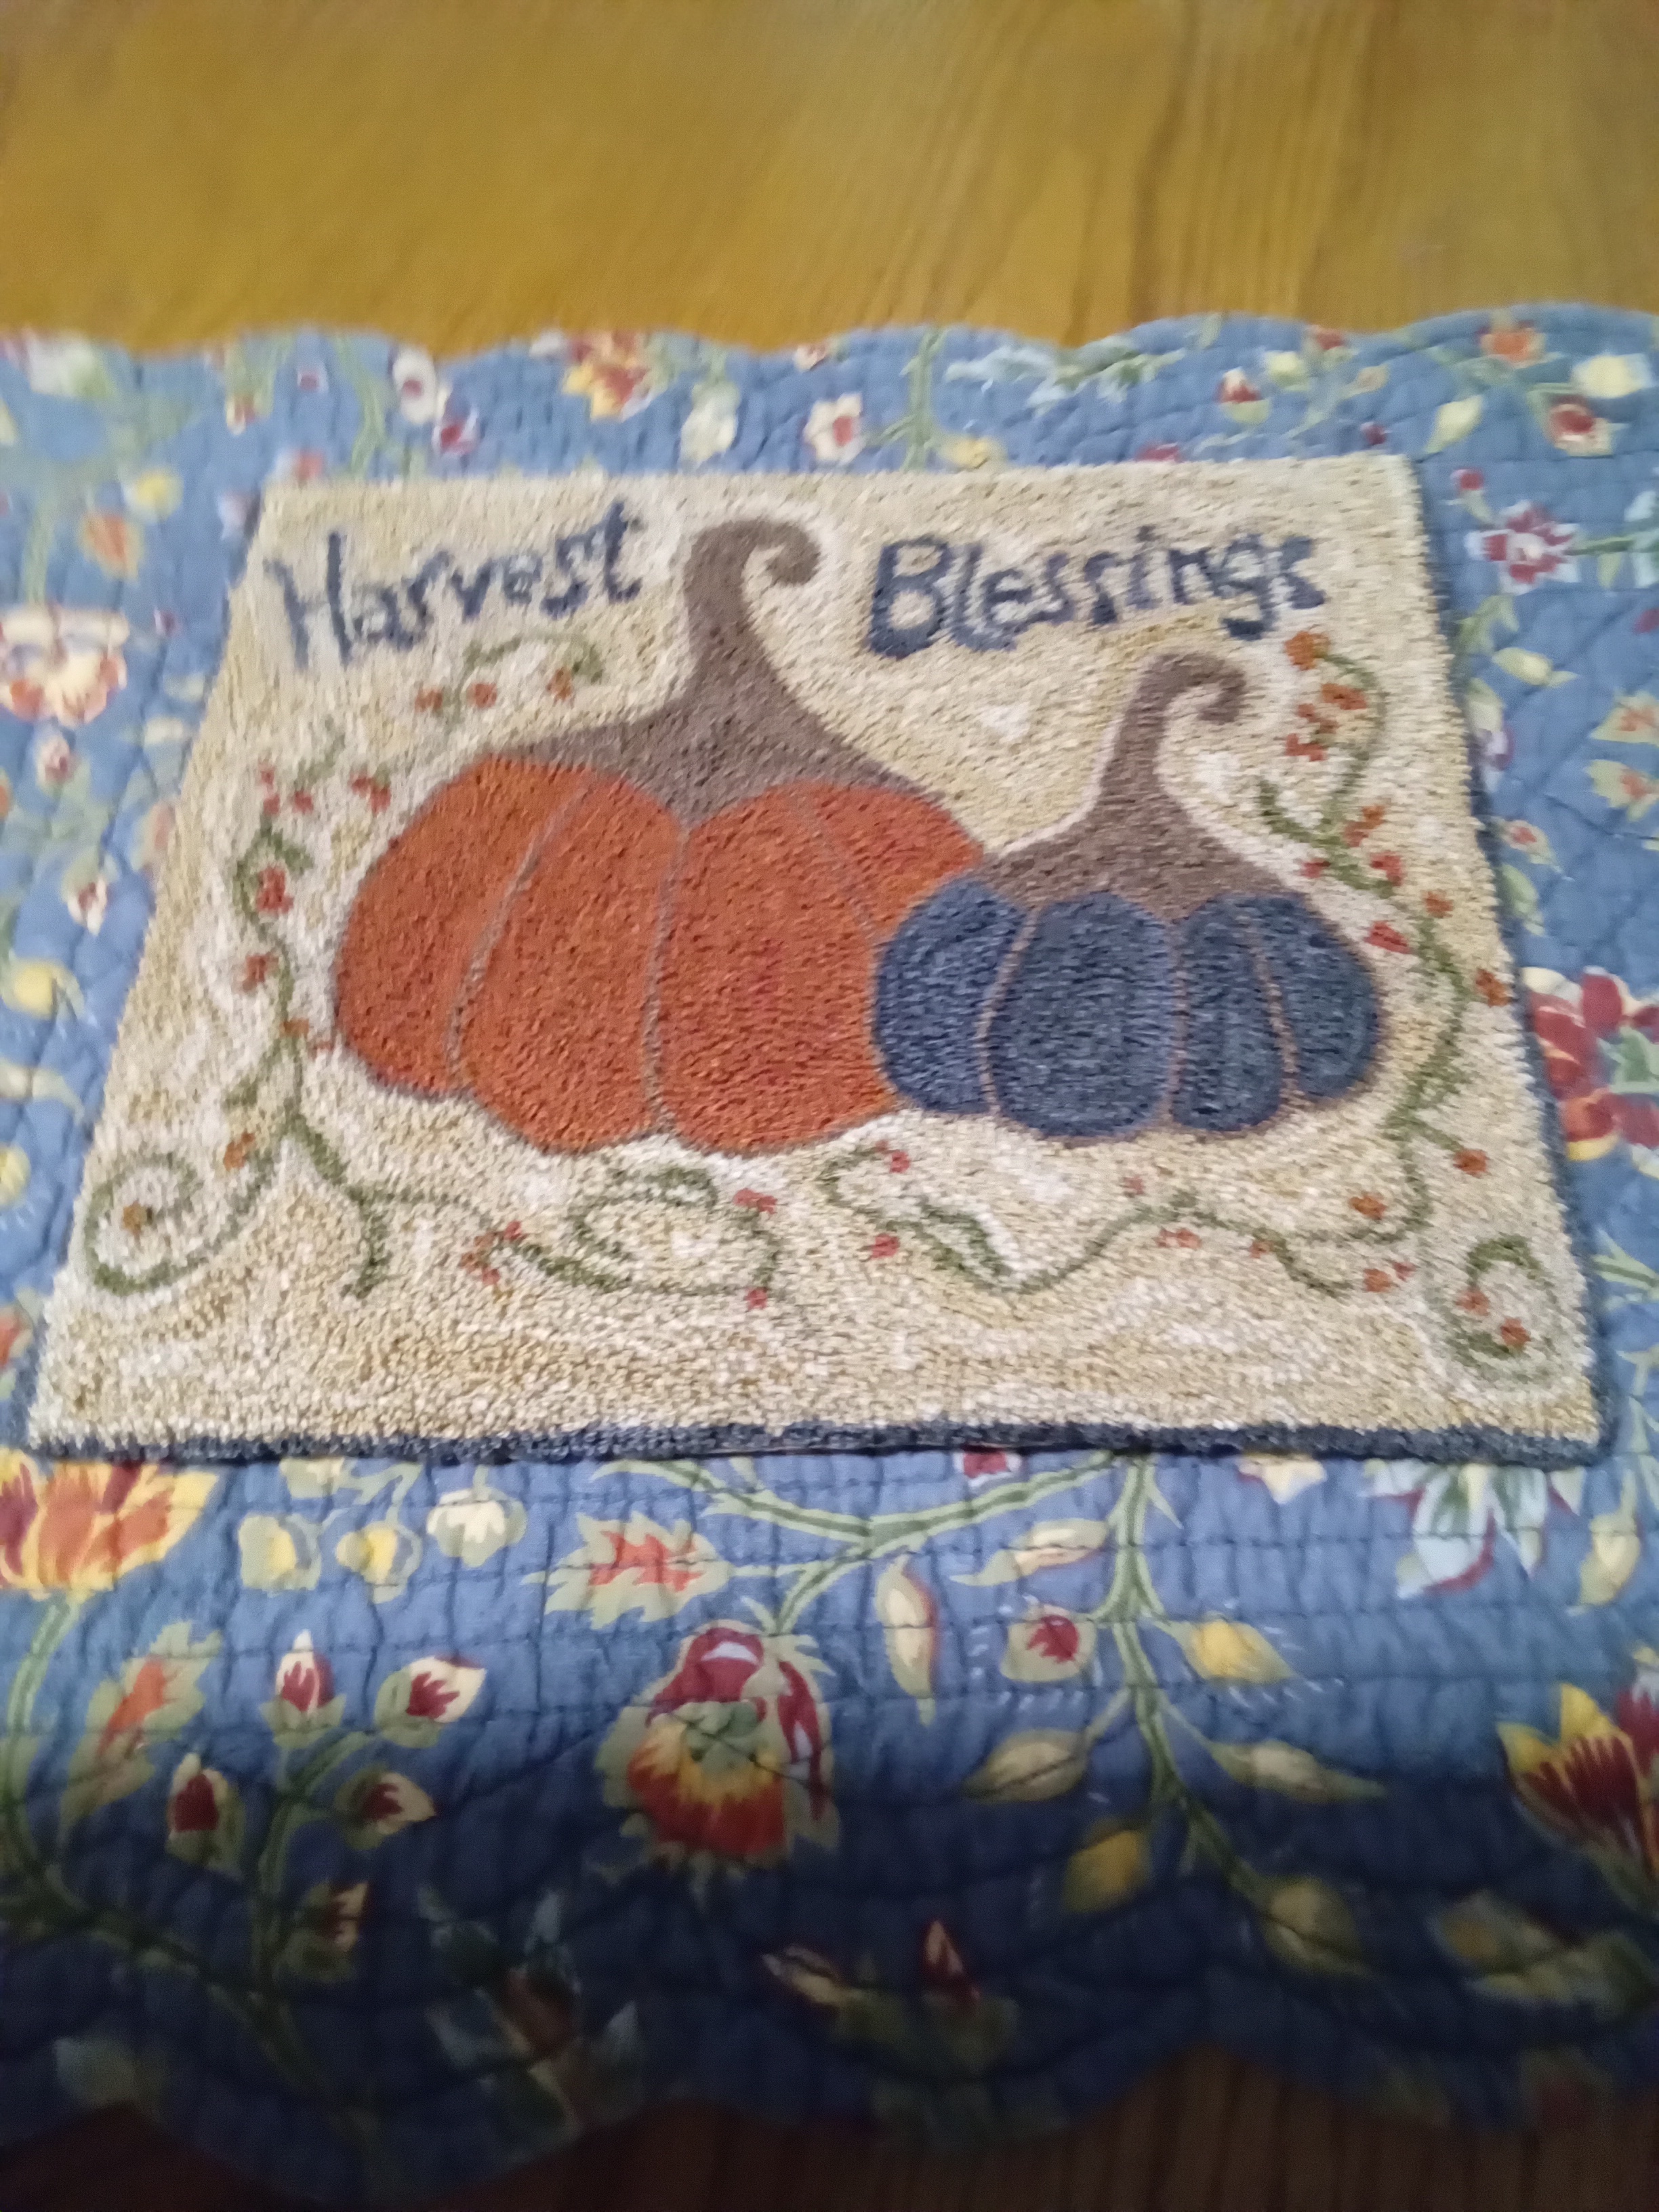
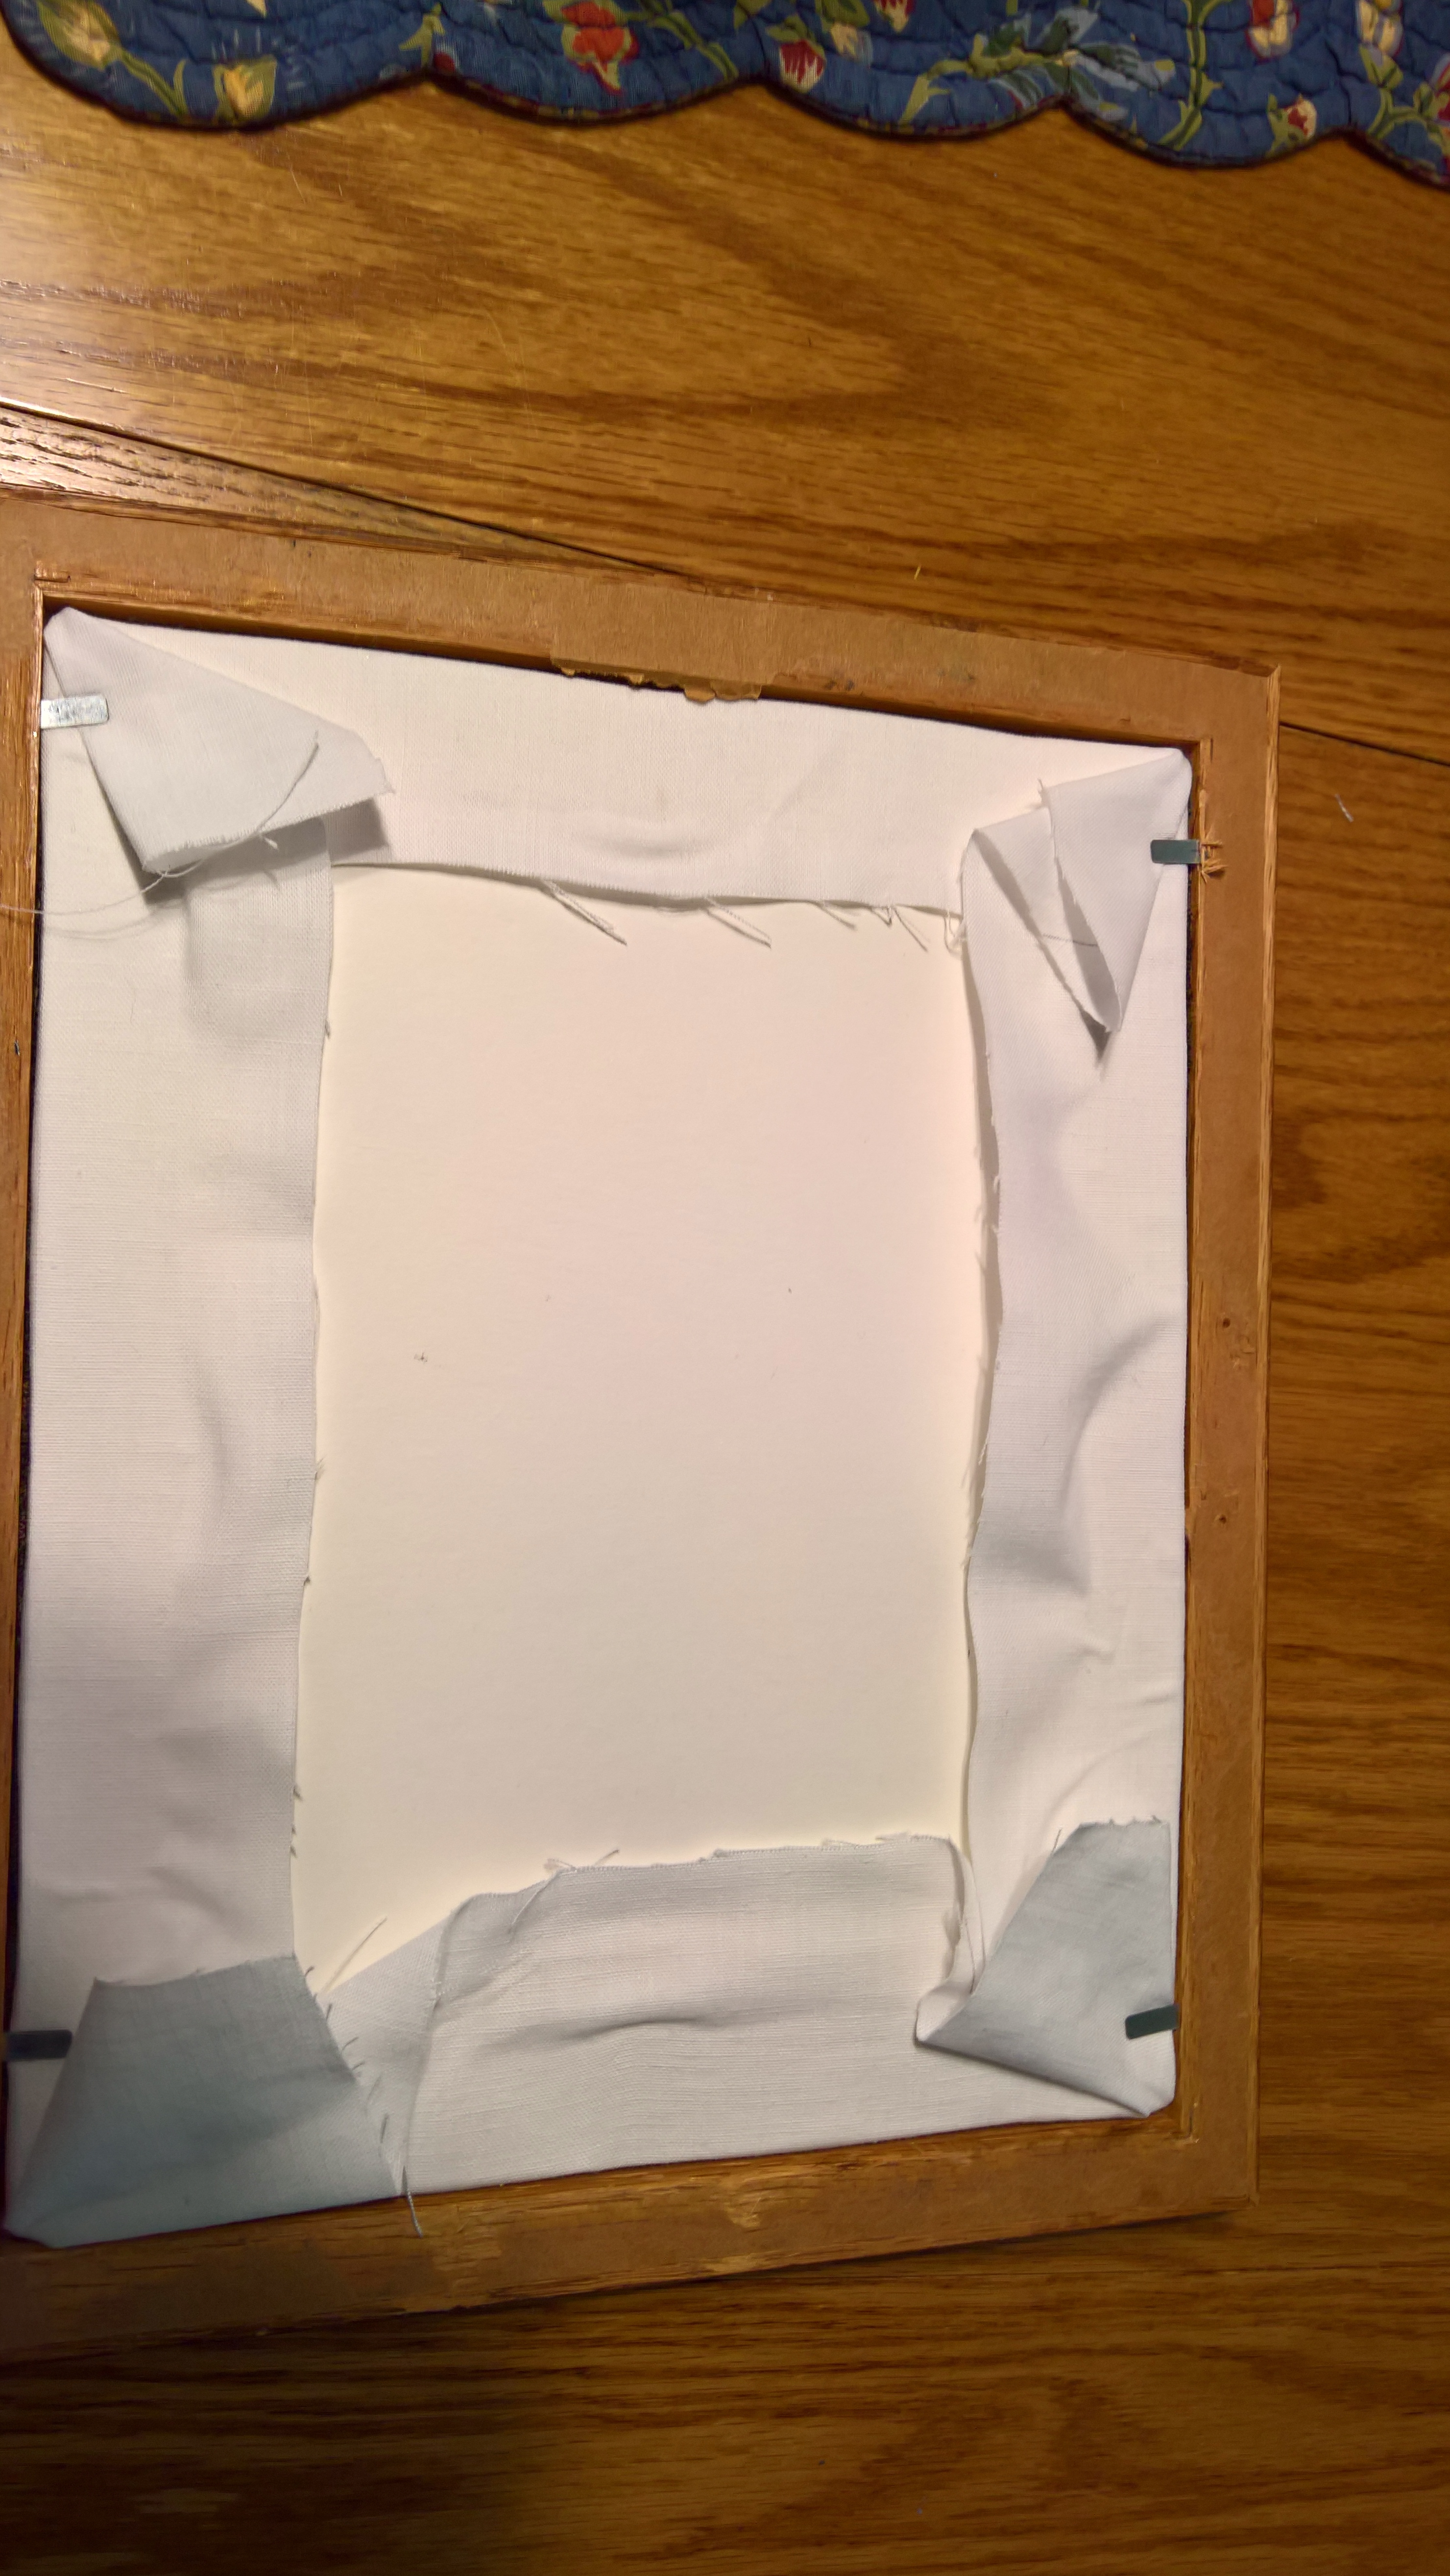
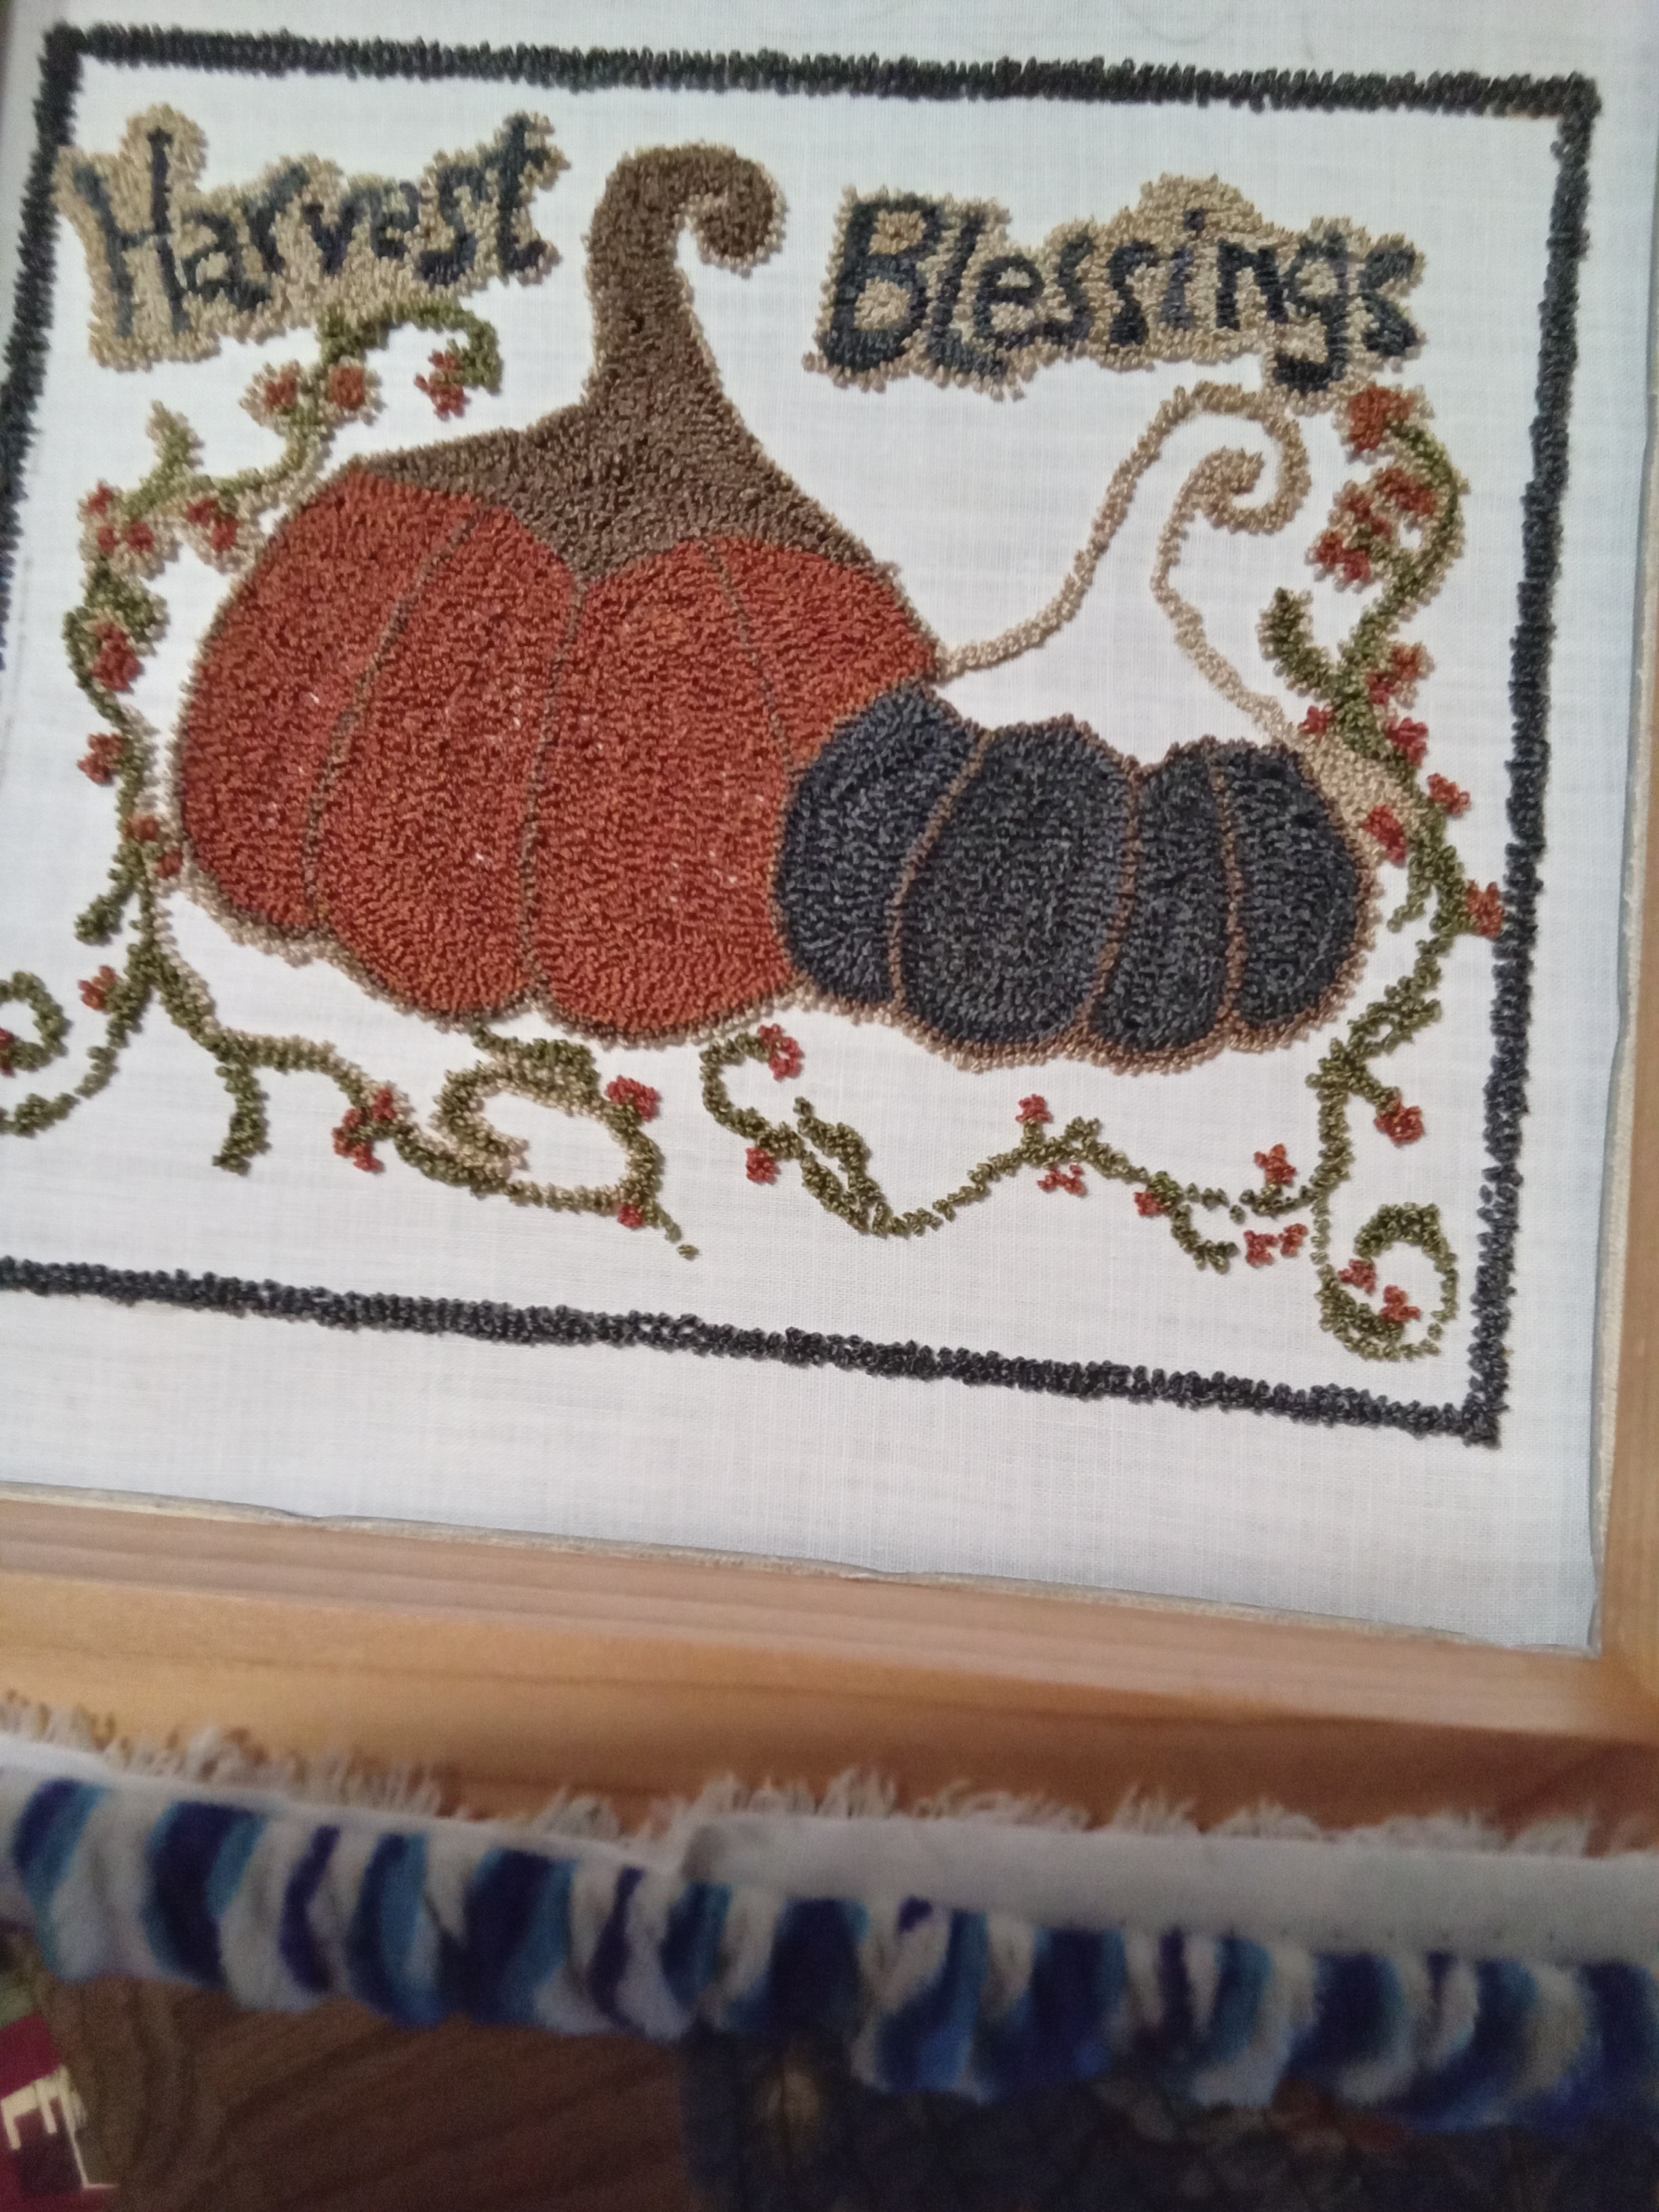
I have three pieces on frames. I’ll share Harvest Blessings from Julie Zakrzewski at My Primitive Heart. I’m down to punching the stem on the black pumpkin and filling in the background. As has been the case lately I’m going to run out of the background color before I run out of background. Grrr!! I used my wooden frame with carpet tacking to hold the cloth in place. The blue and white covering is made from steering wheel covers and helps keep you from poking yourself with the tacking.
Enjoy your Sunday, Friends. We had snow in the air last night, but it melted.
So, I was wide awake at 5:30 this morning. What to do. I guess the only thing is to get up and see the lunar eclipse. I wasn’t really inclined to step outside in my pj’s but I did go to an upstairs west window. The moon was there, but by 6am it had moved just enough to hide behind some tree branches. By the way, I see the moon is a song we sang to our kids when they were little. Now my son sings it to his daughters. How sweet is that?
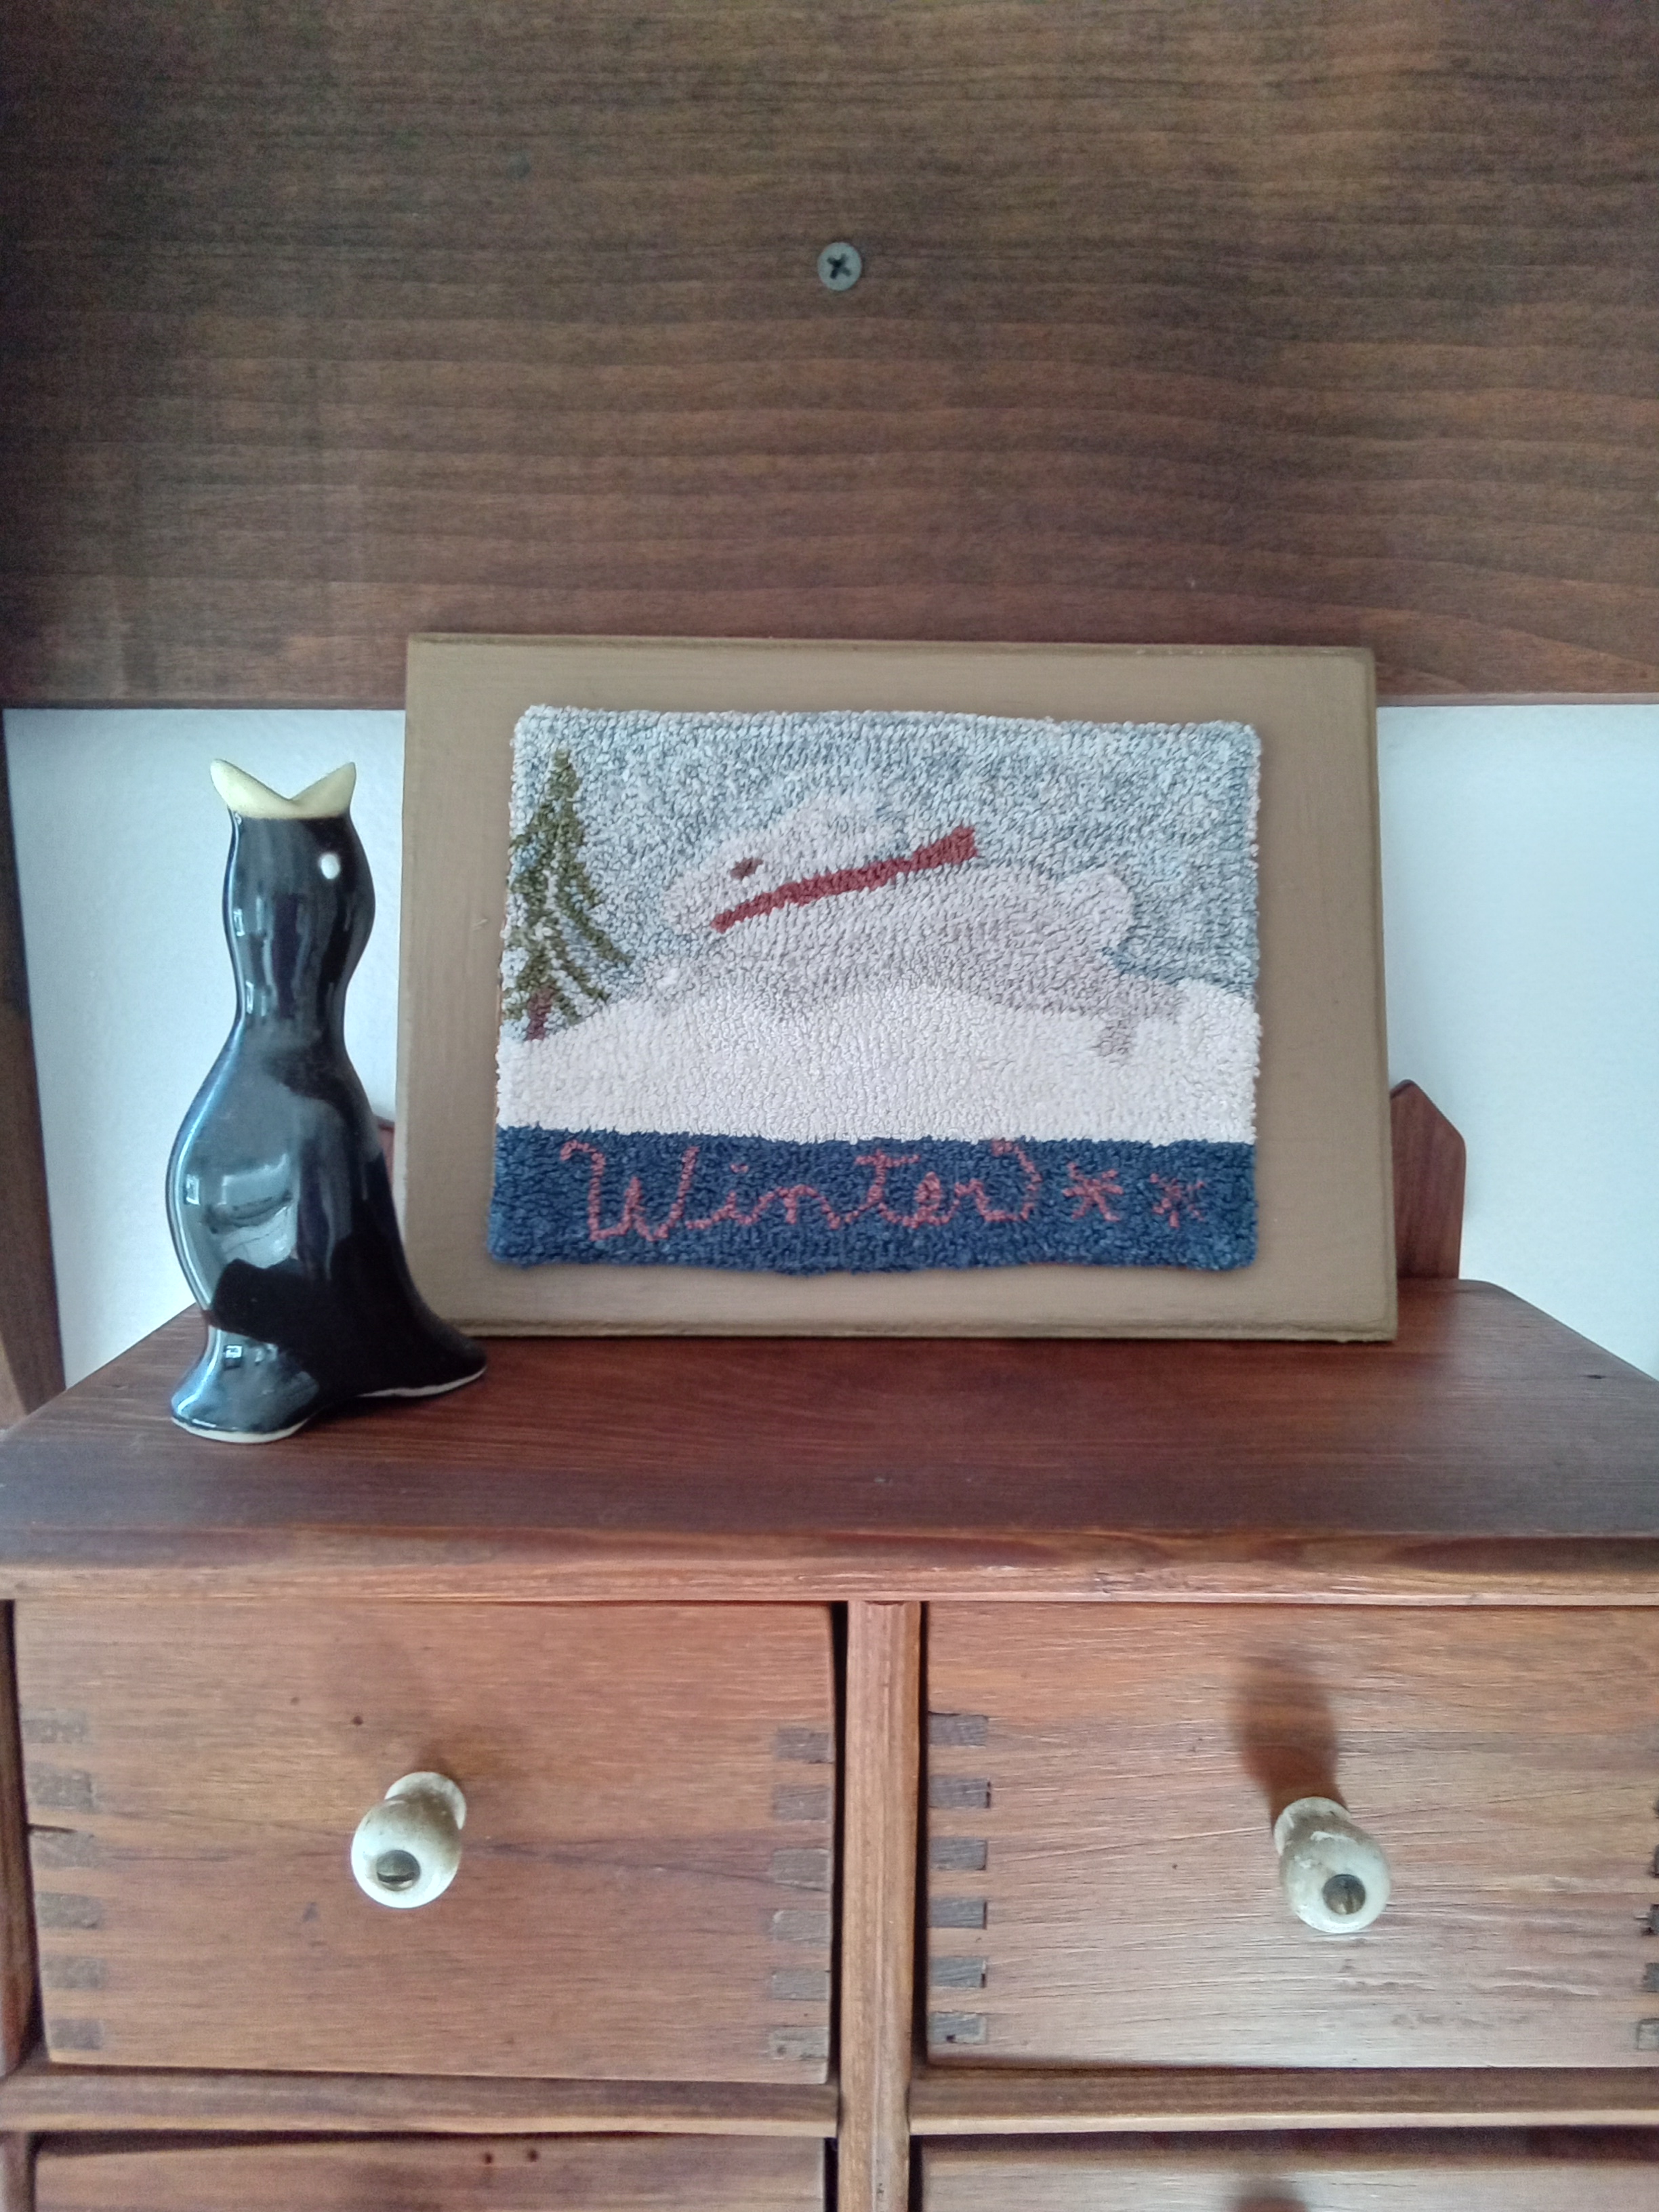
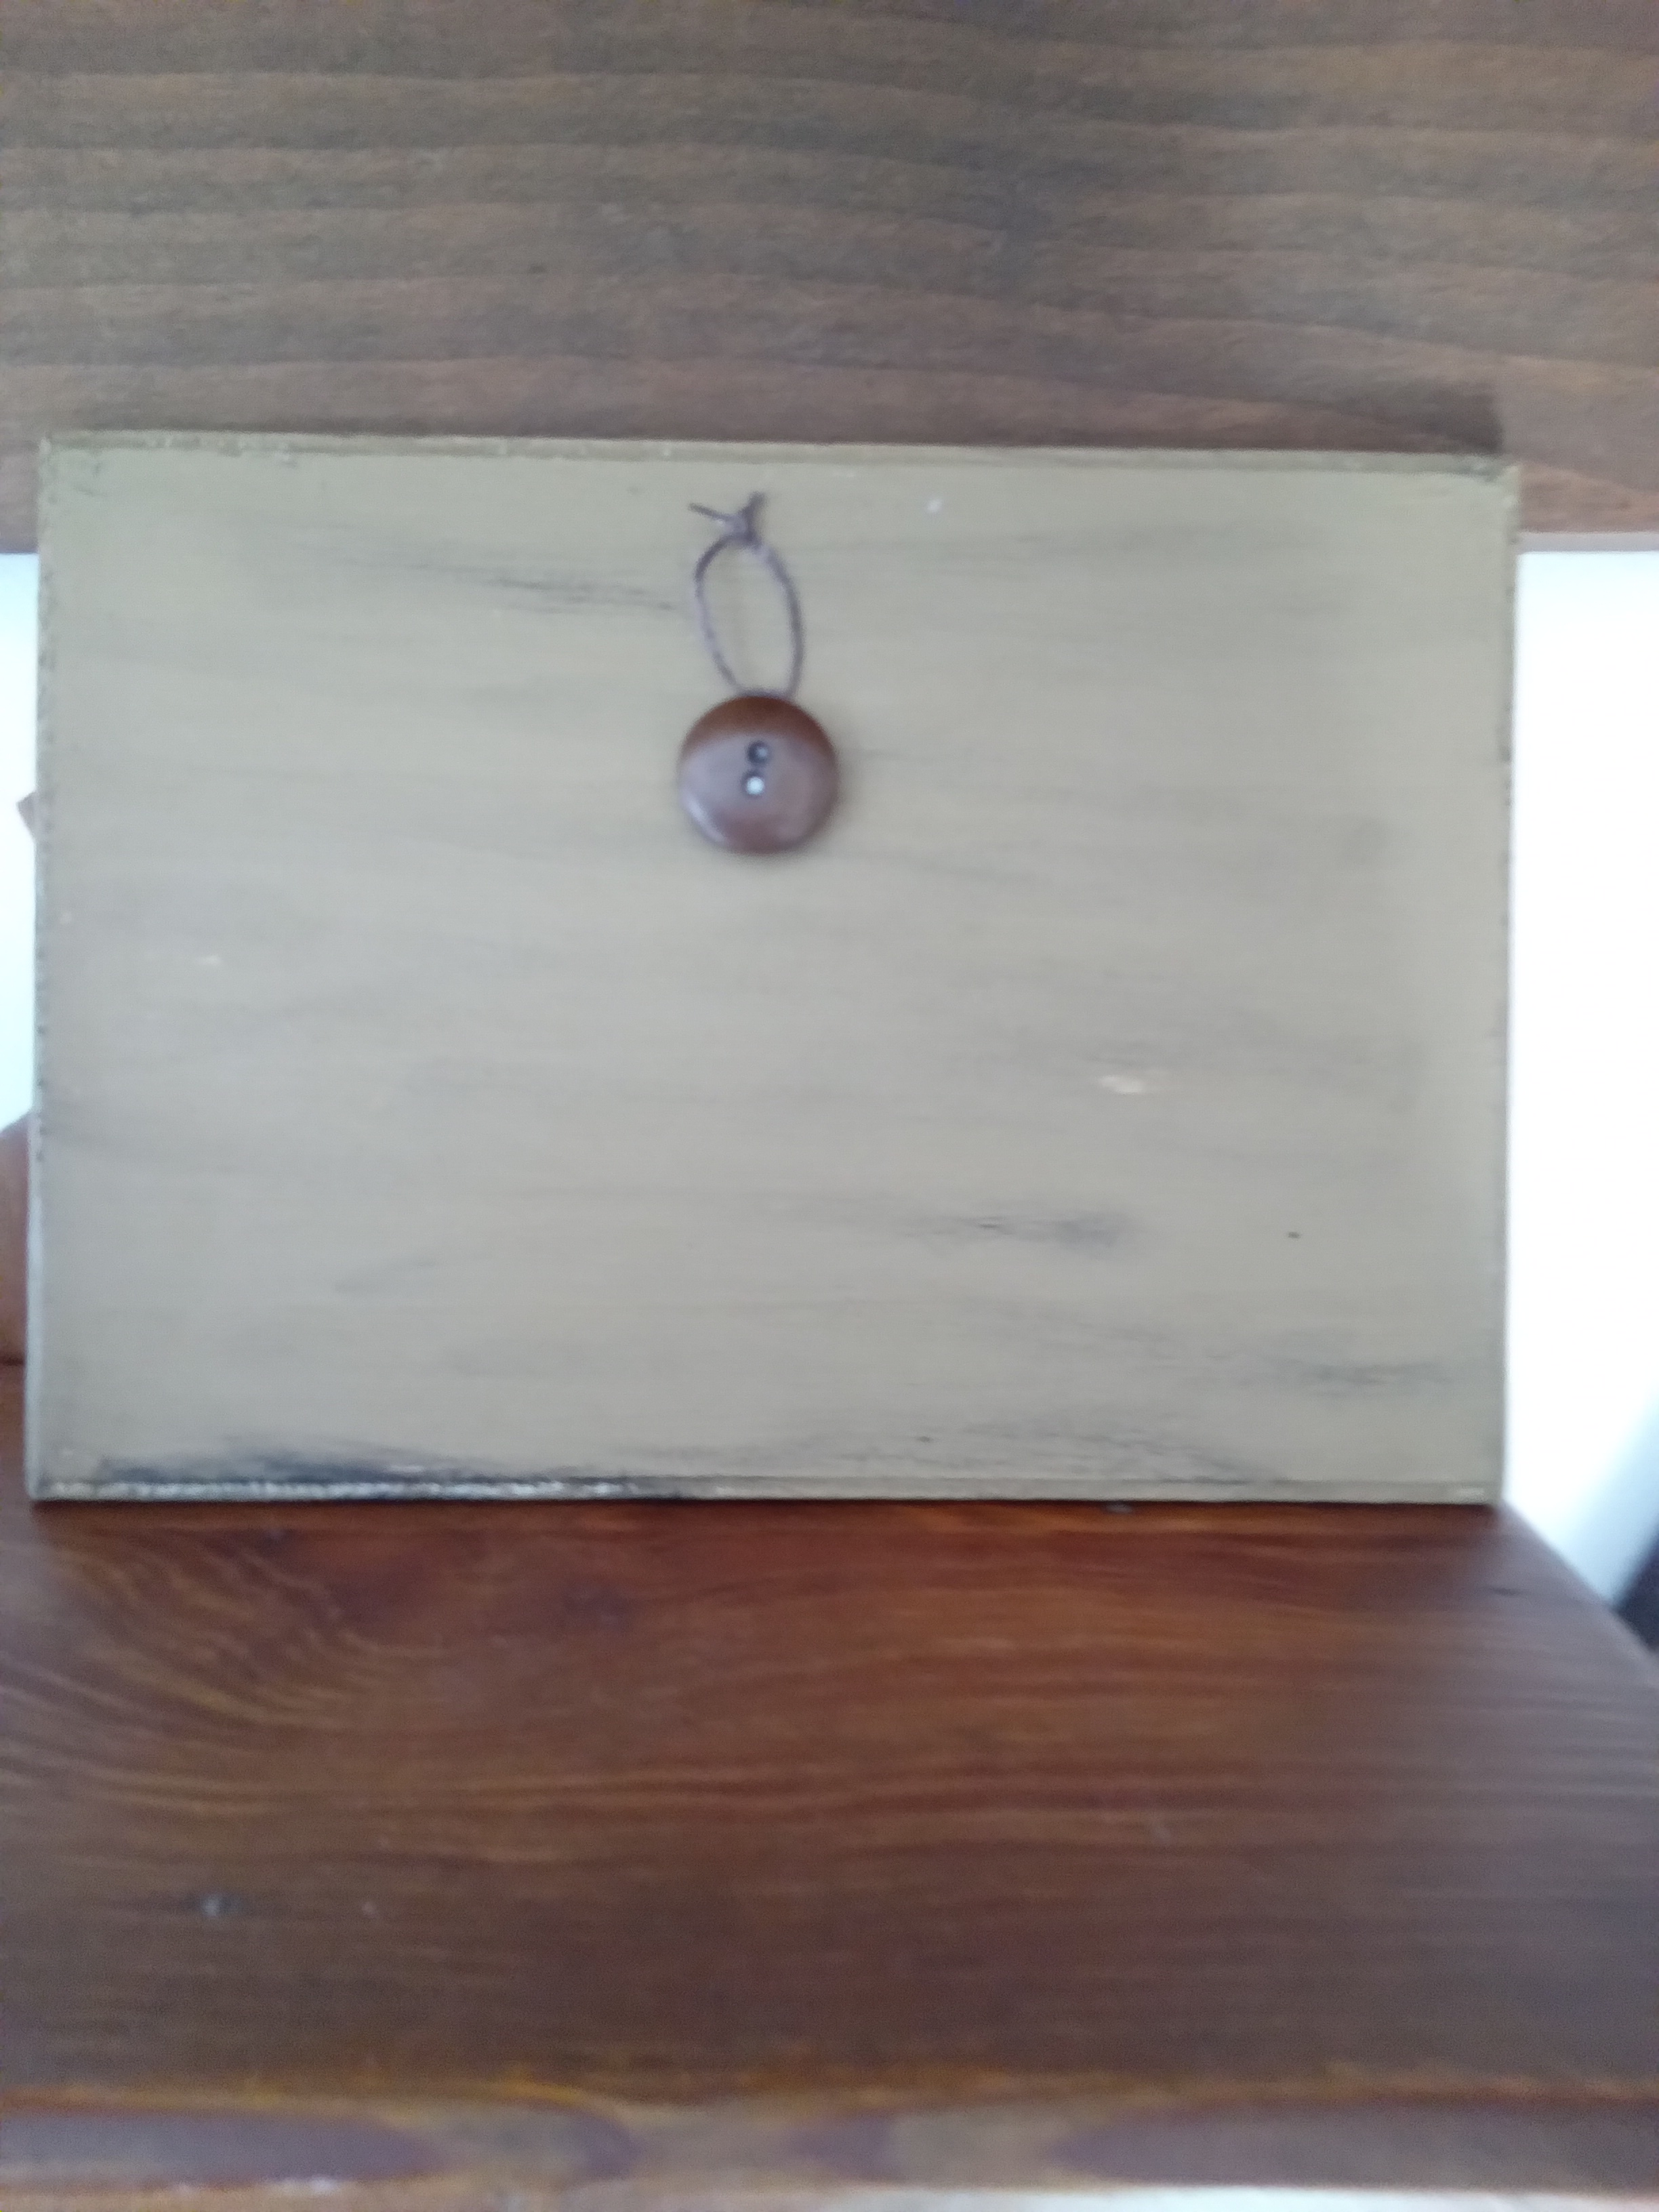
I’m excited to share more finishes with you today. I revisited some of my posts from years ago and rediscovered a great tip for hanging pieces. As you know by now, I’m very big on the prim style. And the philosophy of ‘make do.’ This little running rabbit is my pattern and I’ve done variations of winter and spring pieces. The board I got either at Michael’s or JoAnns. It’s thin and not suitable to use screw eyes. So this is what I came up with. I glued a button on the back an used waxed thread, which you can find in the jewelry section of any craft store. Look for a button that is a little thick on one side and glue that side to whatever you want to hang. This gives you space to wrap the waxed thread around it.
My last picture, Cat and Dog is a variation on a hooked rug from the 1800s. This is also a repeat piece for me. I added the border on the top and bottom. Besides making a nice contrast, it gives me the opportunity to use up little pieces of thread from my stash. This one has a sleeve sewed on the back to insert a dowel. I like the look of buckskin for a hanging option.
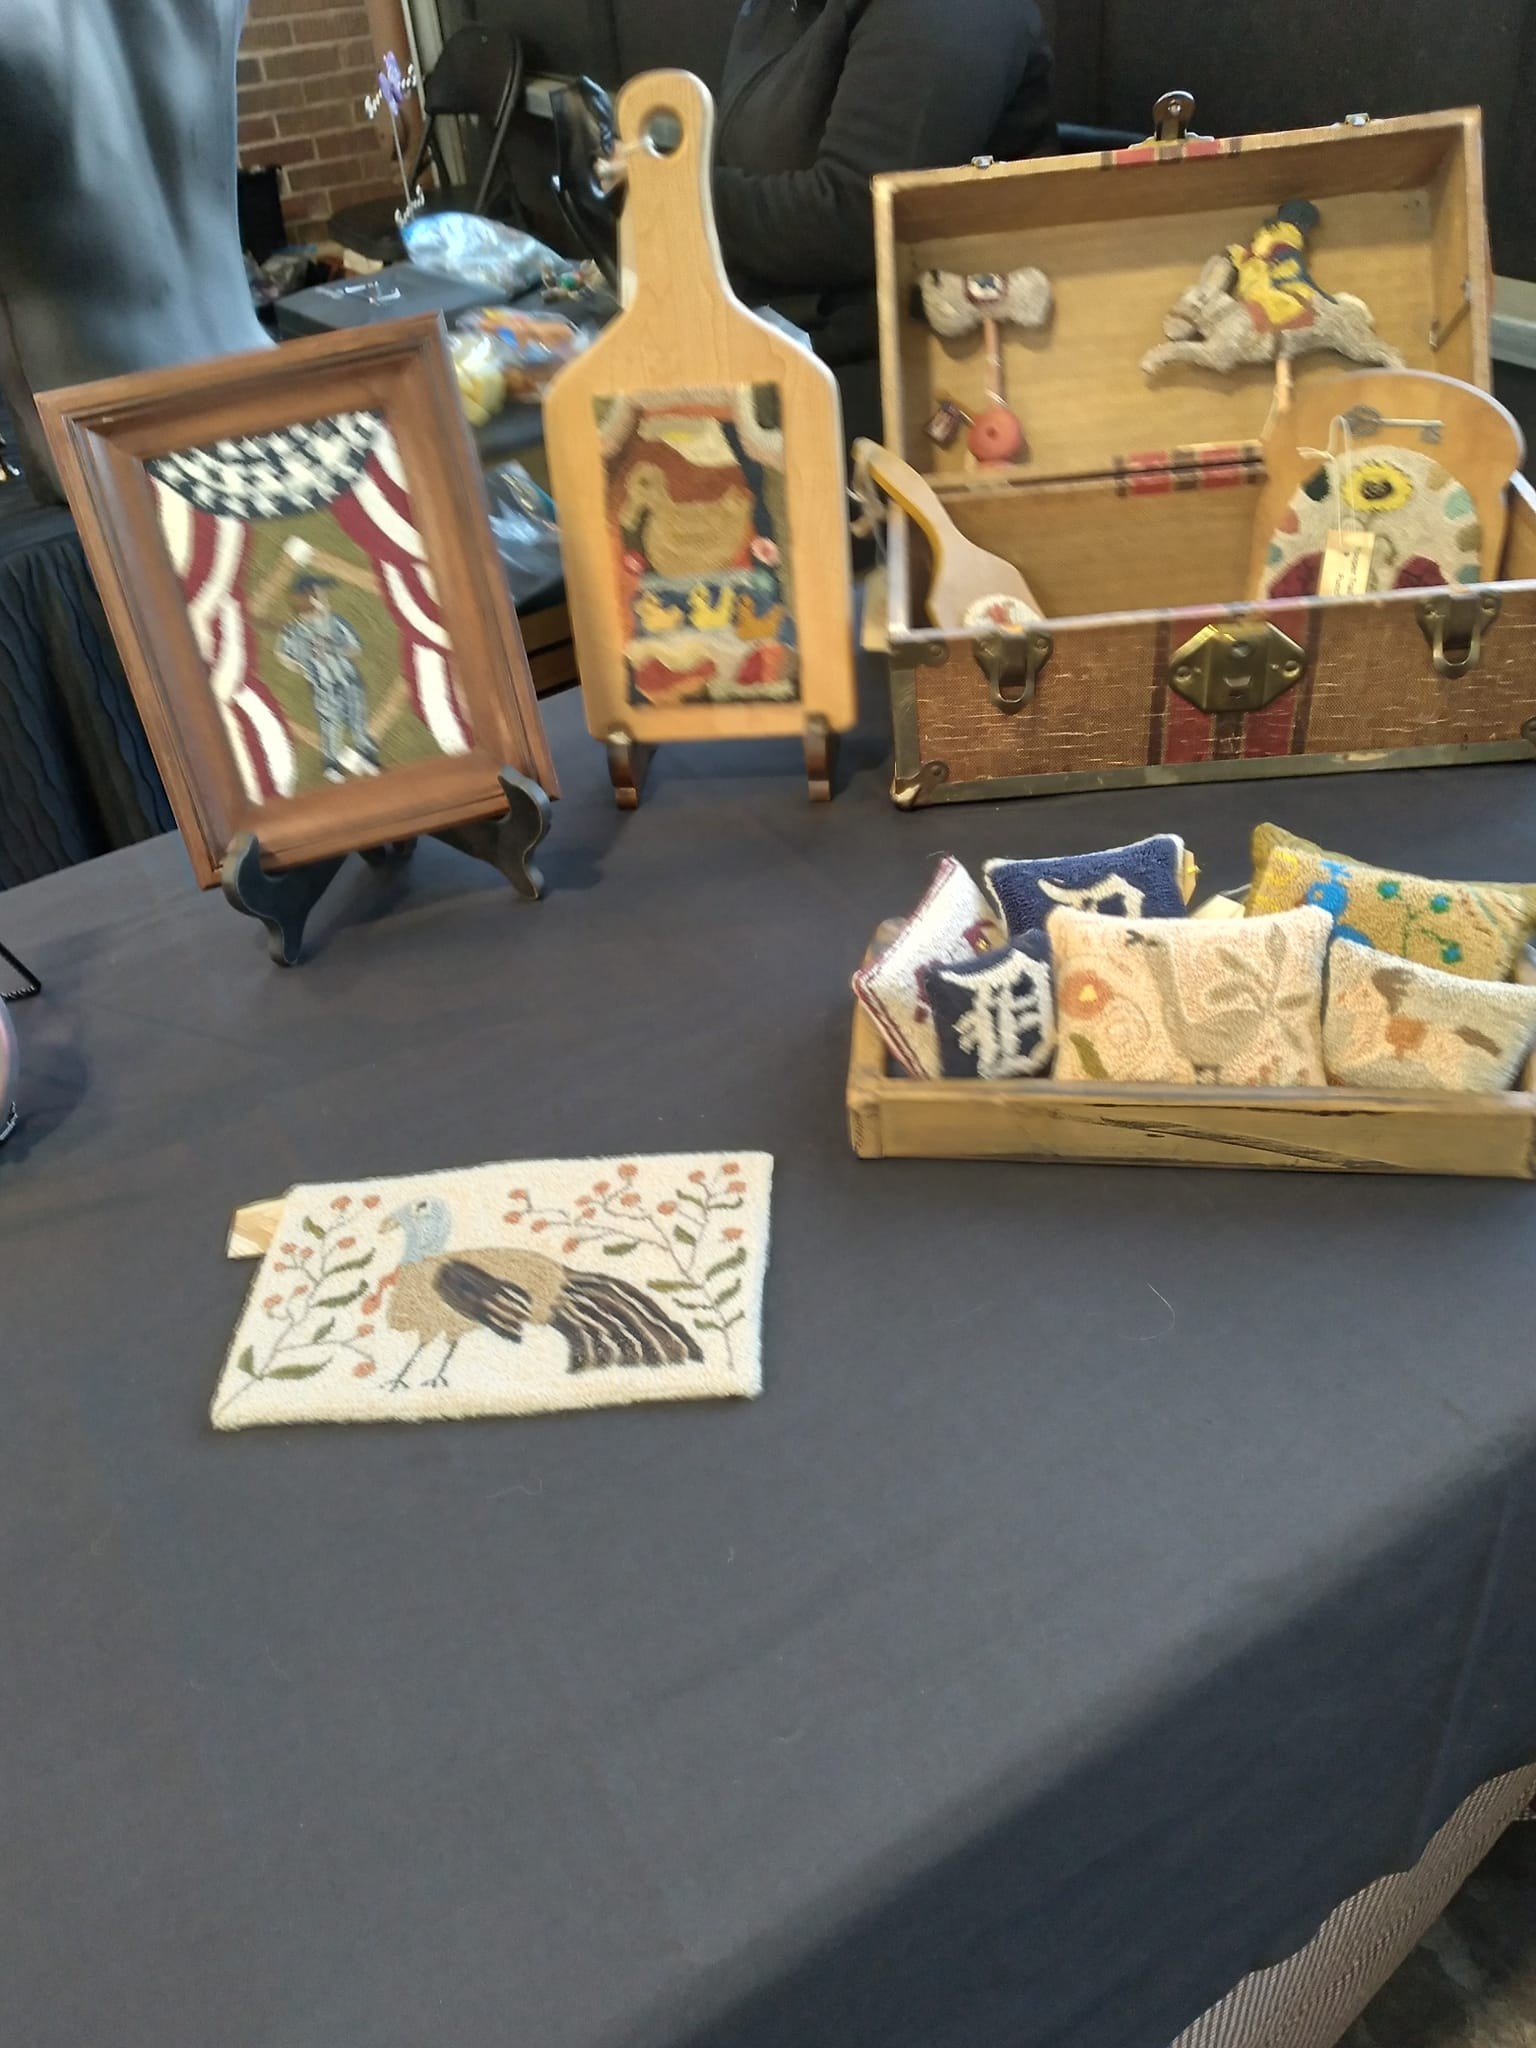
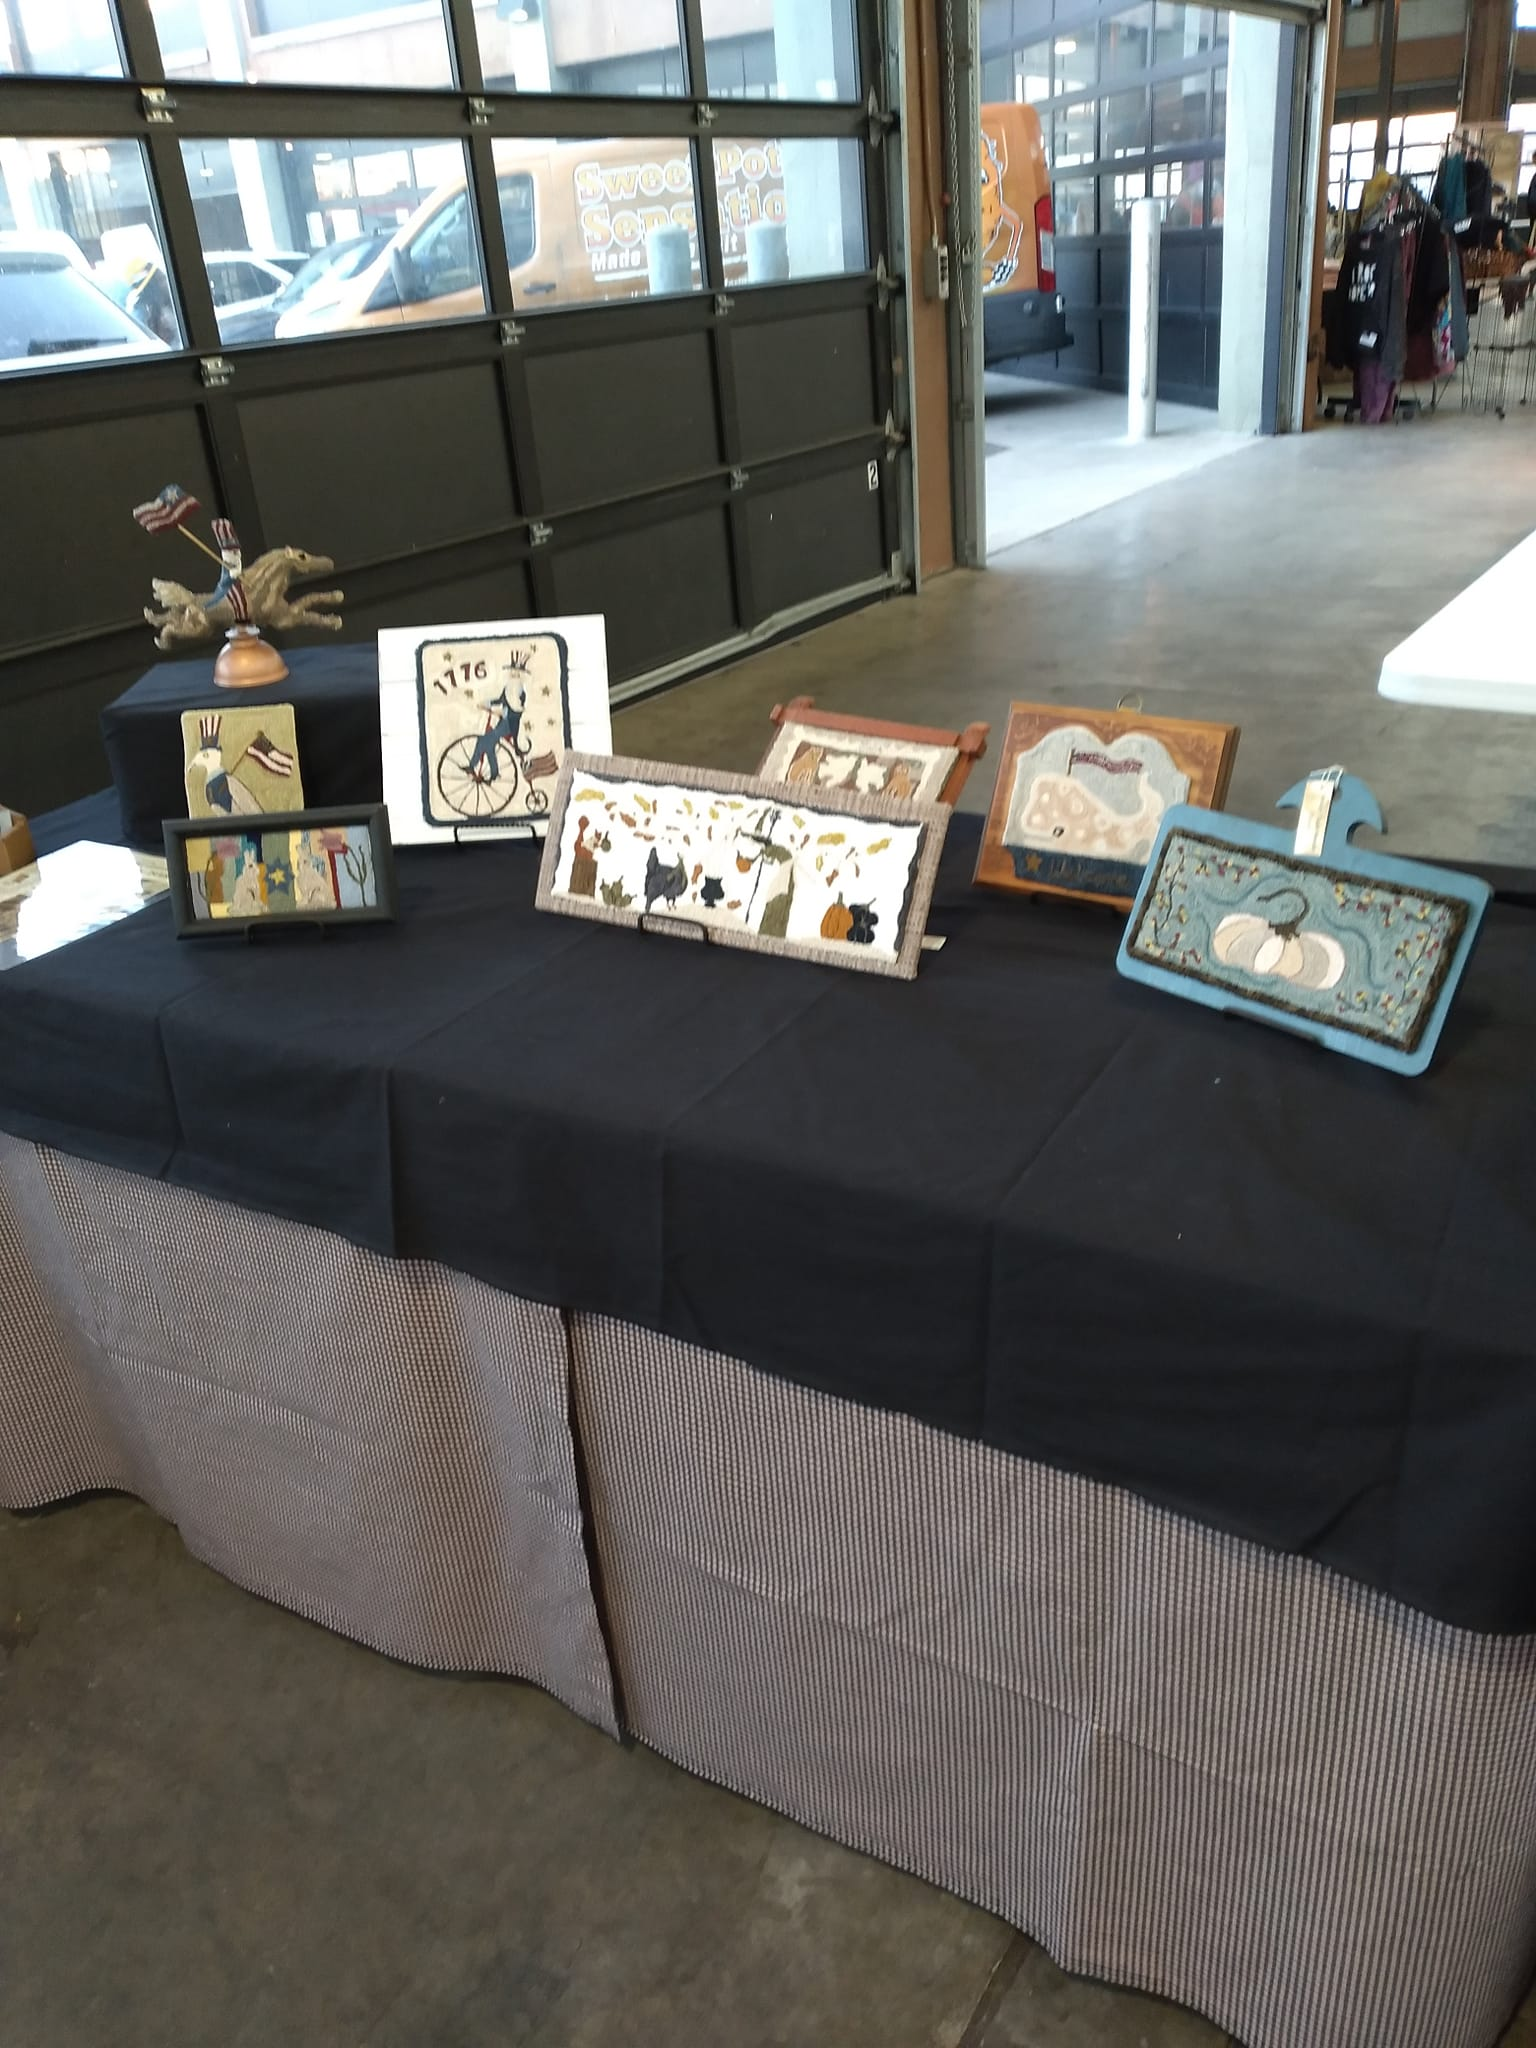
Greetings All. Today I’m taking from Facebook a memory they provided me. These pictures are from a show I did at Eastern Market last year. I see projects from Doreen Frost, Lori Brechlin, Colleen Collazzi and Cathy Sowers, as well as many of my own. You probably notice the prim theme running through the mix. I’m working on items for the Elf Shelf on the Saturday after Thanksgiving at the Troy High School. I’ll have more information later on. We’ll see what I come up with.Enjoy this beautiful sunny Monday.
Good morning on day two of my challenge and day one of the time change. All our clocks were set back before turning in last night and no discussion, aside from this post, will ensue on the topic moving forward. After 50 years of marriage (really after 30 years) I can’t entertain the ‘it’s really x time and not y time.
I gather items from flea markets and antique stores. Often what I punch is decided on what I find in my stash. I had this tiny frame for a long time and recently came up with this. I think it’s cute and it shows that you don’t need to be a talented artist to come up with designs. One of the reasons I love the primitive look is because it is so forgiving of perfection.
That’s it for today’s posting. Thanks for stopping by.
Hello Friends. I seem to drop in on my own blog like a grasshopper hopping through a garden. So, I’m challenging myself to create one post daily for three weeks. With help from the search engine I found developing a habit takes from 50 to 66 repetitions. I guess three weeks does not a habit make, but it’s a start. So, to help me in this experiment, I invite you to visit my blog daily, or at least every so often. Drop in, leave a comment. ask a question. I’ve been needle punching for 8+ years and maybe I can help you.
I have several completed punch needle pieces. Each day I’ll post one and add some tips on how I finished it.
Here are two in-progress pictures.
With this project I decided to attach it to a base. (The final picture shows one of the many items you can use.) Whichever finish you choose, the first thing you should do is steam the finished piece with an iron (always using a pressing cloth on top of the piece. Irons and weaver’s cloth don’t like each other and without a pressing cloth you wind up with goo on your iron.) The steaming sort of shapes it.
Some people choose to trim the weavers cloth close to the edge and then fold it to the back of the piece and it down. I have used that method, but it’s messy and takes a while to complete.
I like to use some scrap cloth and sew it to the punch needle with right sides together. You can sew it completely around, trim the edges and then cut a slit in the center of the cloth and turn it right side out. Because you then glue it to whatever base you choose, you never see the backing or the slit. My choice of glue is Aleene’s original Tacky Glue.
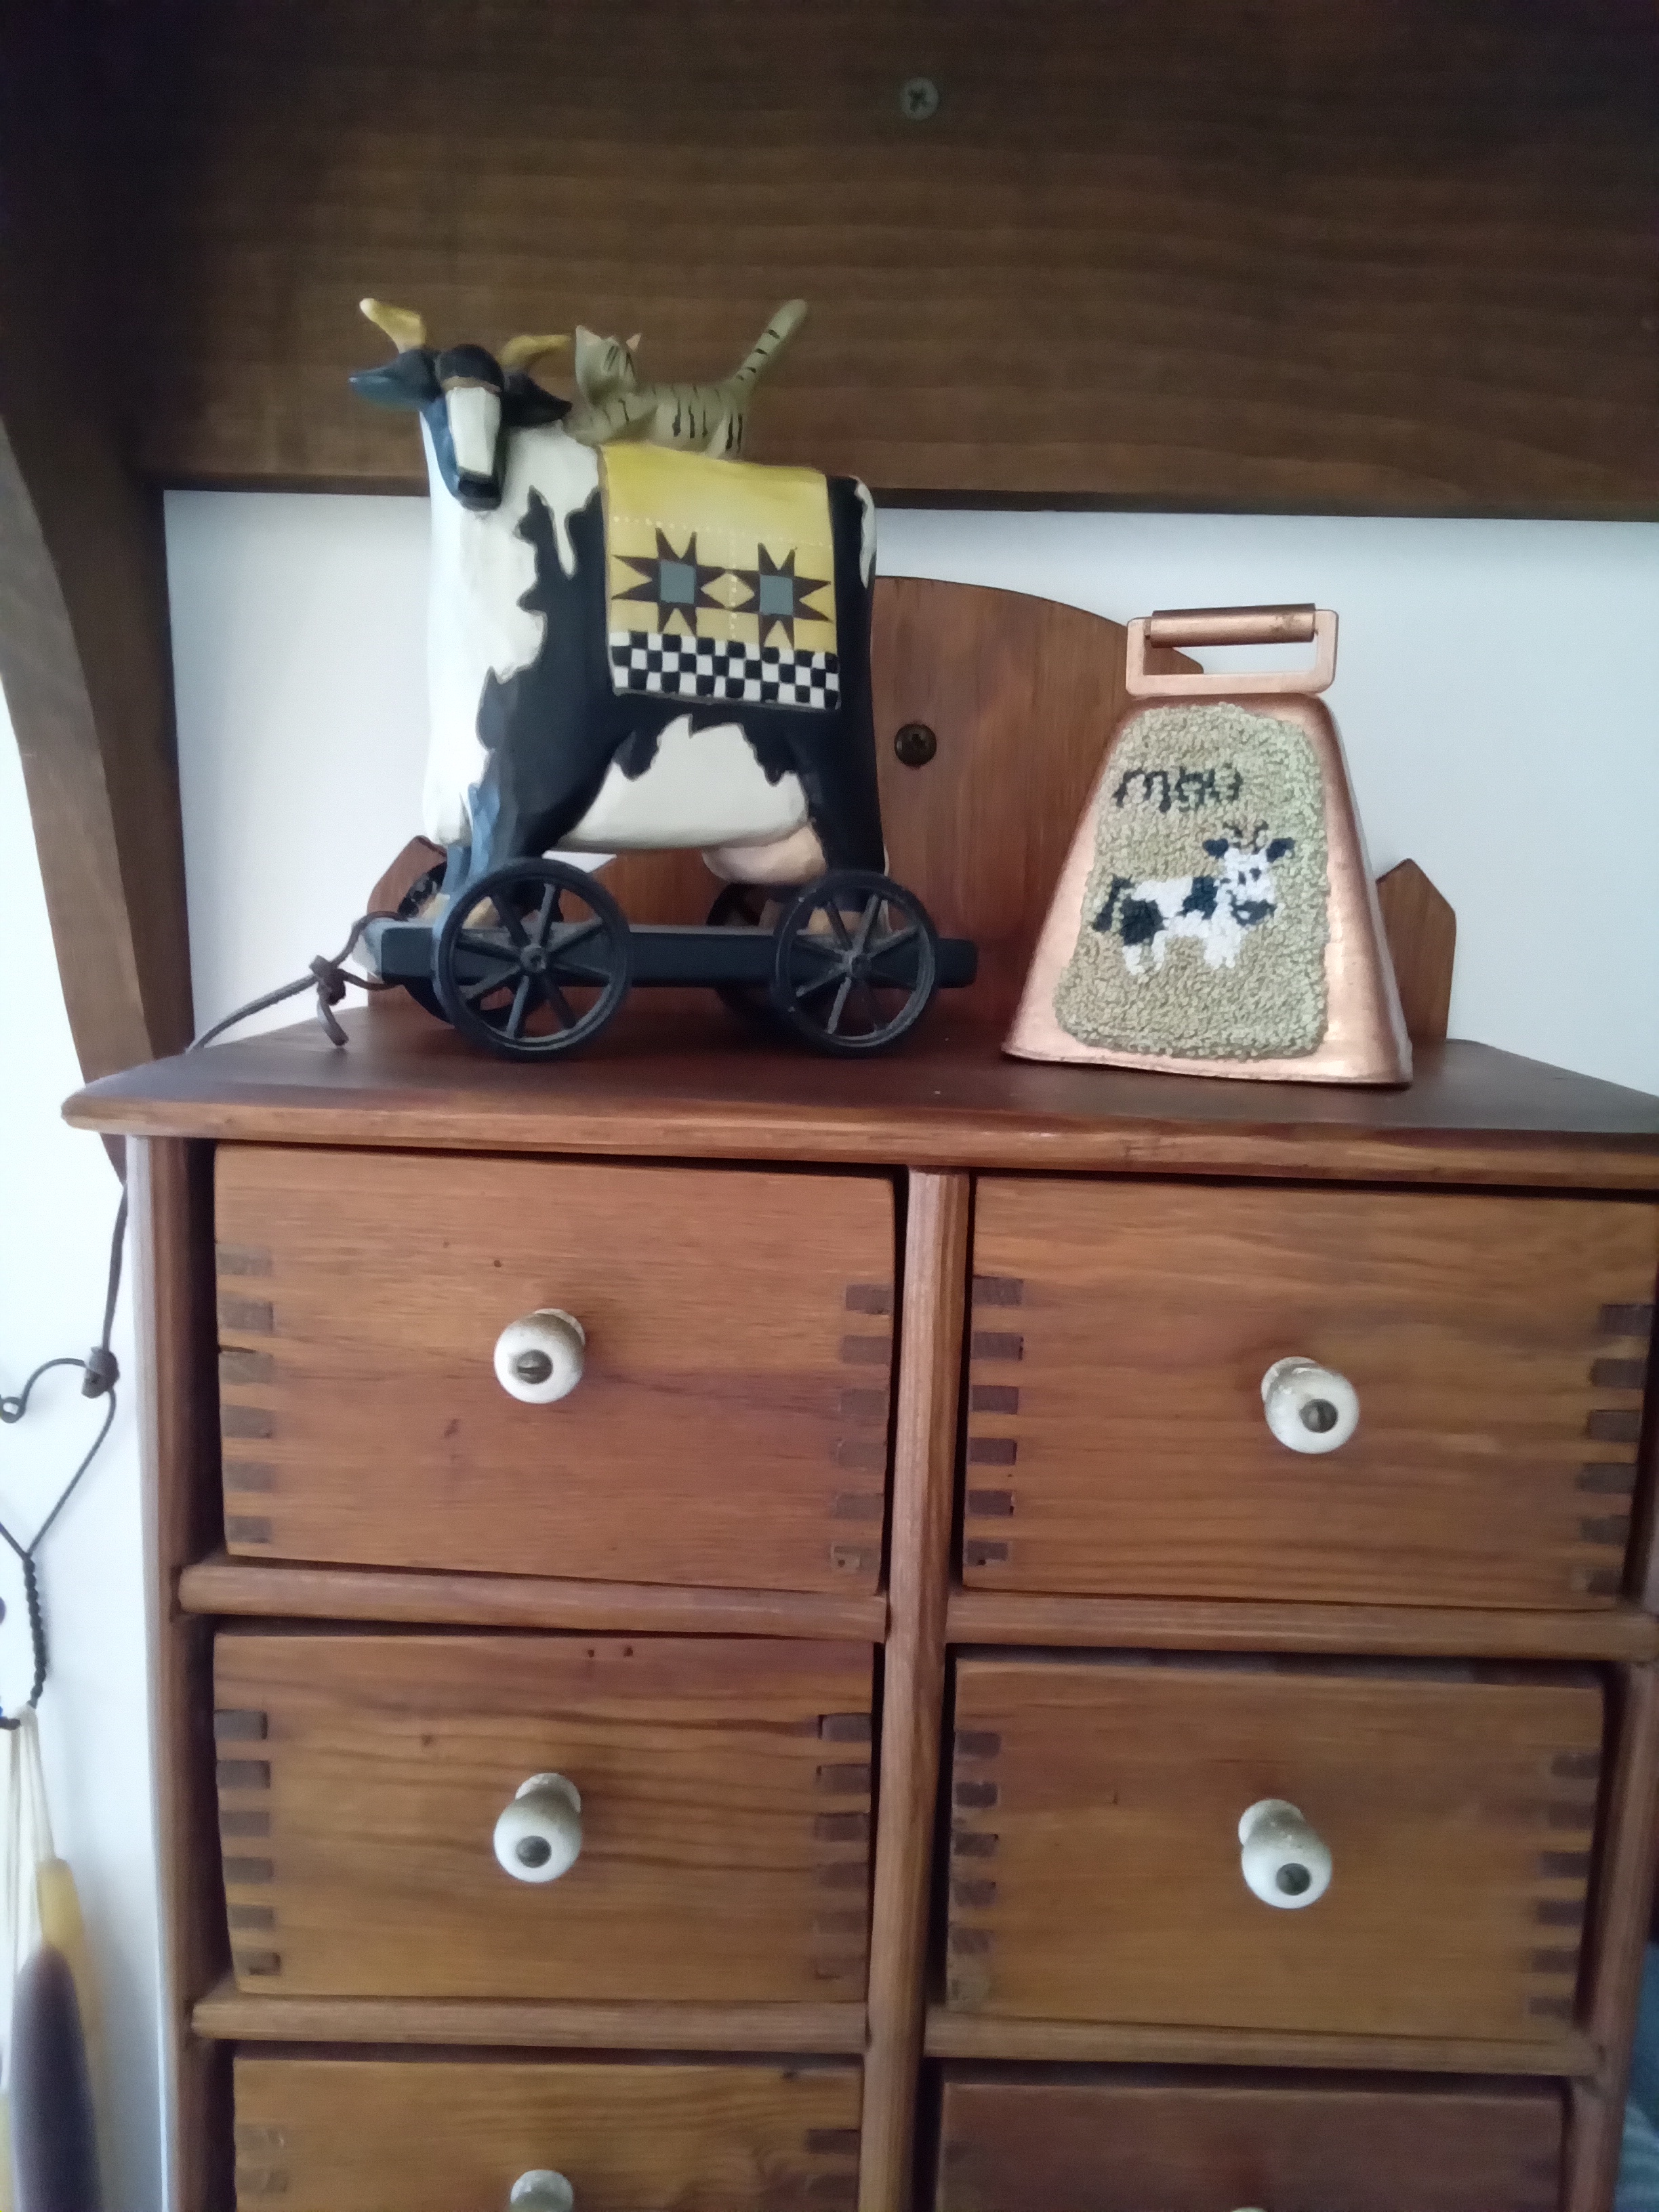
So, here is the finished piece. Mr Moo sitting on a copper bell next to my Williraye cow.
Well, that’s it. See you tomorrow and don’t forget to set your clocks back tonight!