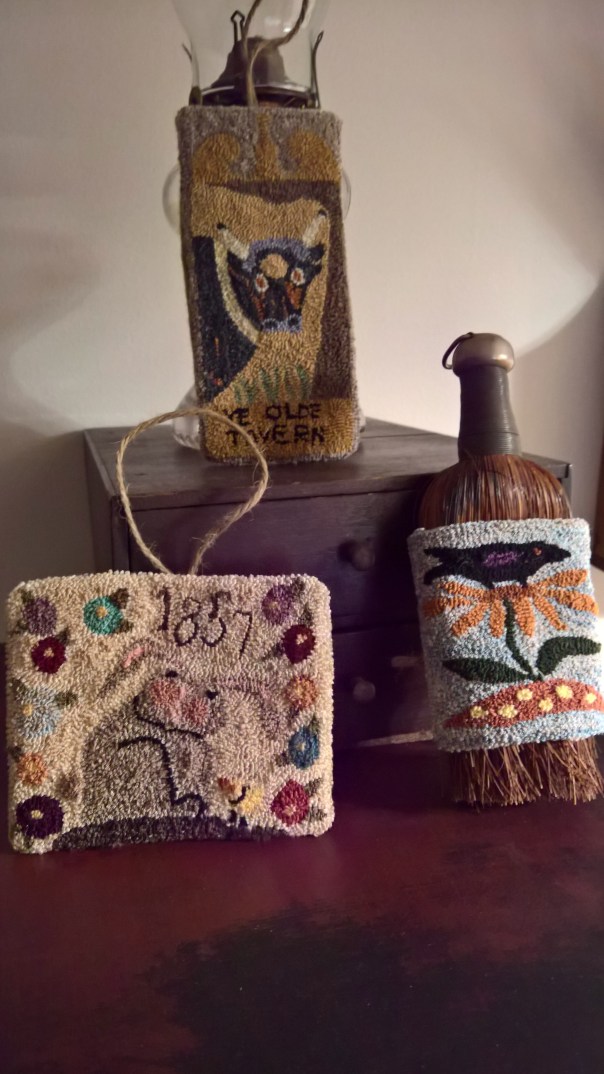
Greetings Punch Needle Friends. Wow, it has been awhile since I’ve posted something. But here I am, back again. I see on Facebook many new punchers posting questions about punch needle, so I thought I’d share a few things I’ve learned along the way.
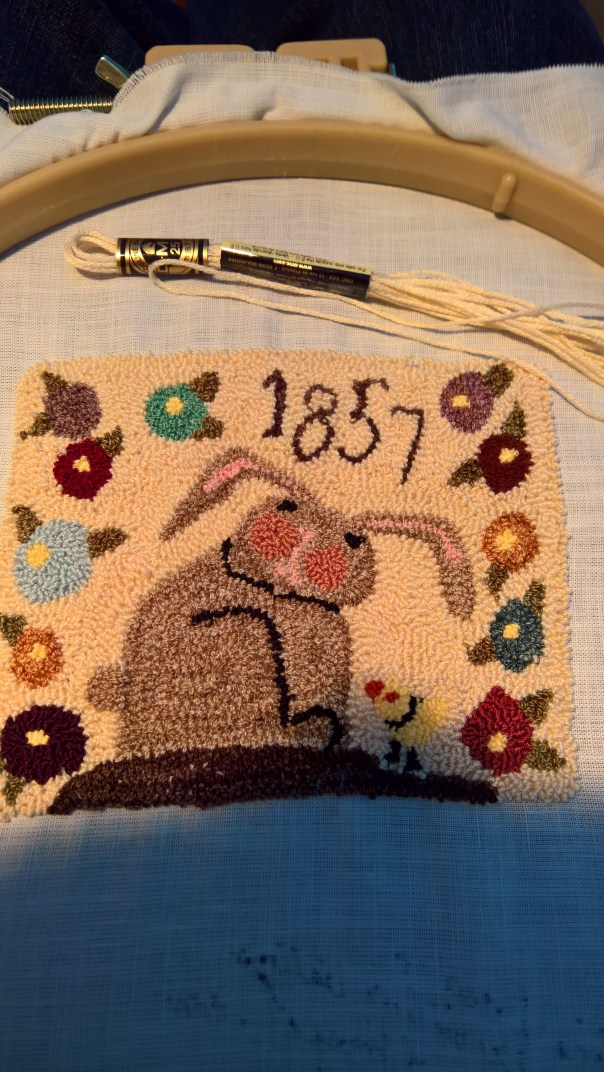
One question I see is how do you know how much thread you need for a project. Patterns you purchase should give you that information, but if you come up with your own pattern you might not know. And I guess it is a subjective answer. It depends on what depth loop you make and how close you make your loops. Below is a picture of my latest project. This bunny was a freebie doodle from http://primitivebettys.blogspot.com/ I punch with a Cameo punchneedle set at #1 depth. It is 4×5 inches. I used one DMC ecru skein for the background on the picture below. Looking at the progress I’ll estimate using two more skeins of ecru.

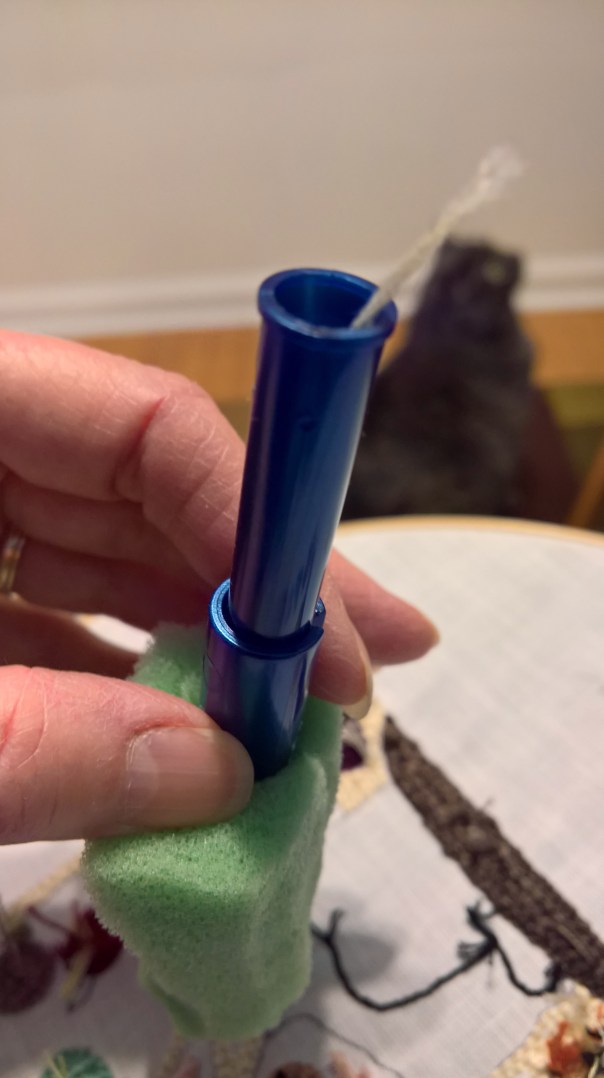
I normally use all six strands and never remove the two paper labels from the DMC floss. Just find the end of the strand and pull out 15-18 inches at a time. Removing the paper makes tangling much more likely. If you aren’t watching you might run out of thread and result in leaving the end exposed on the front of you piece. Once I reach the point where the end of the thread reaches the top of my needle I start counting. Using the #1 depth with DMC I know I can’t count more than 20 punches before my thread runs out. (I added the green foam you see on my punch needle because my wrist gets sore after punching for a long period of time.)
Punching guidelines tell you to never punch over an existing row of stiches. When working in small areas you might become tired of snipping your thread to move a half inch to begin again. What I do is draw out a good half inch of thread at my stopping point and then begin punching again in the next area, leaving a loop. You can then return and snip the little loop you formed in that process. The picture below shows the two ends to snip. (Something else I just thought of. I don’t cut my tails close to the fabric until I am finishes punching. When you have multiple colors is a small area it is nice to have that tail to push to the side as you come close with a different color)

Sometimes as you are punching you might have one loop fail to stay in place. The first photo shows is from the front of the piece and shows the space created. In the second photo I inserted the threader to show where the loop didn’t stay. You can cut the thread at that spot and on your next round of punching fill in that spot. (Hope that makes sense. If you don’t fix it until the whole piece is done it is more difficult to find that gap.)
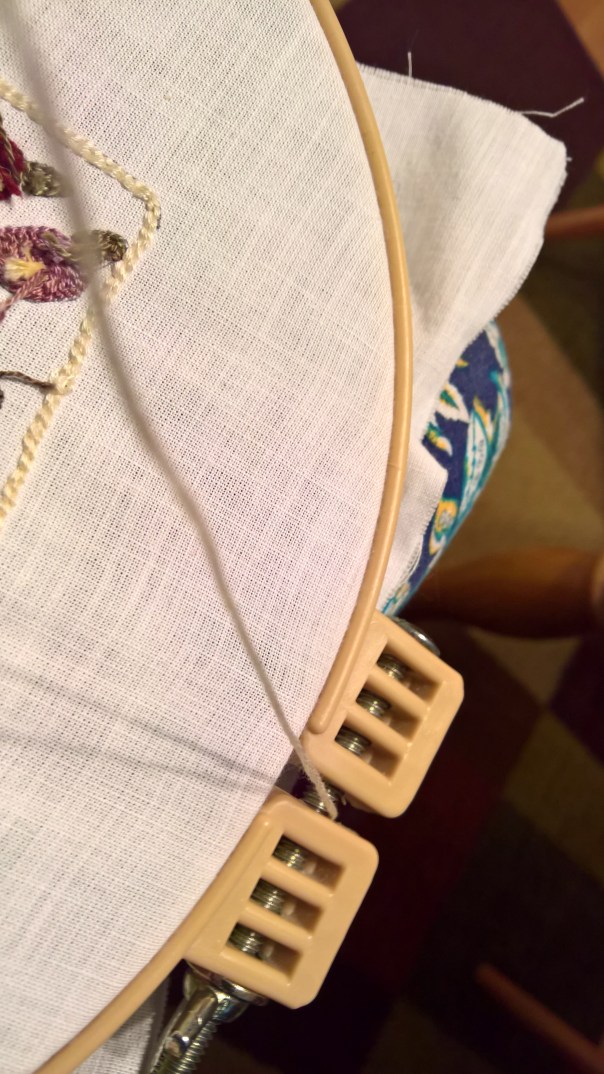
This next photo shows one way your thread might get hung up and prevent your loops from staying in place. I punch by holding my hoop in my lap and letting the thread fall by my side on my chair. I will sometimes get the thread hung up on a button on my cuff also.
Some of these tips might seem like no-brainers, but I hope I was somewhat helpful. Visit my site while you are here and consider becoming a follower. Happy punching!