I challenged myself to two more finishes a week until the Early Homestead Show in Holly. I think I might have fallen behind, but I have three finishes, so that should even it out.
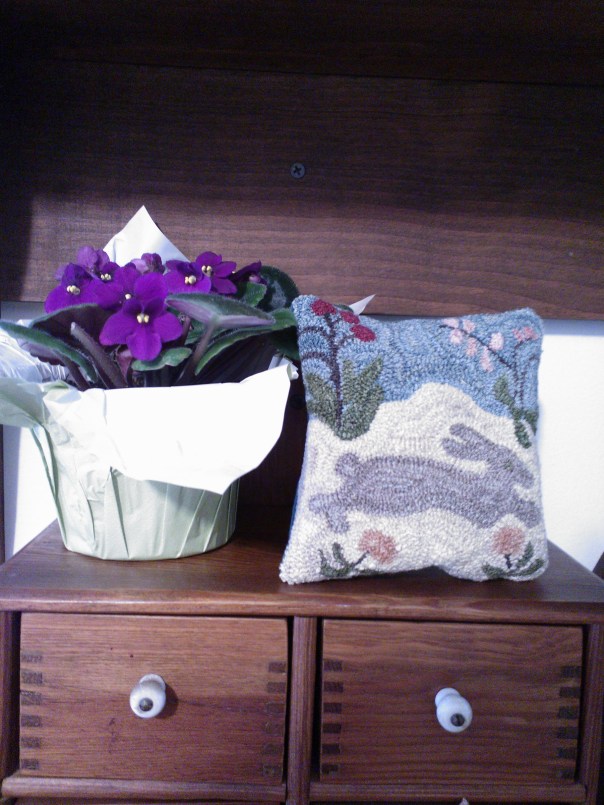
I have really been enjoying making balsam pillows. I incorporated a bunny from a freebie from Melissa Bowman and added my background design. Thank you to Heidi and Anna for the beautiful African violet. I will do my best to keep it flourishing.
The baskets in these pictures were made by my dad for my children. They are grown and gone, but I remain the Keeper of the Baskets.
One of two Gardening Angels.
Well, that’s it for today. Thanks for stopping in.
February 19…I used to think this felt like the longest month of the year. Now, it is zipping by. We are due to see 50+ degrees today. And Lent has begun, so spring cannot be far off.
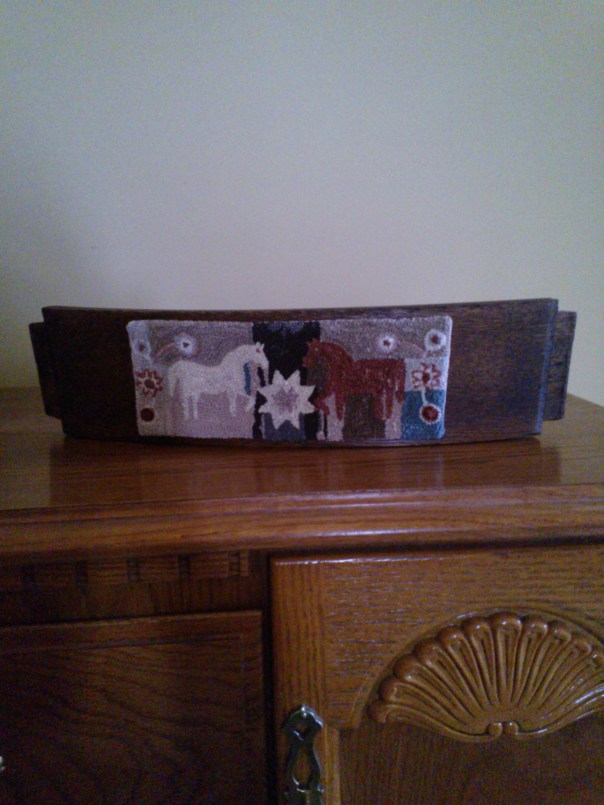
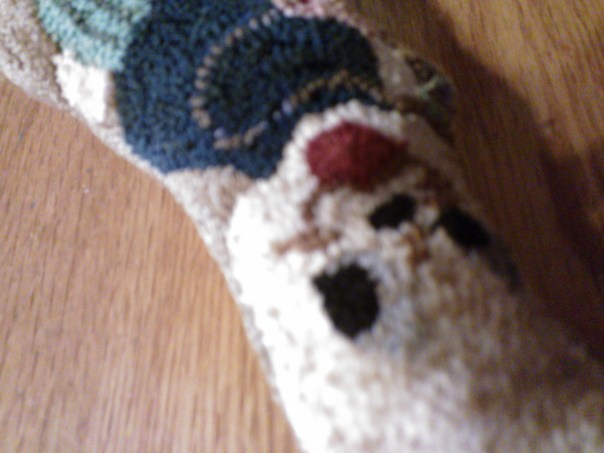
I have two photos today. The first one is aMagdalena Briner inspired piece. I found the chair back at the flea market. I think it is the perfect background.
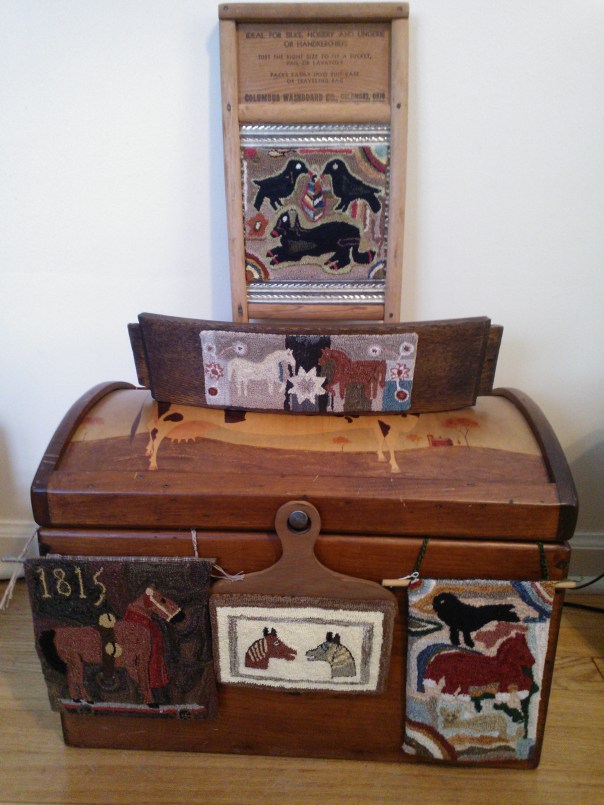
This second one shows my primitive collection sitting on my Warren Kimball cow box. I guess you notice my love for horses.
So, what is happening in your world today. I hope you are enjoying the day and looking forward to the weekend.
Thank you to Patti, who read my last blog and pointed out to me that the RO Farmers Market Think Spring show is actually on March 19, the same day as the Early Homestead show. The good news is now I only need to prepare for one show. The bad news is I’m sorry to miss the market show. I must say Robin at the market was ever so gracious and understanding about my predicament.
My sister Carole and I have been keeping the phone busy discussing and making plans for the Early Homestead. It will be our first opportunity to do a show together and definitely make for a great time.
Here is today’s finish. This is a variation of a rug done by Polly Minick. I have filled it with balsam and it will make a sweet bowl filler.
Every day brings me closer to the two spring shows I will be doing. March 12 is the Think Spring show at Royal Oak’s Farmers Market and March 19 is the Early Homestead Antique Show at the Karl Richter Campus in Holly, MI. As it gets closer I will post specific details. The Holly show is huge with primitive antique dealers from Ohio, Virginia, New York as well as many Michigan dealers. I’ve visited the show as a shopper before, but will be there as a dealer this year. So, I should be posting finishes daily for these two commitments. Keep checking in to keep me on track.
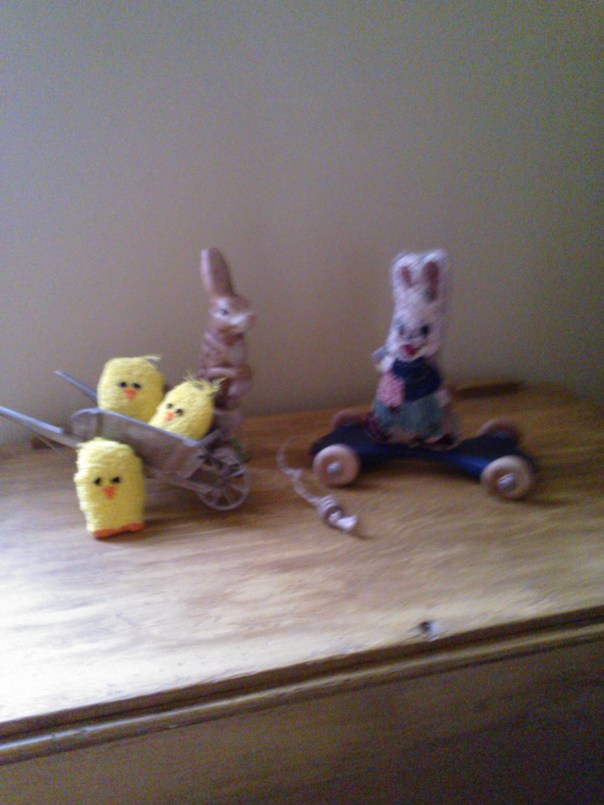
This little pull toy was inspired by a picture of a vintage candy tin. The wooden box they sit on now holds my wool pieces, but was my toy box when I was a child.
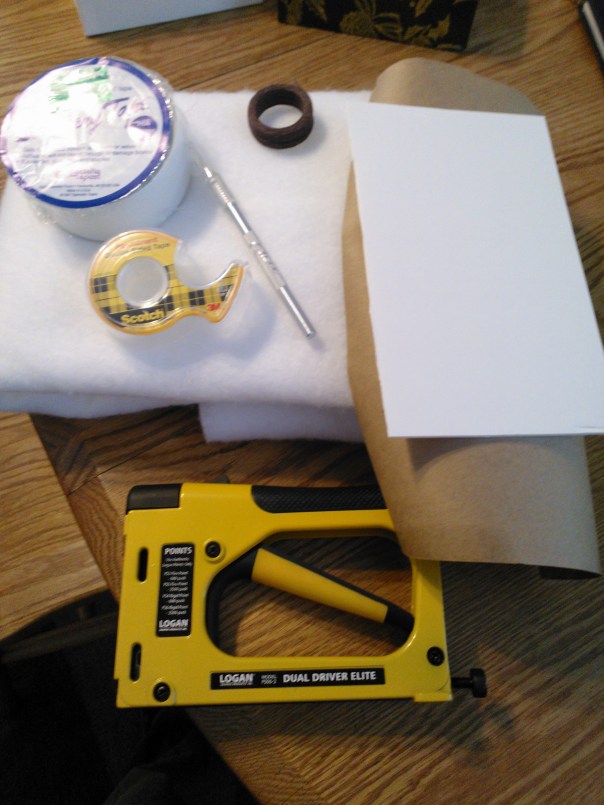
There are many ways to finish a NP project. And there is more than one way to do framing. Today I want to share with you my method of framing. You need: quilt batt, foam board, double-sided acid free tape, point driver, brown wrapping paper, regular Scotch double-sided tape and something to hang it with. I usually use screw eyes and waxed jewelry cord. (I like the feel of it) I have used the saw-toothed hangers also. So, here we go…
Gather your supplies
Cut the foam board to the larger measurement (first picture) When I have my piece on a hoop for punching I center the frame on top of it and draw the inside perimeter around the PN. I usually do one last check when I have completed the punching. Sometimes you need to add a few more punches in some places.
Glue the batt to the foam board. (Trim the edges to fit the foam board) This gives the finished piece a little body and makes it pop slightly from the frame. I use Tacky glue. Let it sit until the glue dries completely. Place the acid-free tape around the back edges of the foam board, leaving the paper on the top side. Center your PN over the batt , checking the front side of the frame.. This usually takes me several attempts. You want to get the placement exact so there is no weavers cloth showing around the edges. Now you peel off the paper from the tape and lightly tape weavers cloth to the tape. Check the front again. If you aren’t satisfied you can gently peel the weavers cloth from the tape. When you are happy with the placement you want to firmly/gently stretch all the weavers cloth to the tape, pressing as far into the corners as you can.
As you see, the corners can have little ‘ears’ sticking up.
As you see, you can get little ‘ears’ sticking up in the corners. When I use the point driver to staple the foam into the frame I fold down the ears. If you don’t have a point driver, you can use tiny nails or brads to hold the piece in the frame.( I finally decided it was worth the $50 to me to get the tool since I was doing a lot of framing, which I found at Blicks, an art supply store.)
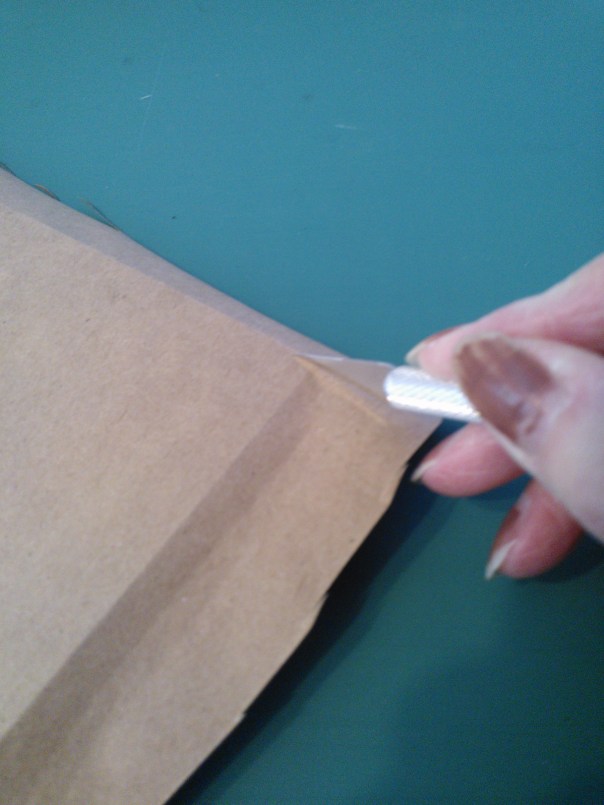
Next, I use Scotch double-sided tape around the edges of the frame and press brown paper onto the back. Using a blade, carefully cut about a quarter inch on both edges of each corner. Then align with a ruler and cut (carefully) along each side. The little pre-cuts help to remove the excess paper without tearing the finished edges.
Place the screw eyes 1/3 of the distance down from the top. Use a light touch when screwing them in because they can break off. I will start the hole with a hand drill first. Add the jewelry cord, sign and date your work (always giving credit to the pattern creator) and you are set to go.
I challenged myself back in January to see how long before I would have completed projects. At that time I didn’t know I would be preparing for two shows in March. Now the challenge has a deadline. Well it’s February 12 and I have a few things to show.
This house with trees was based on a rug that was hooked by my brother-in-law, Hank. Hence the name ‘Hank’s House.’ I planned beforehand to use the Lincoln logs as a frame. The punched piece was supposed to fit on top of the side logs, but it somehow wound up being smaller than I planned. So this is also an example of not giving up and finding Plan B. The needle punch hangs freely inside the logs. Looking at the back you can see it is simply attached to carpet tacks. A crocheted floss string becomes the hanger.
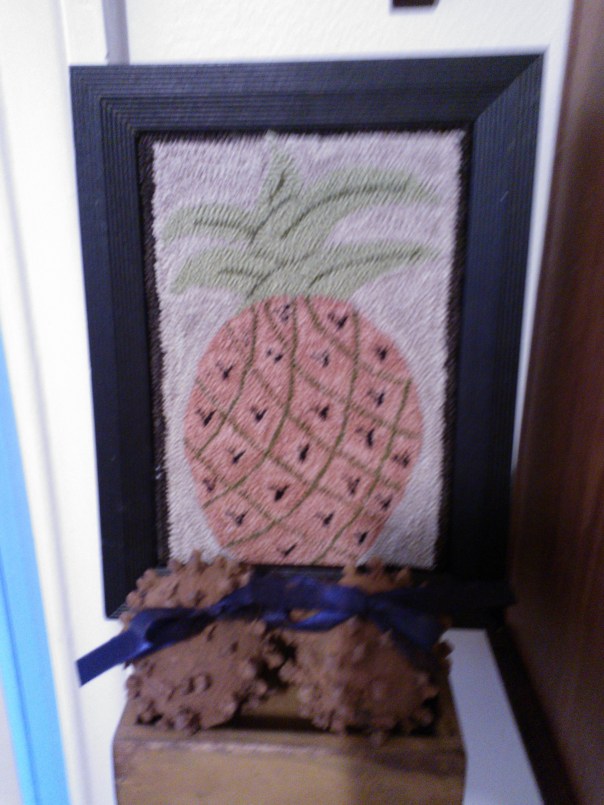
Pineapple: the symbol of welcome. Along with the punching, I also did the framing on this myself. In the next day or so I will post pictures on that process.
Now, a sneak preview of the pull toy I am working on….
Ok, let me just begin by saying I think I’m losing my mind. I want to post a picture of my completed horse pn, but I’m thinking I already did so. When I look I don’t see it either in my blog or in Facebook, so here it is. This was a great pattern to punch and I’m pretty happy with the results. I backed it in a brown homespun check and added a sleeve. I think it would look good if I shorten the dowel so it is hidden. So, here it is.
We met last night for our second of a two class session. A week ago we came together for the first time and left last night as great friends, with plans for stitching nights in the future.
Thank you to Jan, Patti and Sharon for a successful first teaching endeavor. I might just need to do this again! Just like first children they were my ‘experimental’ group and I learned right along the way. I’m happy to say all three arrived with enthusiasm and left the same way, supplied with a second project drawn up on weavers cloth. Patti, one week can be a short time frame to finish a project when a work schedule interferes with pleasurable punching, but you are almost there. Make sure I see your finish.