Greetings Punch Needle Friends. I hope you are well and not experiencing any extreme weather where you are. I’m looking forward to my third trip to Keweenaw this summer. This was not the original plan. However, on our first trip in May we were at our family home. We had only been there for two hours with the car parked in the driveway when someone had a medical issue and drove into our yard, our car and finally our garage door and door frame. The good news is that nobody was injured. Our car was taken to a repair shop. We couldn’t stay until it was repaired, so we returned home with a rental (after having the garage door replace and frame repaired. This trip is just under 600 miles. This was just before Memorial Day. Just before the Fourth of July the car was ready and we had to drive up to get it. Now, we’re awaiting our actual vacation in a few weeks. I couldn’t guess how many times I have traveled that route in my life, but I can tell you it will be six times in the space of 14 weeks this year. All this is to explain my absence from posting. The best laid plans….
I want to share two easy projects. The first one is from Tara Guernsey, a clever and talented punch needle friend. Tara shared how she made little pin cushions with punched pieces sewed to the top.
The second project is from Julie Thomas from The Old Tattered Flag. Julie shared her little flower bouquets. Here is a picture.
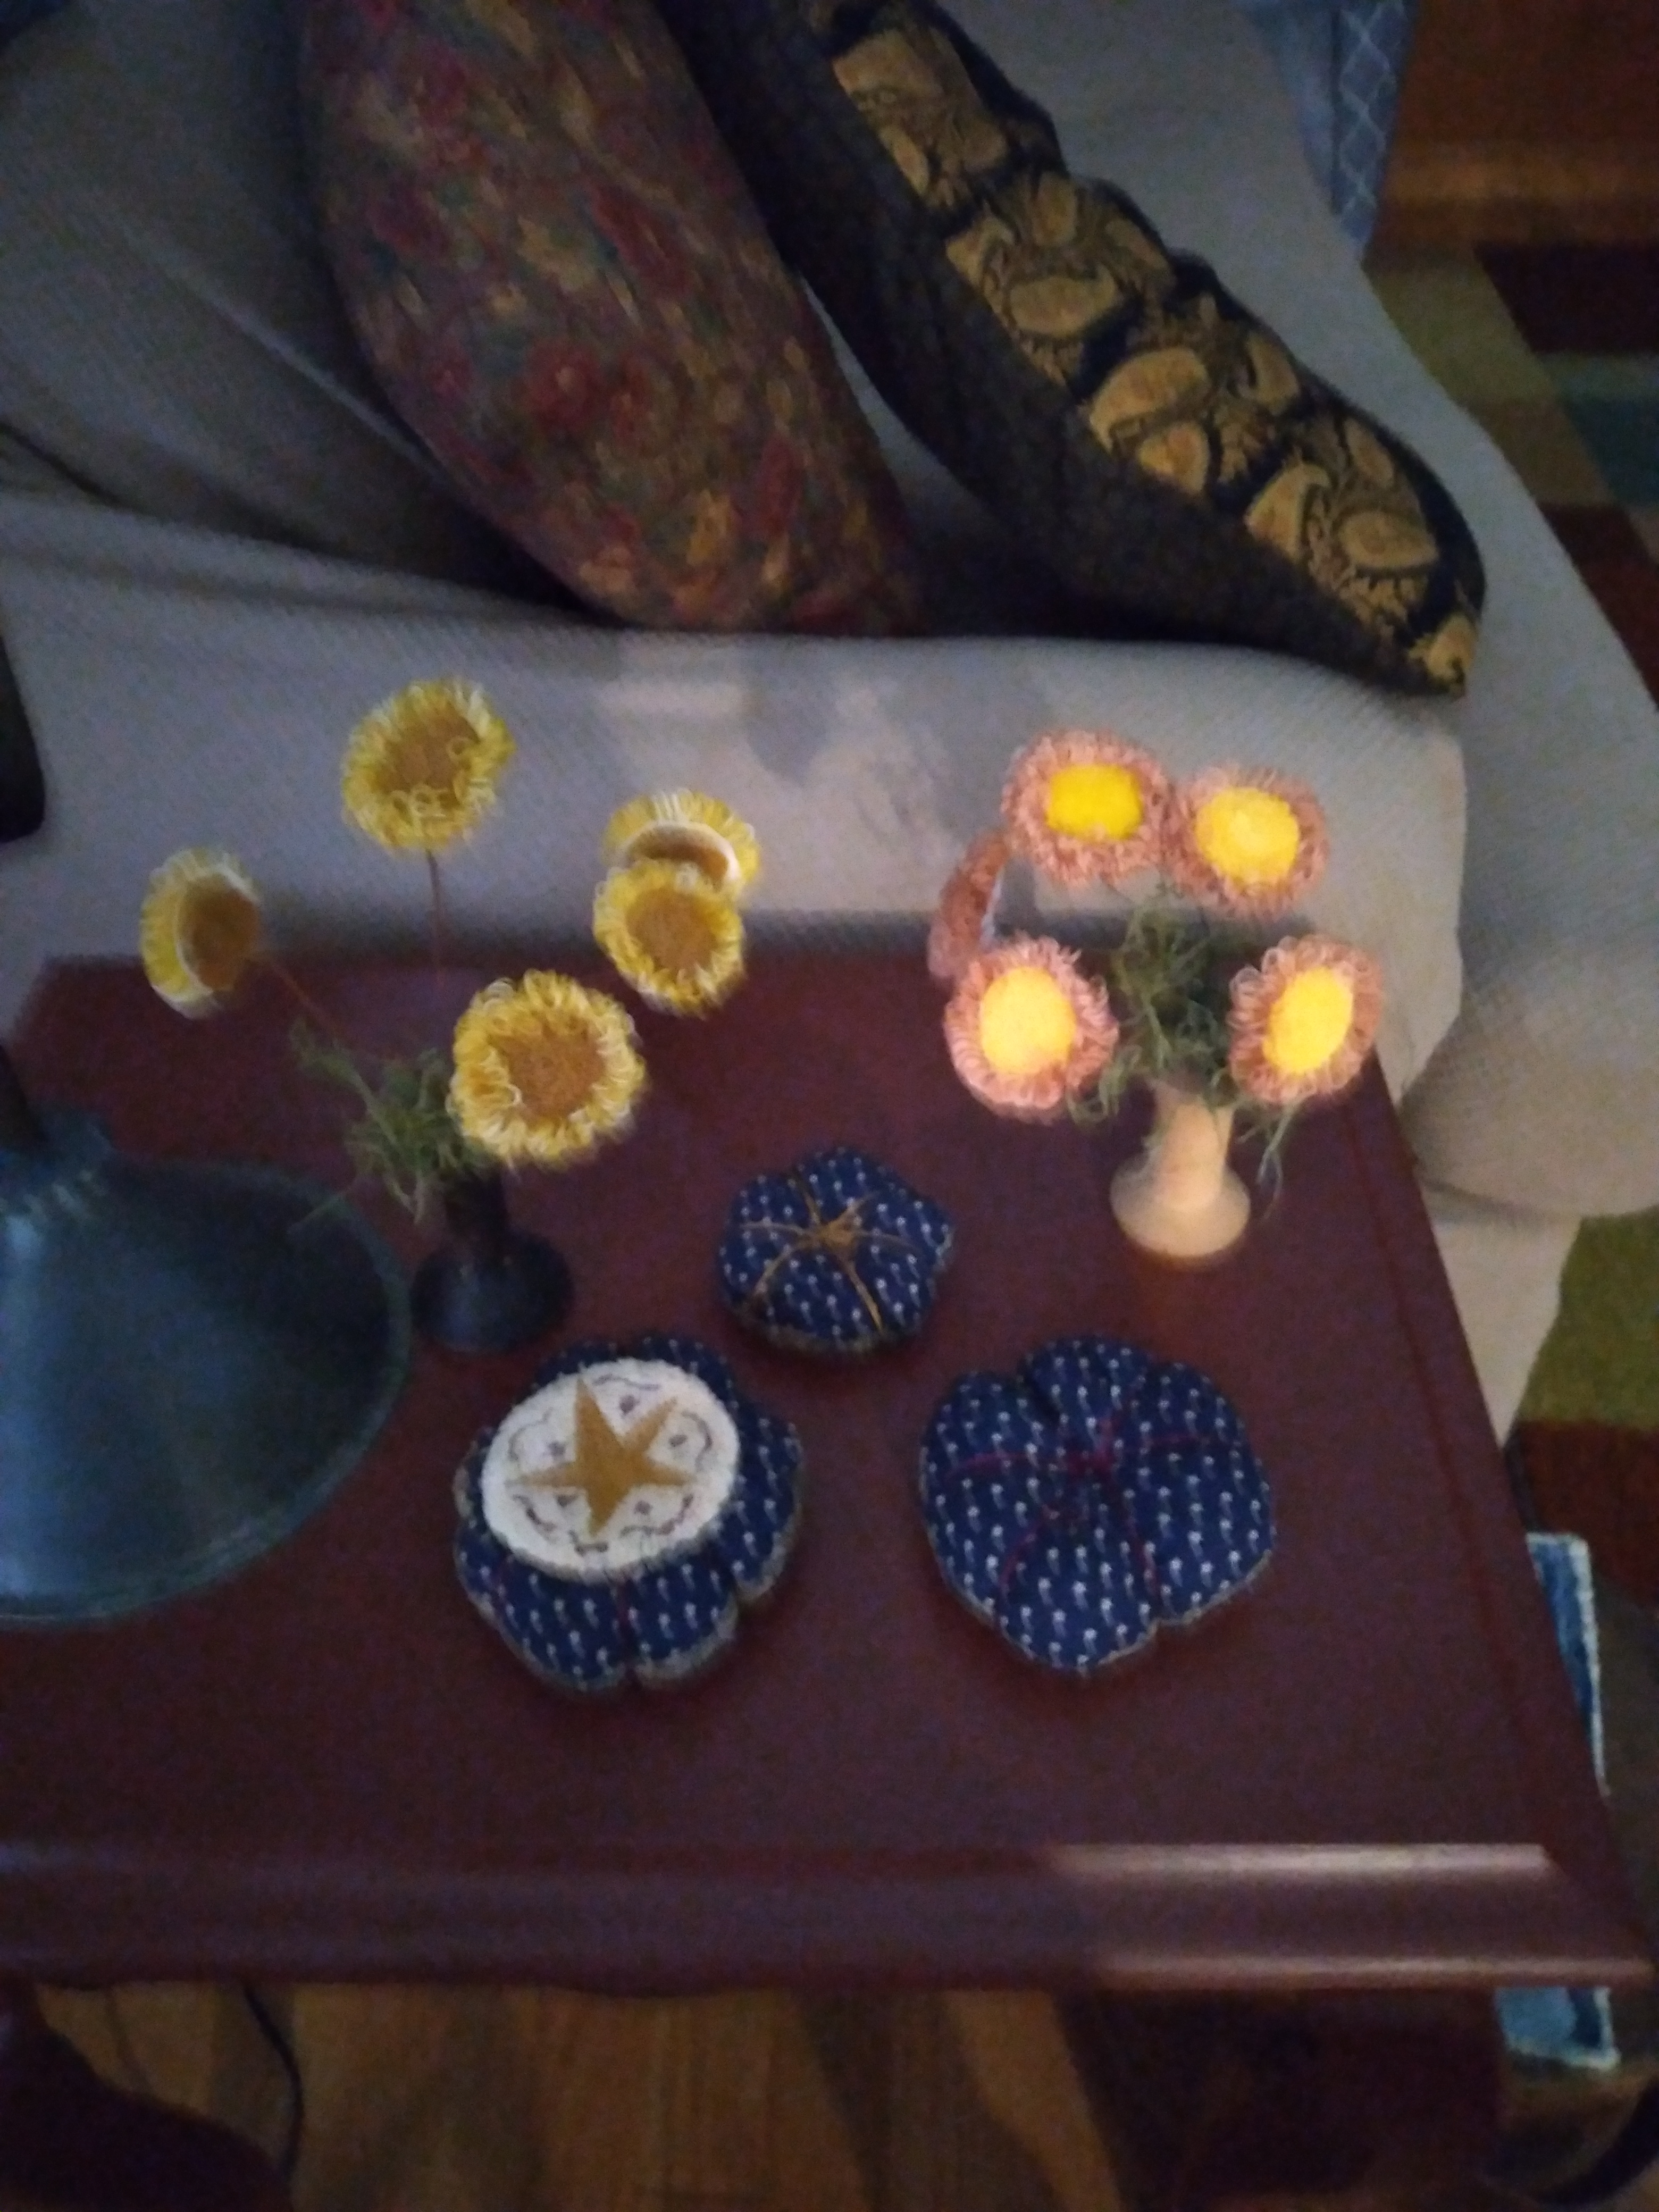
Here’s how I did the pin cushions. I punched the little star. I sewed a back fabric to it with right sides together. Because the end result was to sew it to the cushion, I was able to sew completely around the circumference. Then I snipped a small slit to turn it right side out. I did the same thing with the contrasting fabrics used to make the cushion. When you snip the fabric to turn it right side out, make sure you snip the fabric you want on top. I used sand to fill the cushion and then sewed it shut. (On my first attempt I only used sand. With the other two I added a little fiber fill which made it easier to sew it shut.) Using DMC six strand floss begin by sewing from the top center of the cushion through to the bottom, wrap the floss around the outside of the cushion and insert the needle in the same spot and bring the floss around across the from the first loop. Do this three times, tugging it a little tightly to create the affect you see in the picture. Tie it off and then sew the punched piece to the top. Use your imagination to create your punched piece.
Now, Julie’s flowers. Draw your circles. I did the yellow centered flowers first with a 1 1/4 inch diameter. The gold centered ones I just did a one inch diameter. Punch with your needle set to #2 depth. Then with a contrasting color floss punch 2-3 times around the center with your needle set to #12 depth. Pretty simple, right? On my first attempt I cut the weavers cloth about a half inch outside the flower then folded and glued it to the flower back. I used floral wire and glued it to the back with a small circle of weavers cloth to hide the wire. They look ok, but just ok. When I did the second set I remembered a technique someone else uses. While the flowers were still on the weavers cloth I applied glue to the circumference of each one. When it dried I just cut the cloth away right at the edge of the flower. On these I also used wool to make the covering circle and also used my rusty wire. With both wires I twisted one end into a circle smaller than the flower, bent the wire straight up from the circle and glued it on.
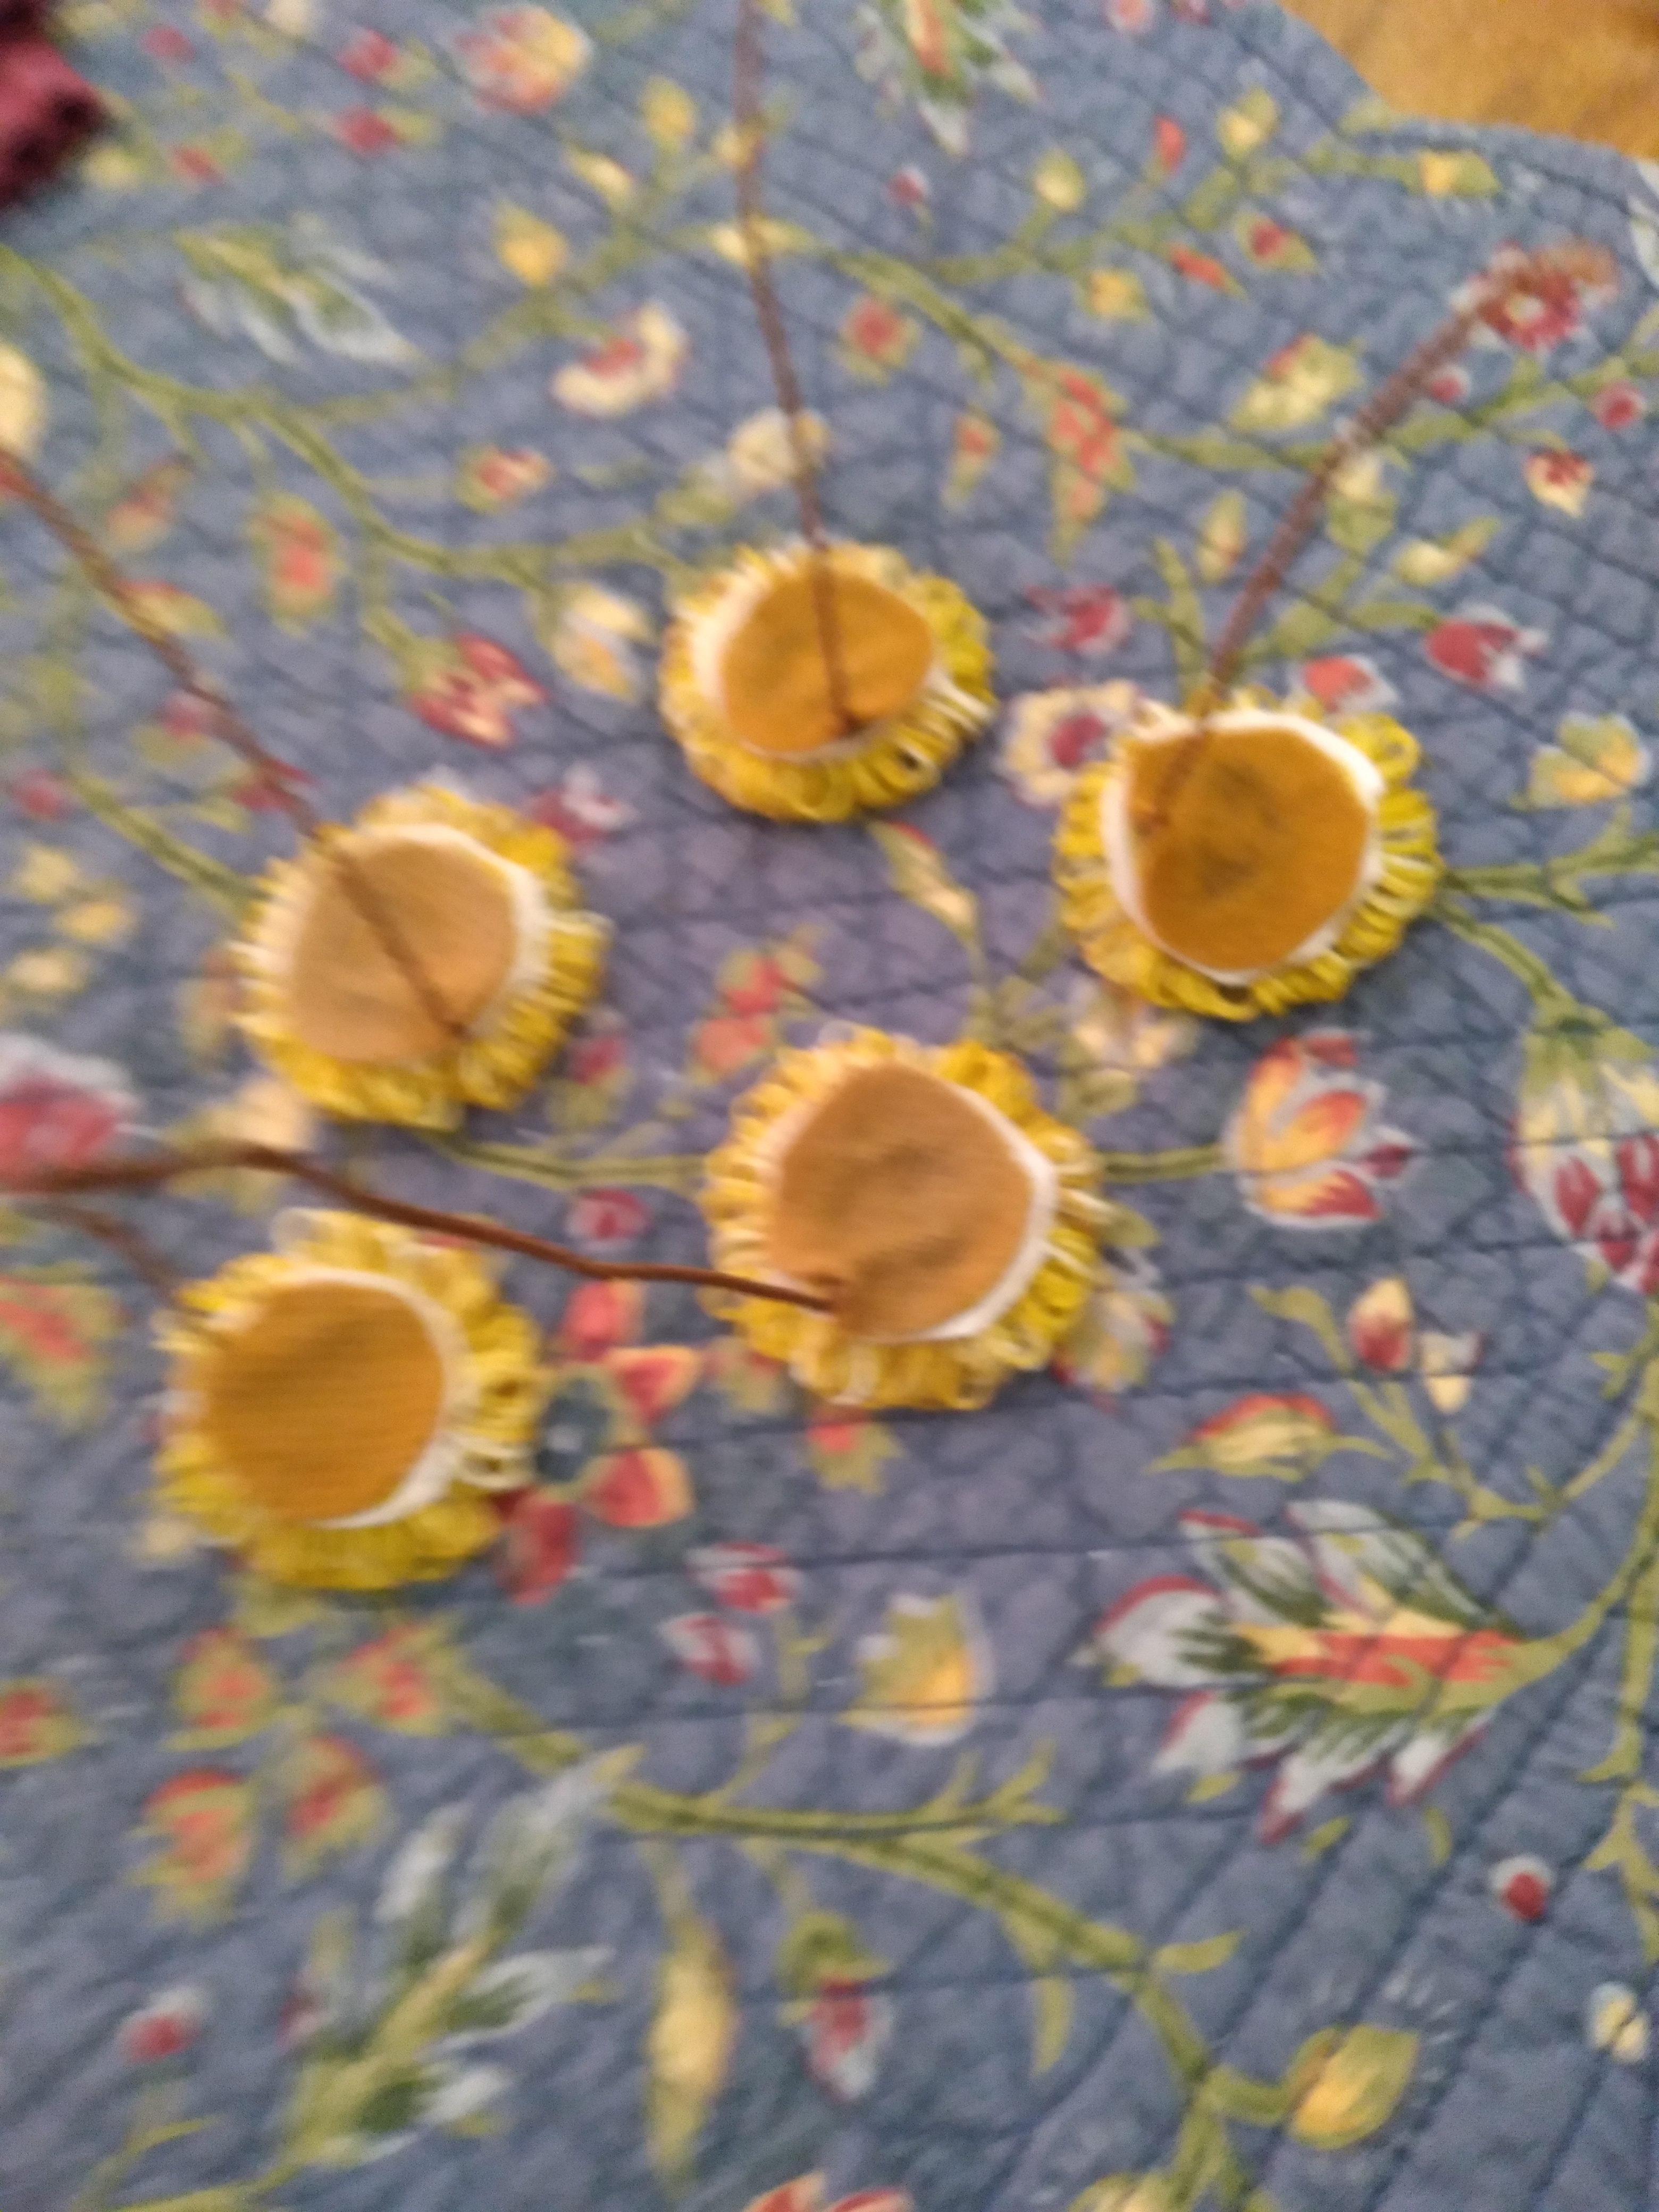
I found a couple wooden spools in my menagerie of collected ‘stuff’ to mount them. I used duct tape to cover the bottom ends of the wire and put a little fiber fill into the spools to keep the flowers stable and then added a little moss.
So, there you go! A couple little summer projects. Thank you Tara and Julie!
